Dyeing Reed 101 – Part II
Okay, here is Part II of Dyeing Reed 101. I was going to wrap Dyeing  Reed 101 up with this post, however, Part II, grew to way over a thousand words – – – now there is also a Part III!
And things change – while I was writing about types of dyes I realized that I should talk more about colorfastness and using mordants, fixatives and surfactants before I talk about dye.
COLORFASTNESS
Colorfast refers to how resistant dye is to fading and running; basically how will the fiber maintain the color over time. Typically, colorfast refers to light fast (resistance to fading when exposed to light) and wash fast (resistance to fading and discoloration when washed). Most dyes for cellulose fibers, have been formulated primarily for cottons and linens, so they are more wash fast then light fast.
It is important to remember that no dye is completely colorfast. Dyed reed or wood fibers will fade.
USING MORDANT on REED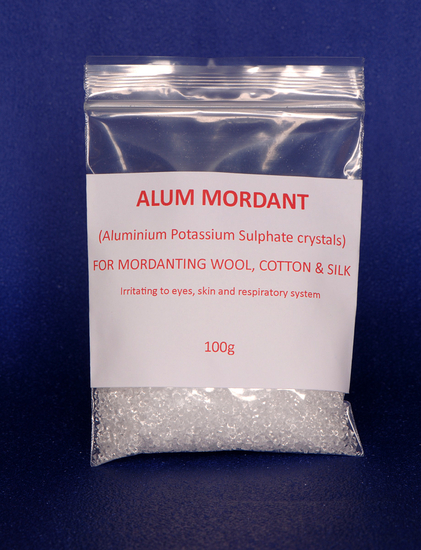
Mordanting prepares the fiber for the dye so it is done before dyeing. You must mordant reed if using a natural dye. If you decide to use a mordant with a direct or all purpose dye, it is unnecessary to also use a surfactant or dye fixative. Mordant is not necessary with reactive dyes. Alum and tannin are usually used on cellulose fibers. (Read more about mordant on Dyeing Reed 101 – Part I.)
Always soak the reed in warm water for about an hour before you mordant it. You can dye the reed right after mordanting or you can dry mordanted reed and dye it later. Do not rinse before dying.
Mordanting with Alum – Put four gallons of very hot water in a large bucket (plastic works). Use 3 tablespoons of alum per pound of reed; dissolve it in a few cups of very hot water, then add to bucket. Add reed to mordant solution, make sure reed is loose and completely immersed. Let soak in solution over night.
Mordanting with Alum and Tannin – use these two mordants together for deeper shades or dark colors. It is a two step process:
- Use 3 tablespoons of tannic acid per pound of reed; dissolve it in about three gallons of very hot water. Add reed to mordant solution, make sure reed is loose and completely immersed. Soak for 24-36 hours.
- Use 3 tablespoons of alum per pound of reed; dissolve it in about 2 1/2 gallons of very hot water.
 Take two cups of hot water and dissolve 2 1/2 tablespoons of washing soda. Add to the new bath ( you may see some bubbling – this is normal and not dangerous). Add reed to mordant solution, make sure reed is not crowded and is completely immersed. Soak for 24-36 hours.

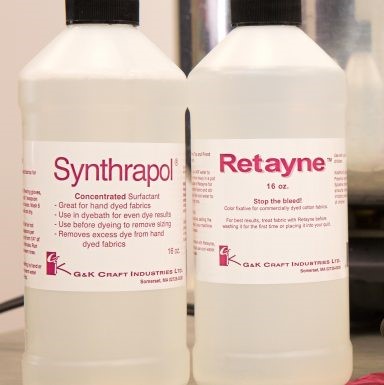 Surfactants– a surfactant, or a wetting agent, reduces surface tension which helps the dye penetrate the fiber evenly. You can add Synthrapol®, a pH neutral detergent, or soda ash (soda ash is a base that increases the pH). Add surfactants to the water before you add the dye powder. If your water is even slightly acidic (low pH), you will get better dye results by adding soda ash instead of Synthrapol®.
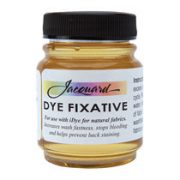
Dye Fixative– A dye fixative is used after the reed is dyed and rinsed. Dye fixatives are not mordants, though the results are fairly permanent. Dye fixatives are positively charged, encouraging the negatively charged dye and fiber to attach to each together (think – fix or glue together).
The fixative is applied to the reed by making a warm water/fixative bath and soaking freshly dyed reed for 10-20 minutes. Retayne®, Dharma Dye Fixative®, and Jacquard’s iDye Fixative® all work well on cellulose fibers (reed).
TEMPERATURE and TIME
If you are using a direct or all purpose dye, using cool or lukewarm water to dye reed will merely stain the fiber and the result will not be very colorfast. In order to penetrate cellulose fibers and achieve reasonable colorfastness, the fiber must spend time in the dye at a high temperature. Together, heat and time deepen the color and improve colorfastness. Most direct dye directions encourage boiling the fiber in the dye for several minutes and then leaving the fiber to soak for an additional 30 minutes in the hot or boiling dye. Unfortunately, boiling reed for more than a few minutes breaks down reed fibers, quickly making the reed hairy and brittle.
After a lot of trial and error I have found that I can get some of the effects of temperature and time by bringing the dye pot to a boil then adding the reed. As soon as the dye reaches boiling again, I remove the reed. I do not rinse the reed, rather I hang it, letting it cool slowly, this allows the dye to penetrate longer. Result: vivid colors, improved colorfastness.
 The last of this series, of Dyeing Reed 101 – Part III, will focus on dye types: reactive, natural, direct and all purpose.It is scheduled to post on June 8.
And then, I will move on to another topic -I promise 🙂 
Click the links to read Dyeing Reed 101 – Part I and Dyeing Reed 101 – Part III
Thanks, Annetta, great post!
thank you for the info, very helpful.