Continuous Weave Filled Basket Base
A very long time ago, I said I was going to do a series of posts on weaving basket bases. Well, I get distracted – there are so many basket related topics to write about, my list just gets longer and longer! The good news is a few weeks ago, I wove this base and got some photos. So here it is – a tutorial on the continuous weave filled basket base.
I have also heard this called a ‘Shaker filled base’.
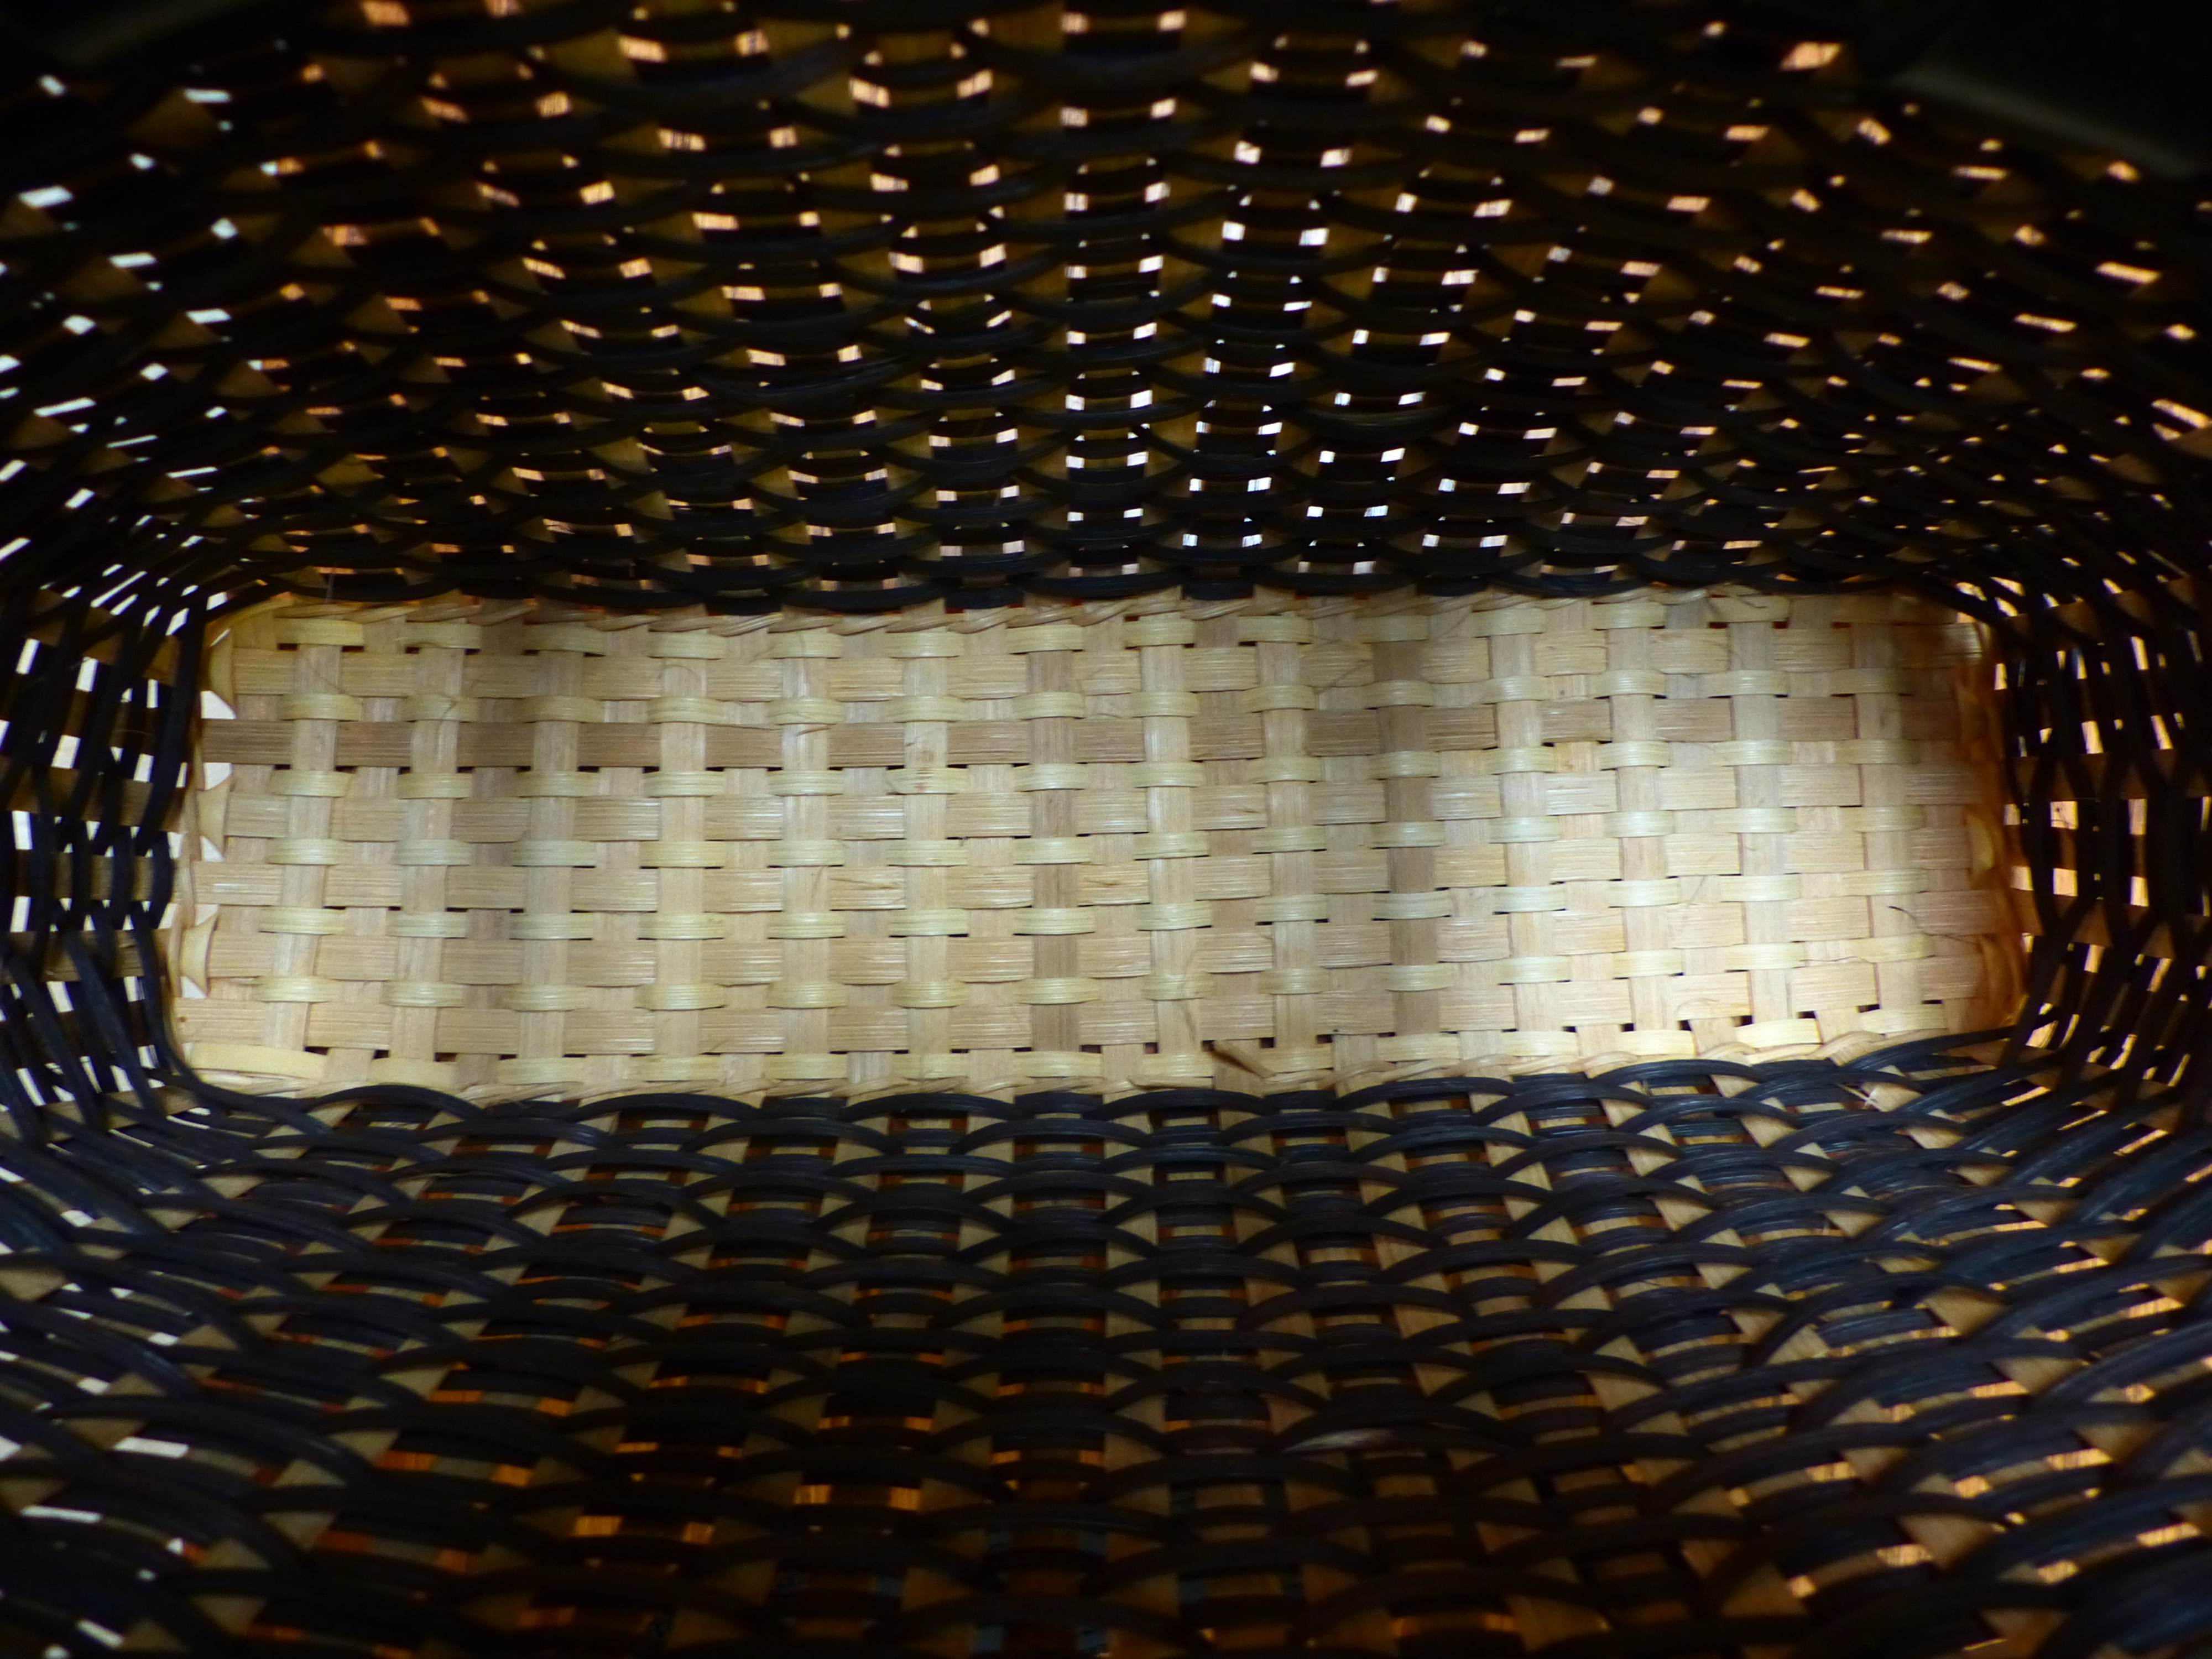
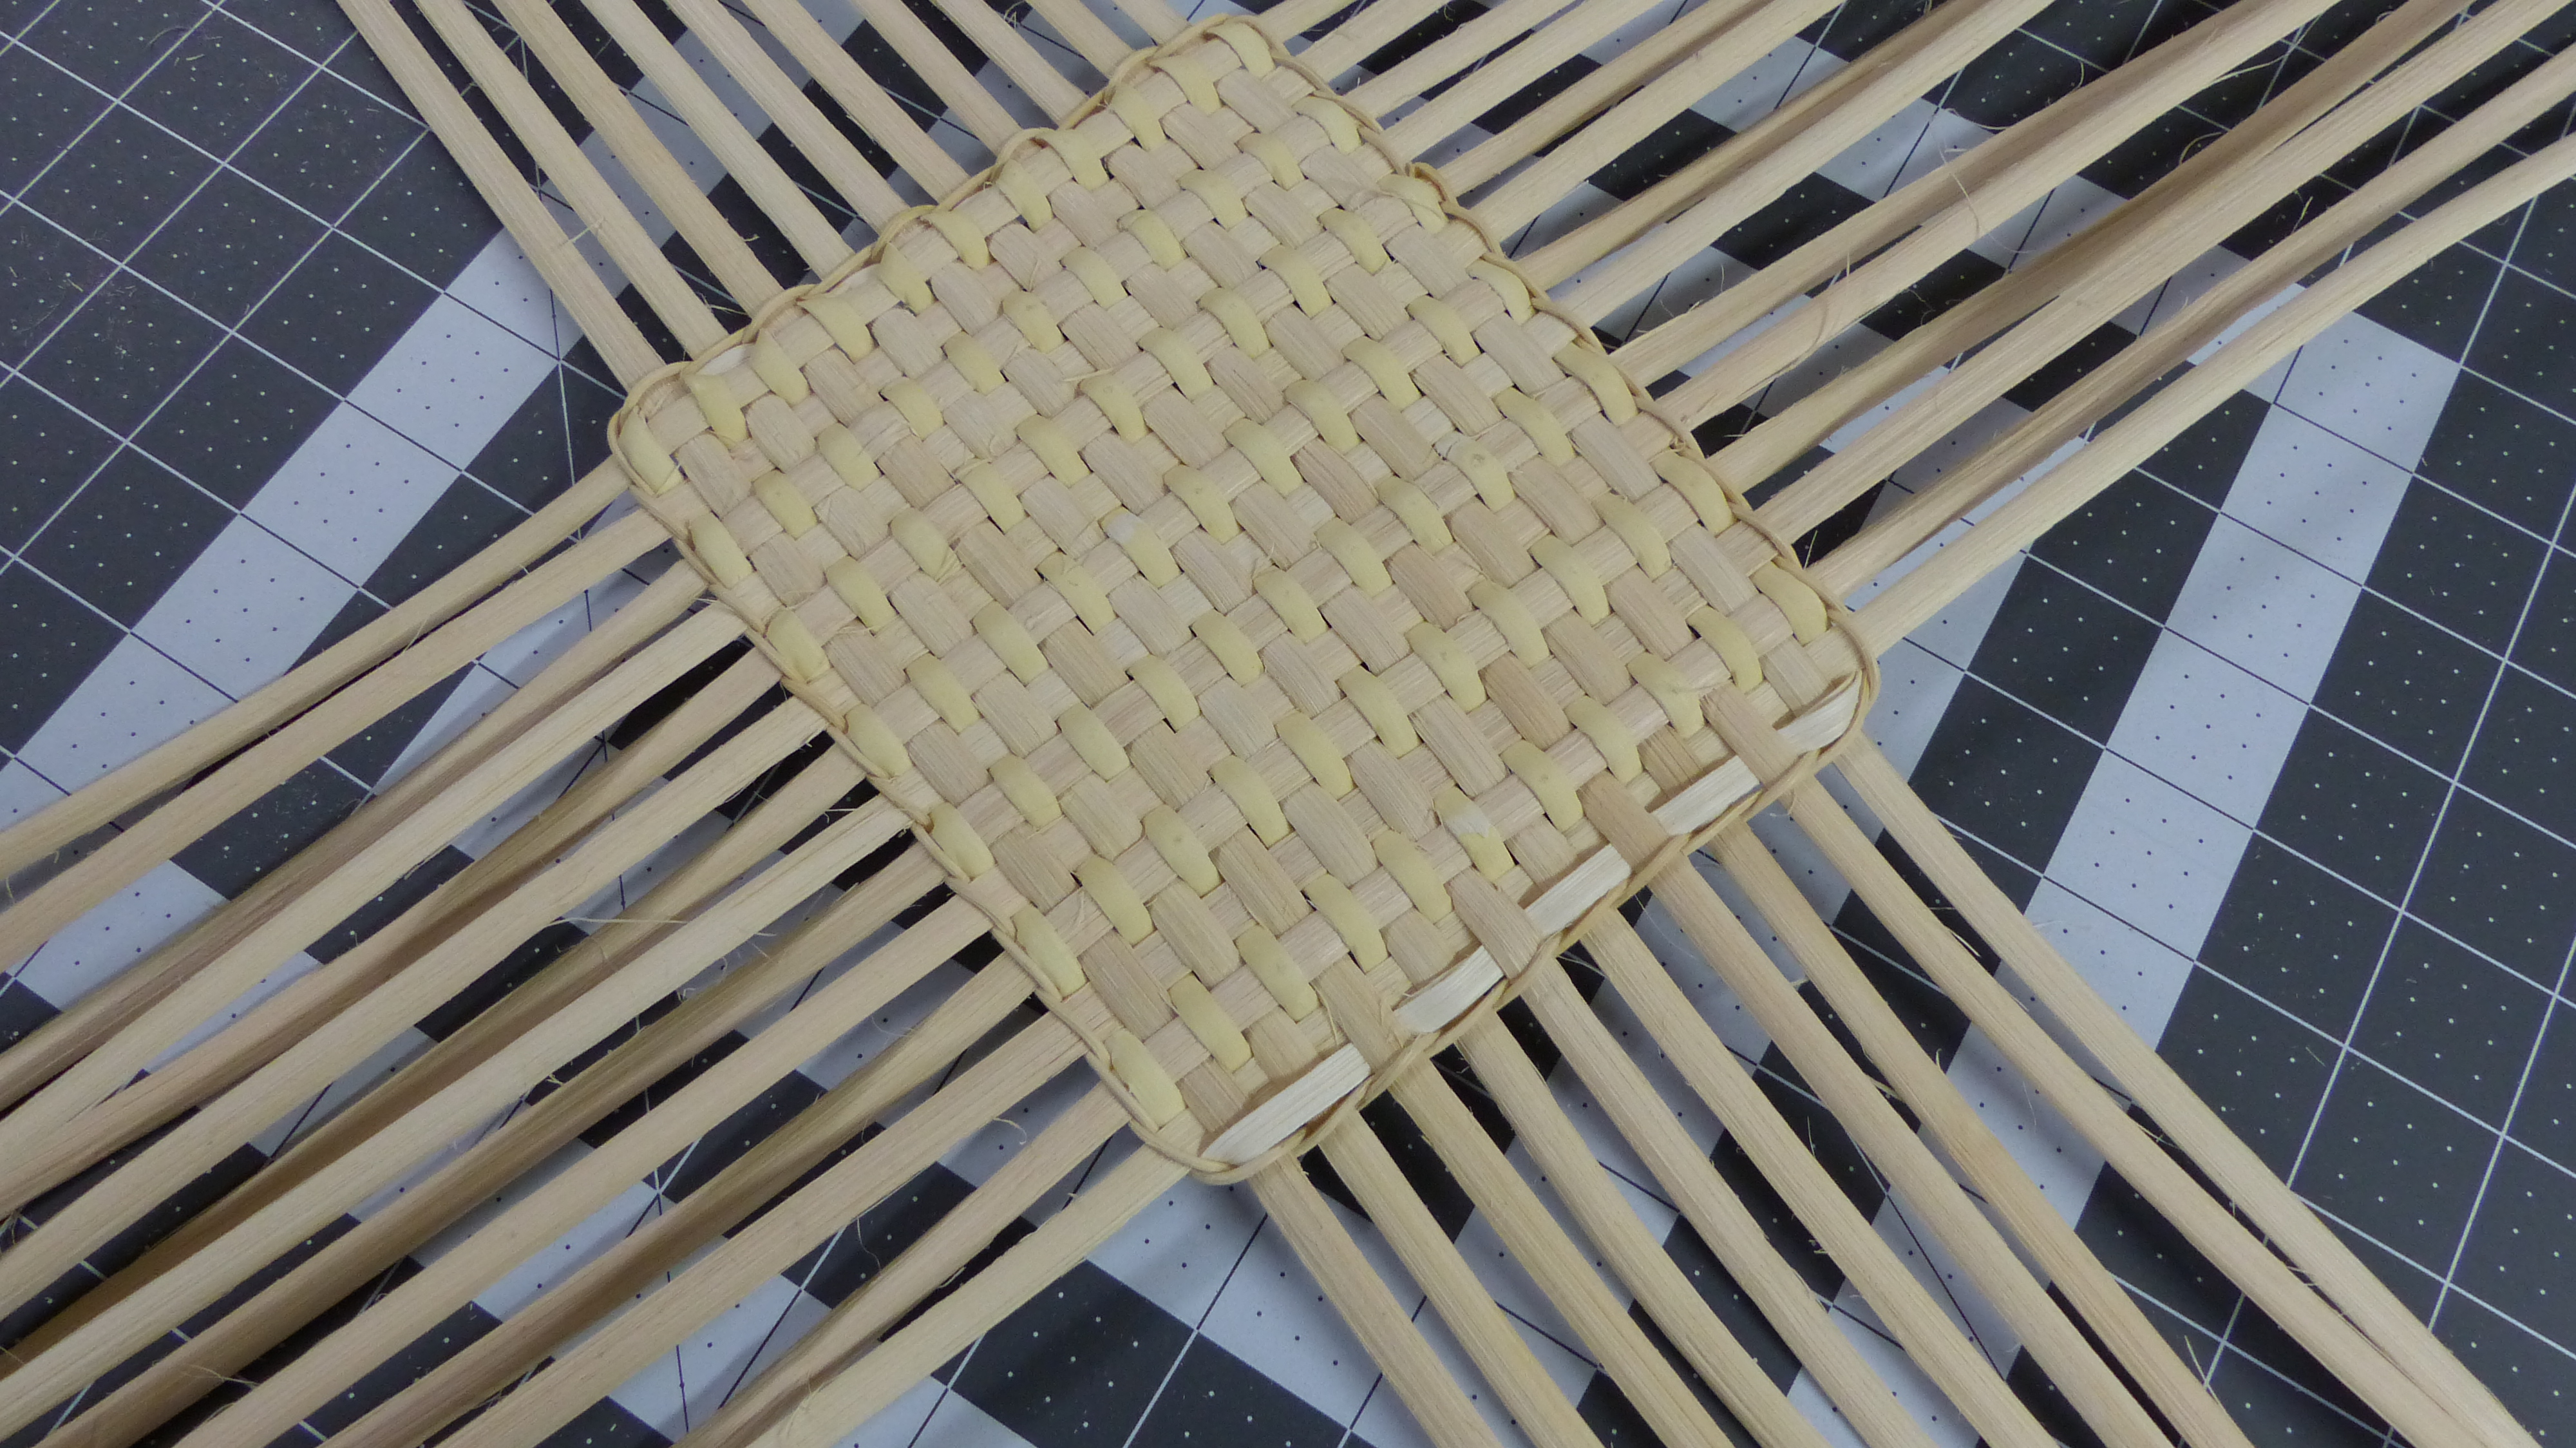
I use this base on my Leather and Lace Tote, a view of the inside of this basket is pictured above. You can add a continuous weave filled base to almost any basket with a basic over 1/under 1 rectangular base.
Here’s what you need:
- Stakes (horizontal and vertical)
- Filler (a very long piece of a flexible flat or flat oval weaving material)
Here’s how to determine size of the filler:
If the pattern calls for 1/4″ spacing, use a 1/4″ filler. If you are designing a basket it really is up to you. I like to use 3mm filler with 7mm stakes, the base I used for this tutorial has 7mm stakes and 6mm filler.
You will need four numbers to determine how long of a piece needed for the filler:
- Width of the stakes x 3
- Length of the finished base (horizontal)
- Number of vertical stakes + 2
- Width of the basket x 2
Once you have those numbers: add #1 and #2, then multiply by #3, add #4 = length of filler. Think of it like this: (#1 + #2 ) x #3 + #4 = filler length. I usually add 12 or so extra inches for my comfort.
Weaving a continuous weave filled basket base
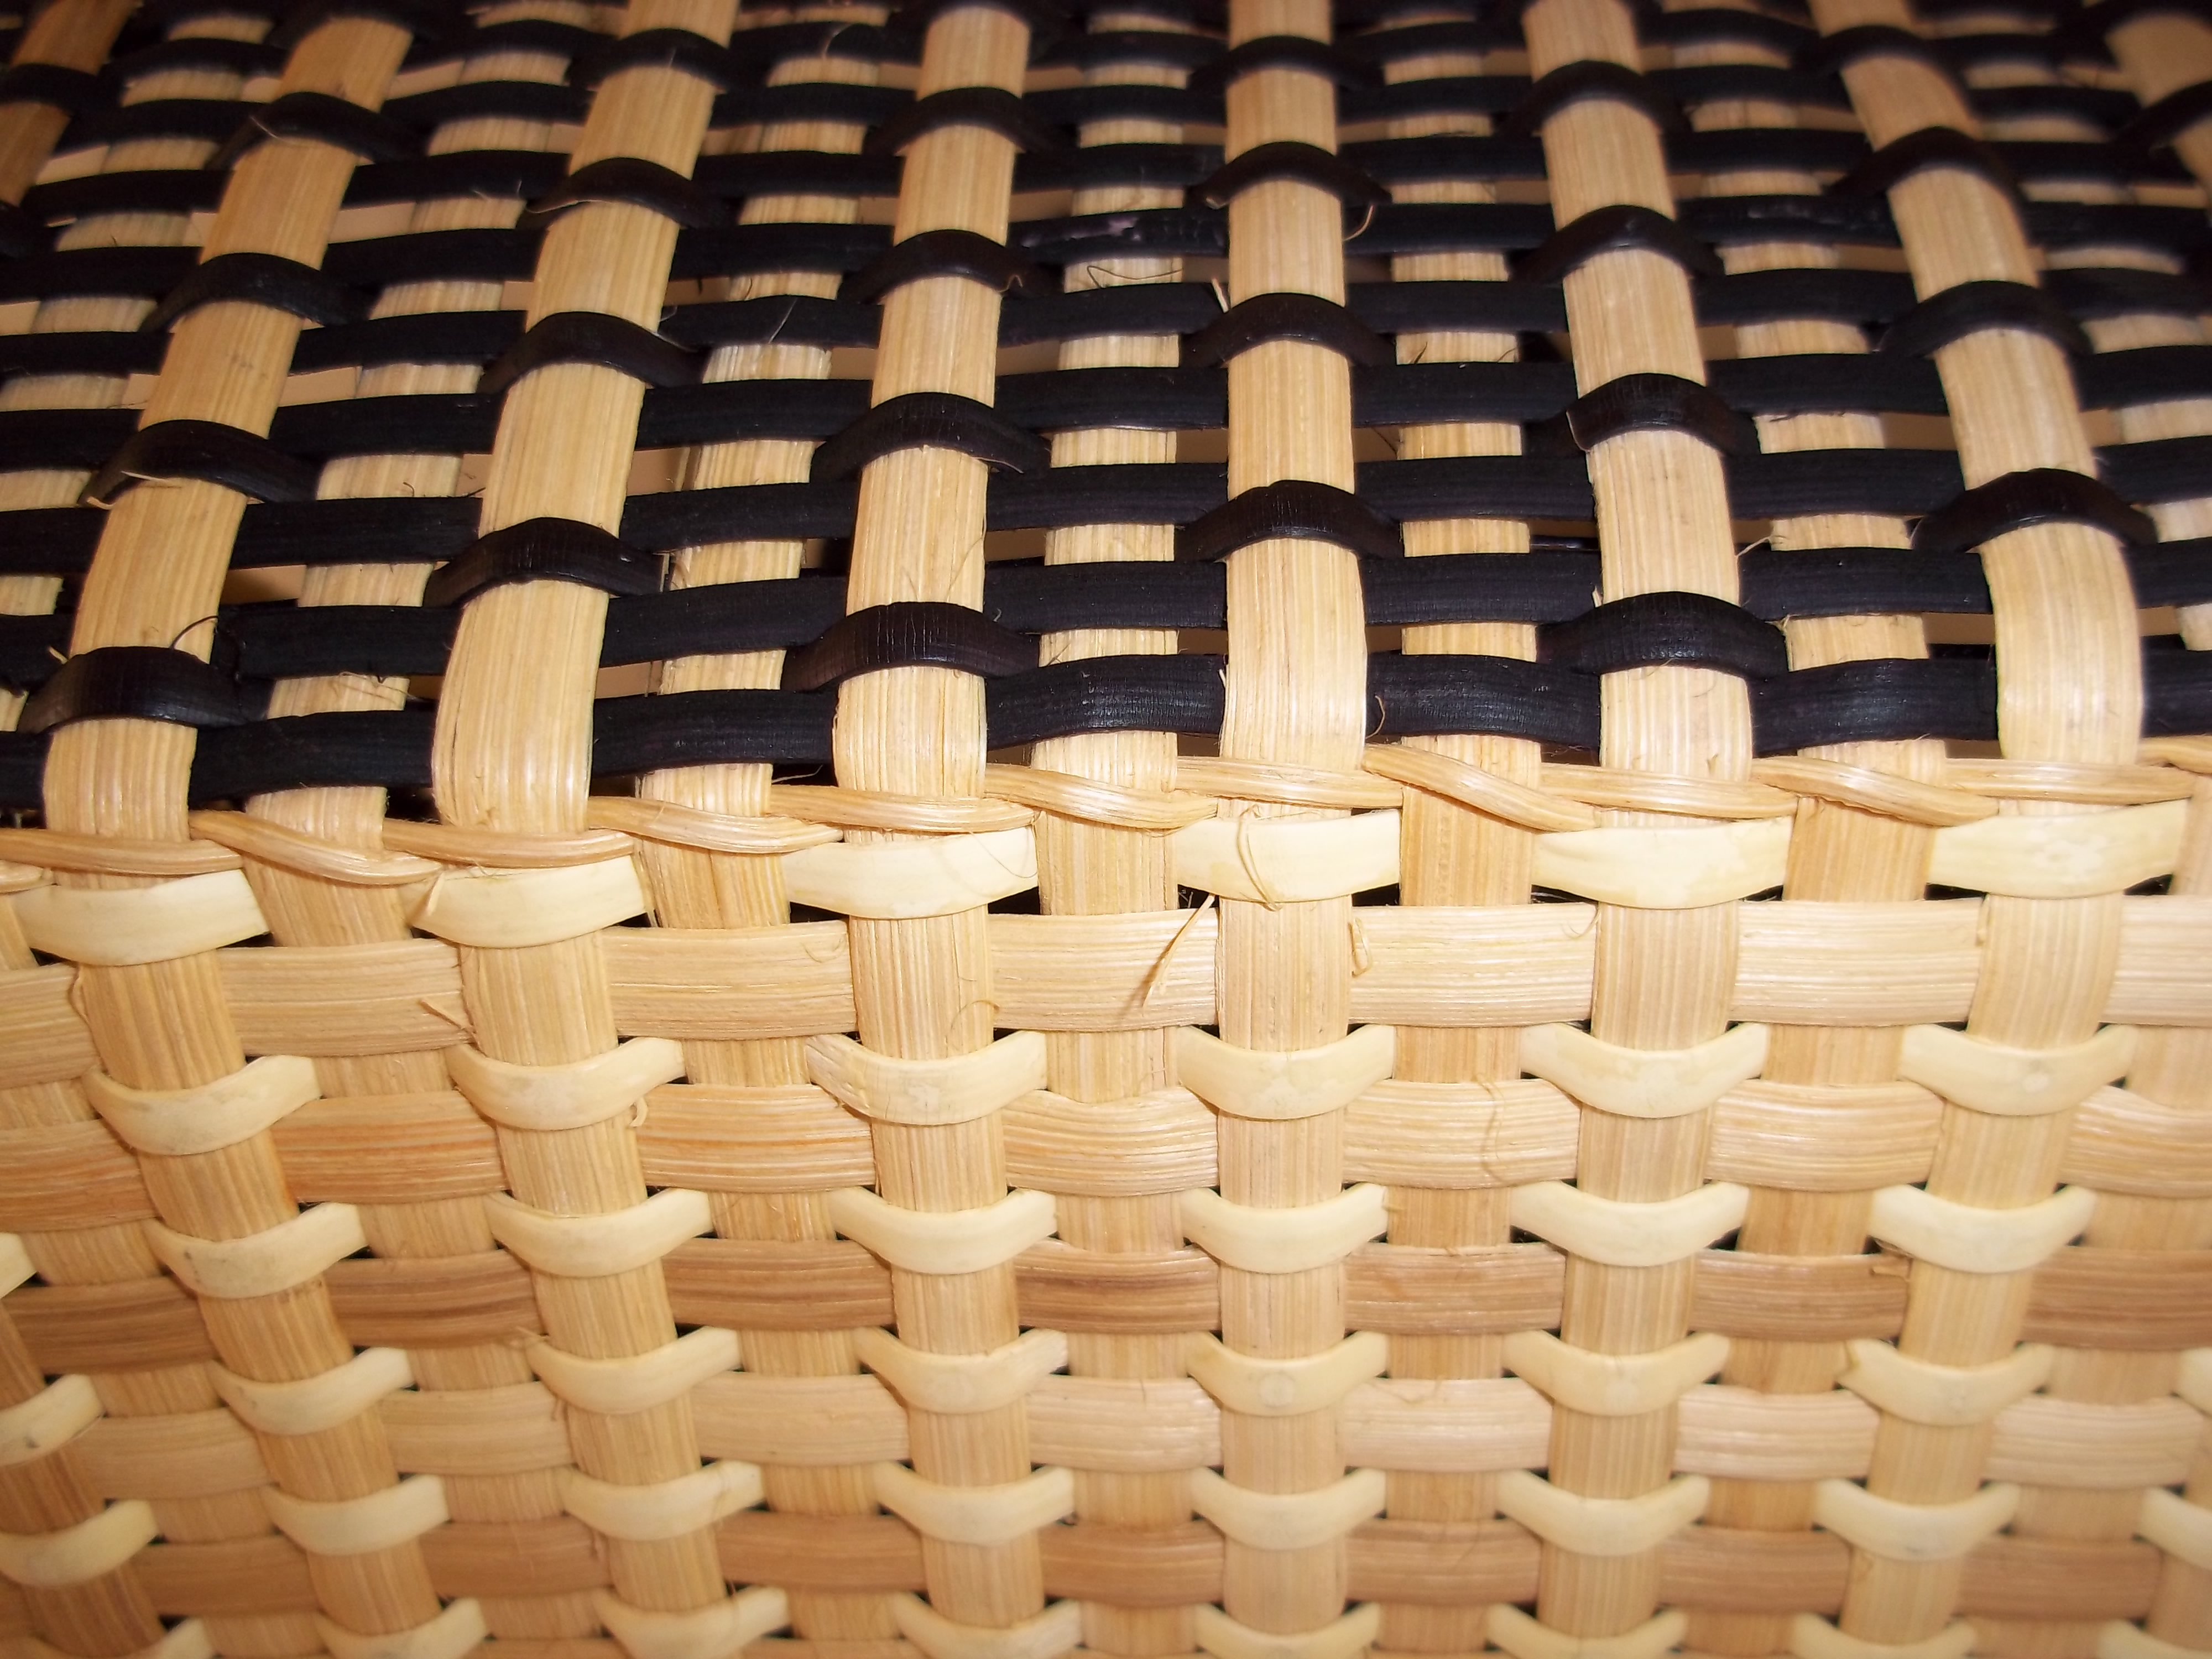
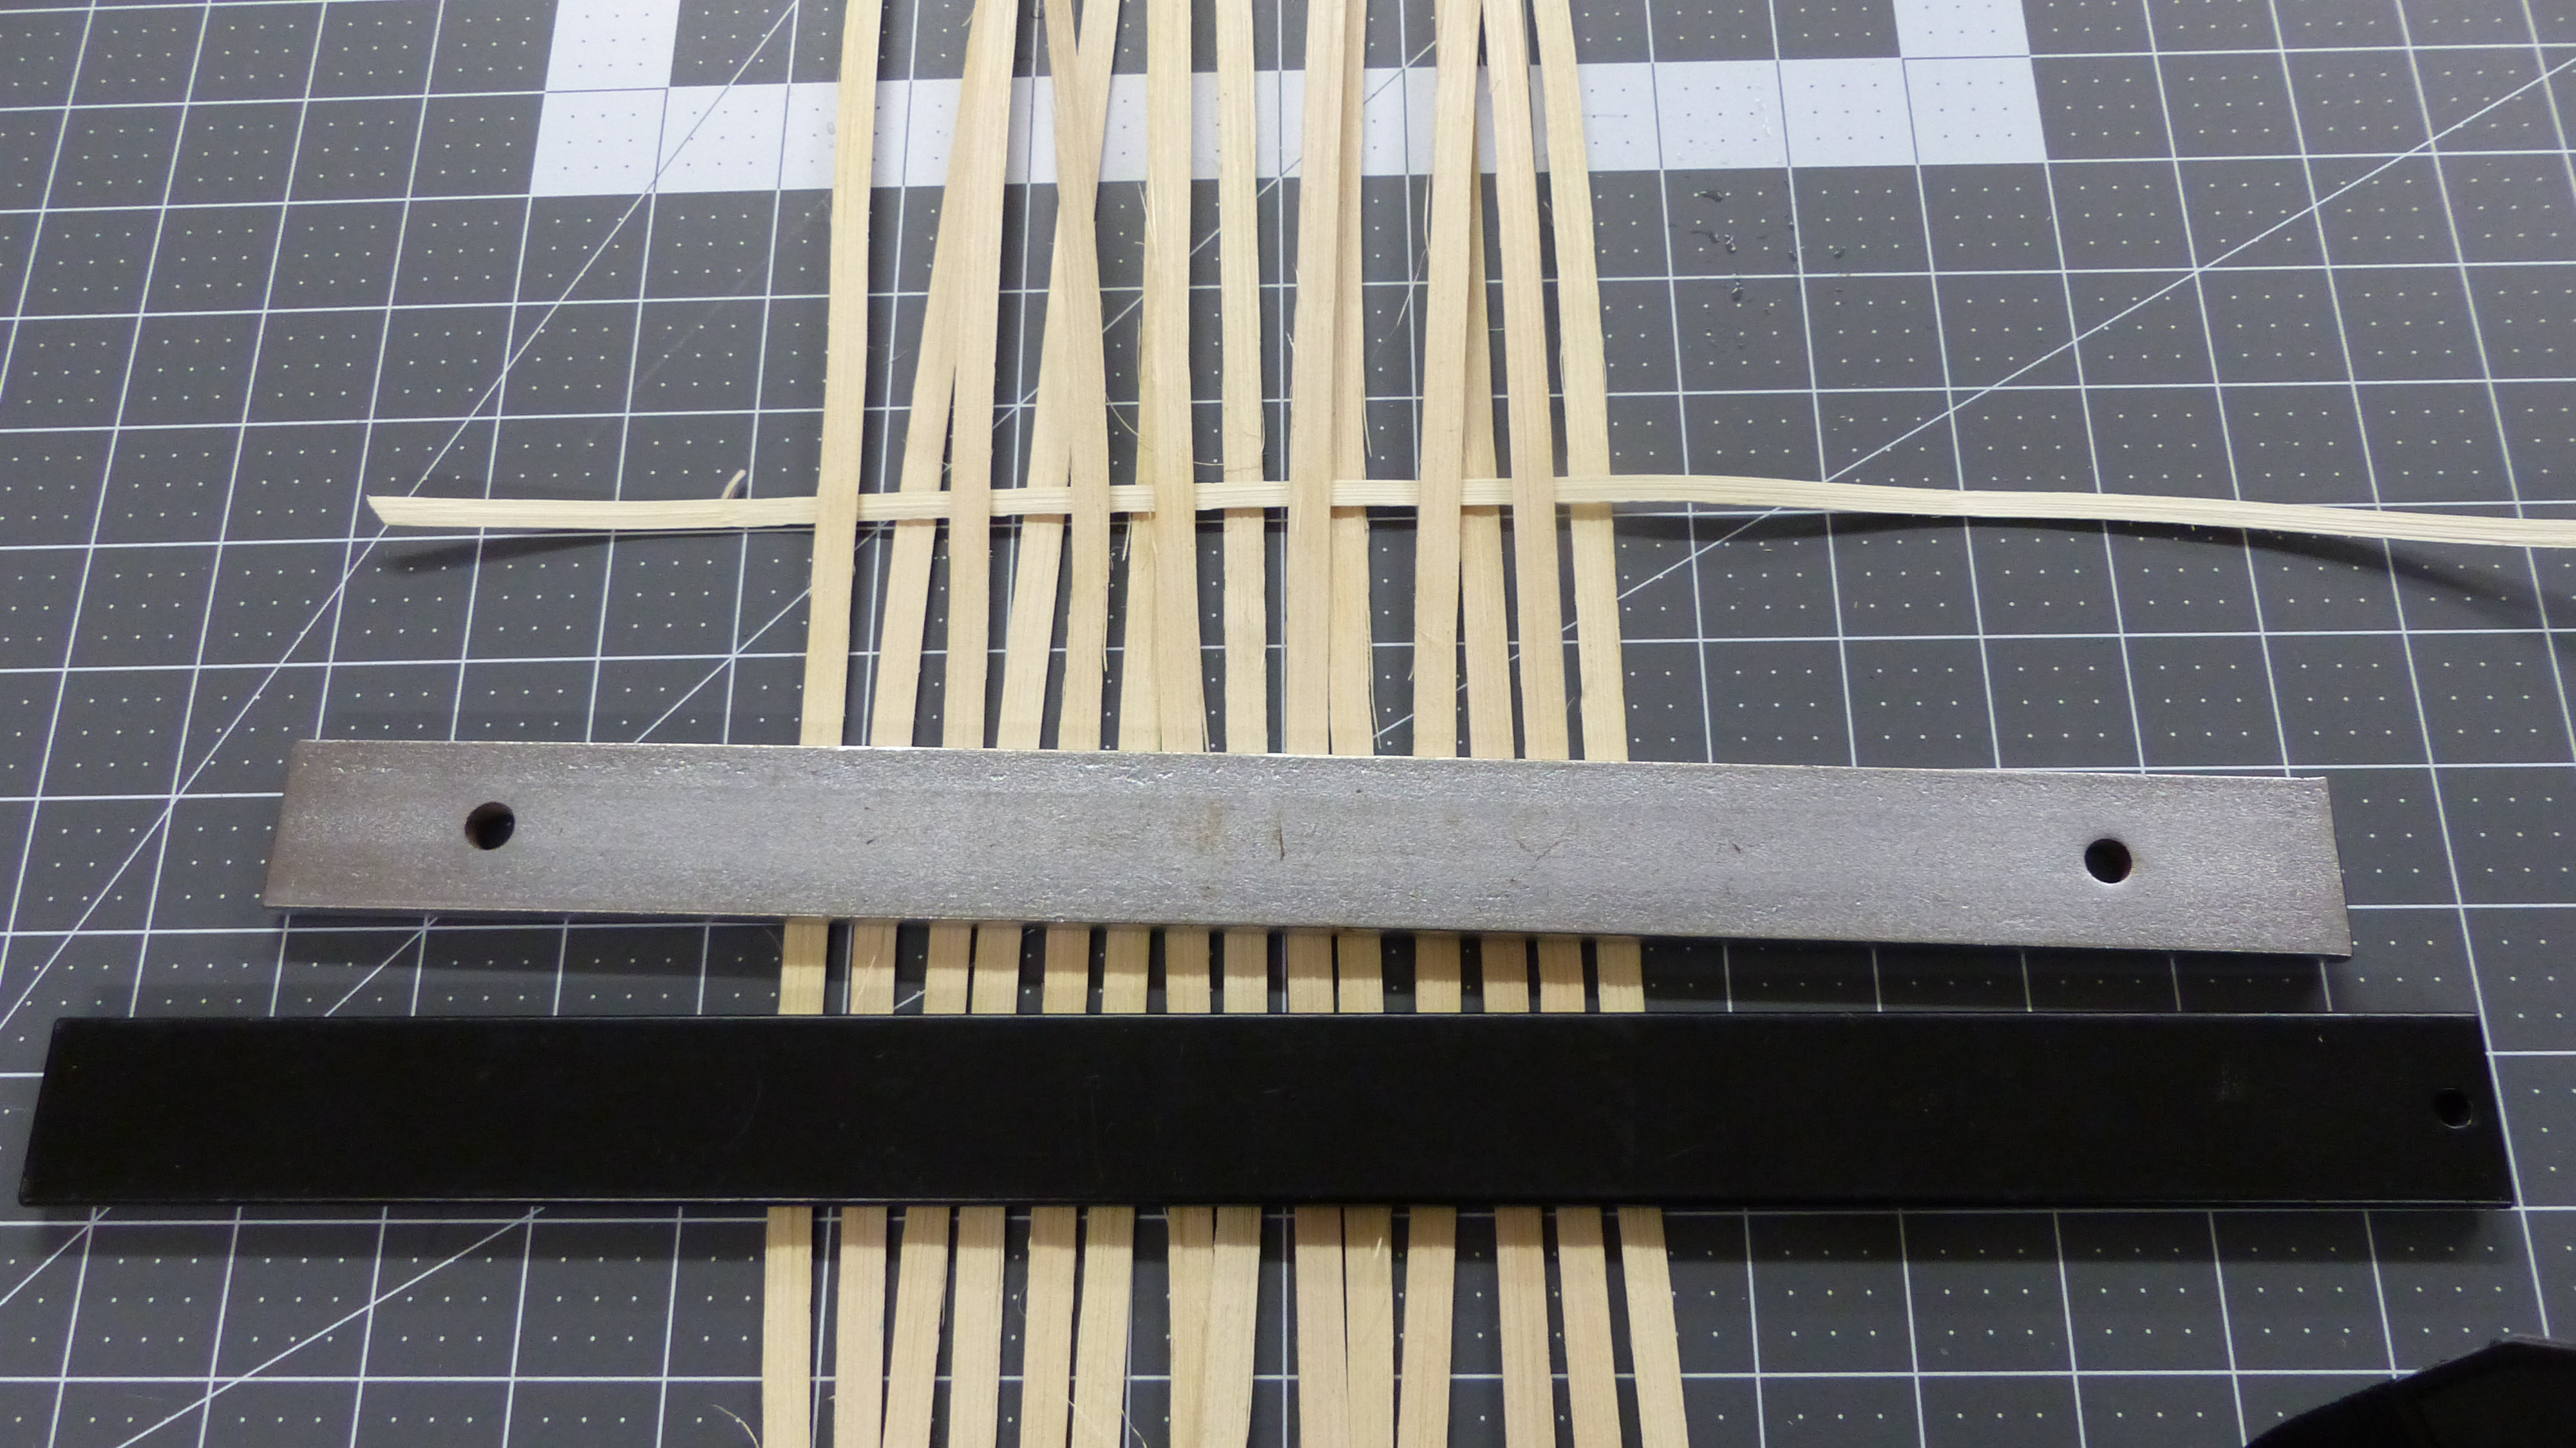 Lay out the vertical stakes, rough side (inside) up. It is difficult to pack this base later, so lay the stakes out the length of the base. The first horizontal is not woven across the middle. It starts on one edge of the base and works up. To determine where to start weaving the base, divide the width of the base in half. Mark the vertical stakes that far below center, the first row will be woven on the line.
Start with the filler, leaving a tail equal the width of the base plus about an inch, with the filler rough side up, weave it over and under the vertical stakes. Do not cut the filler. Be sure the stakes are evenly spaced.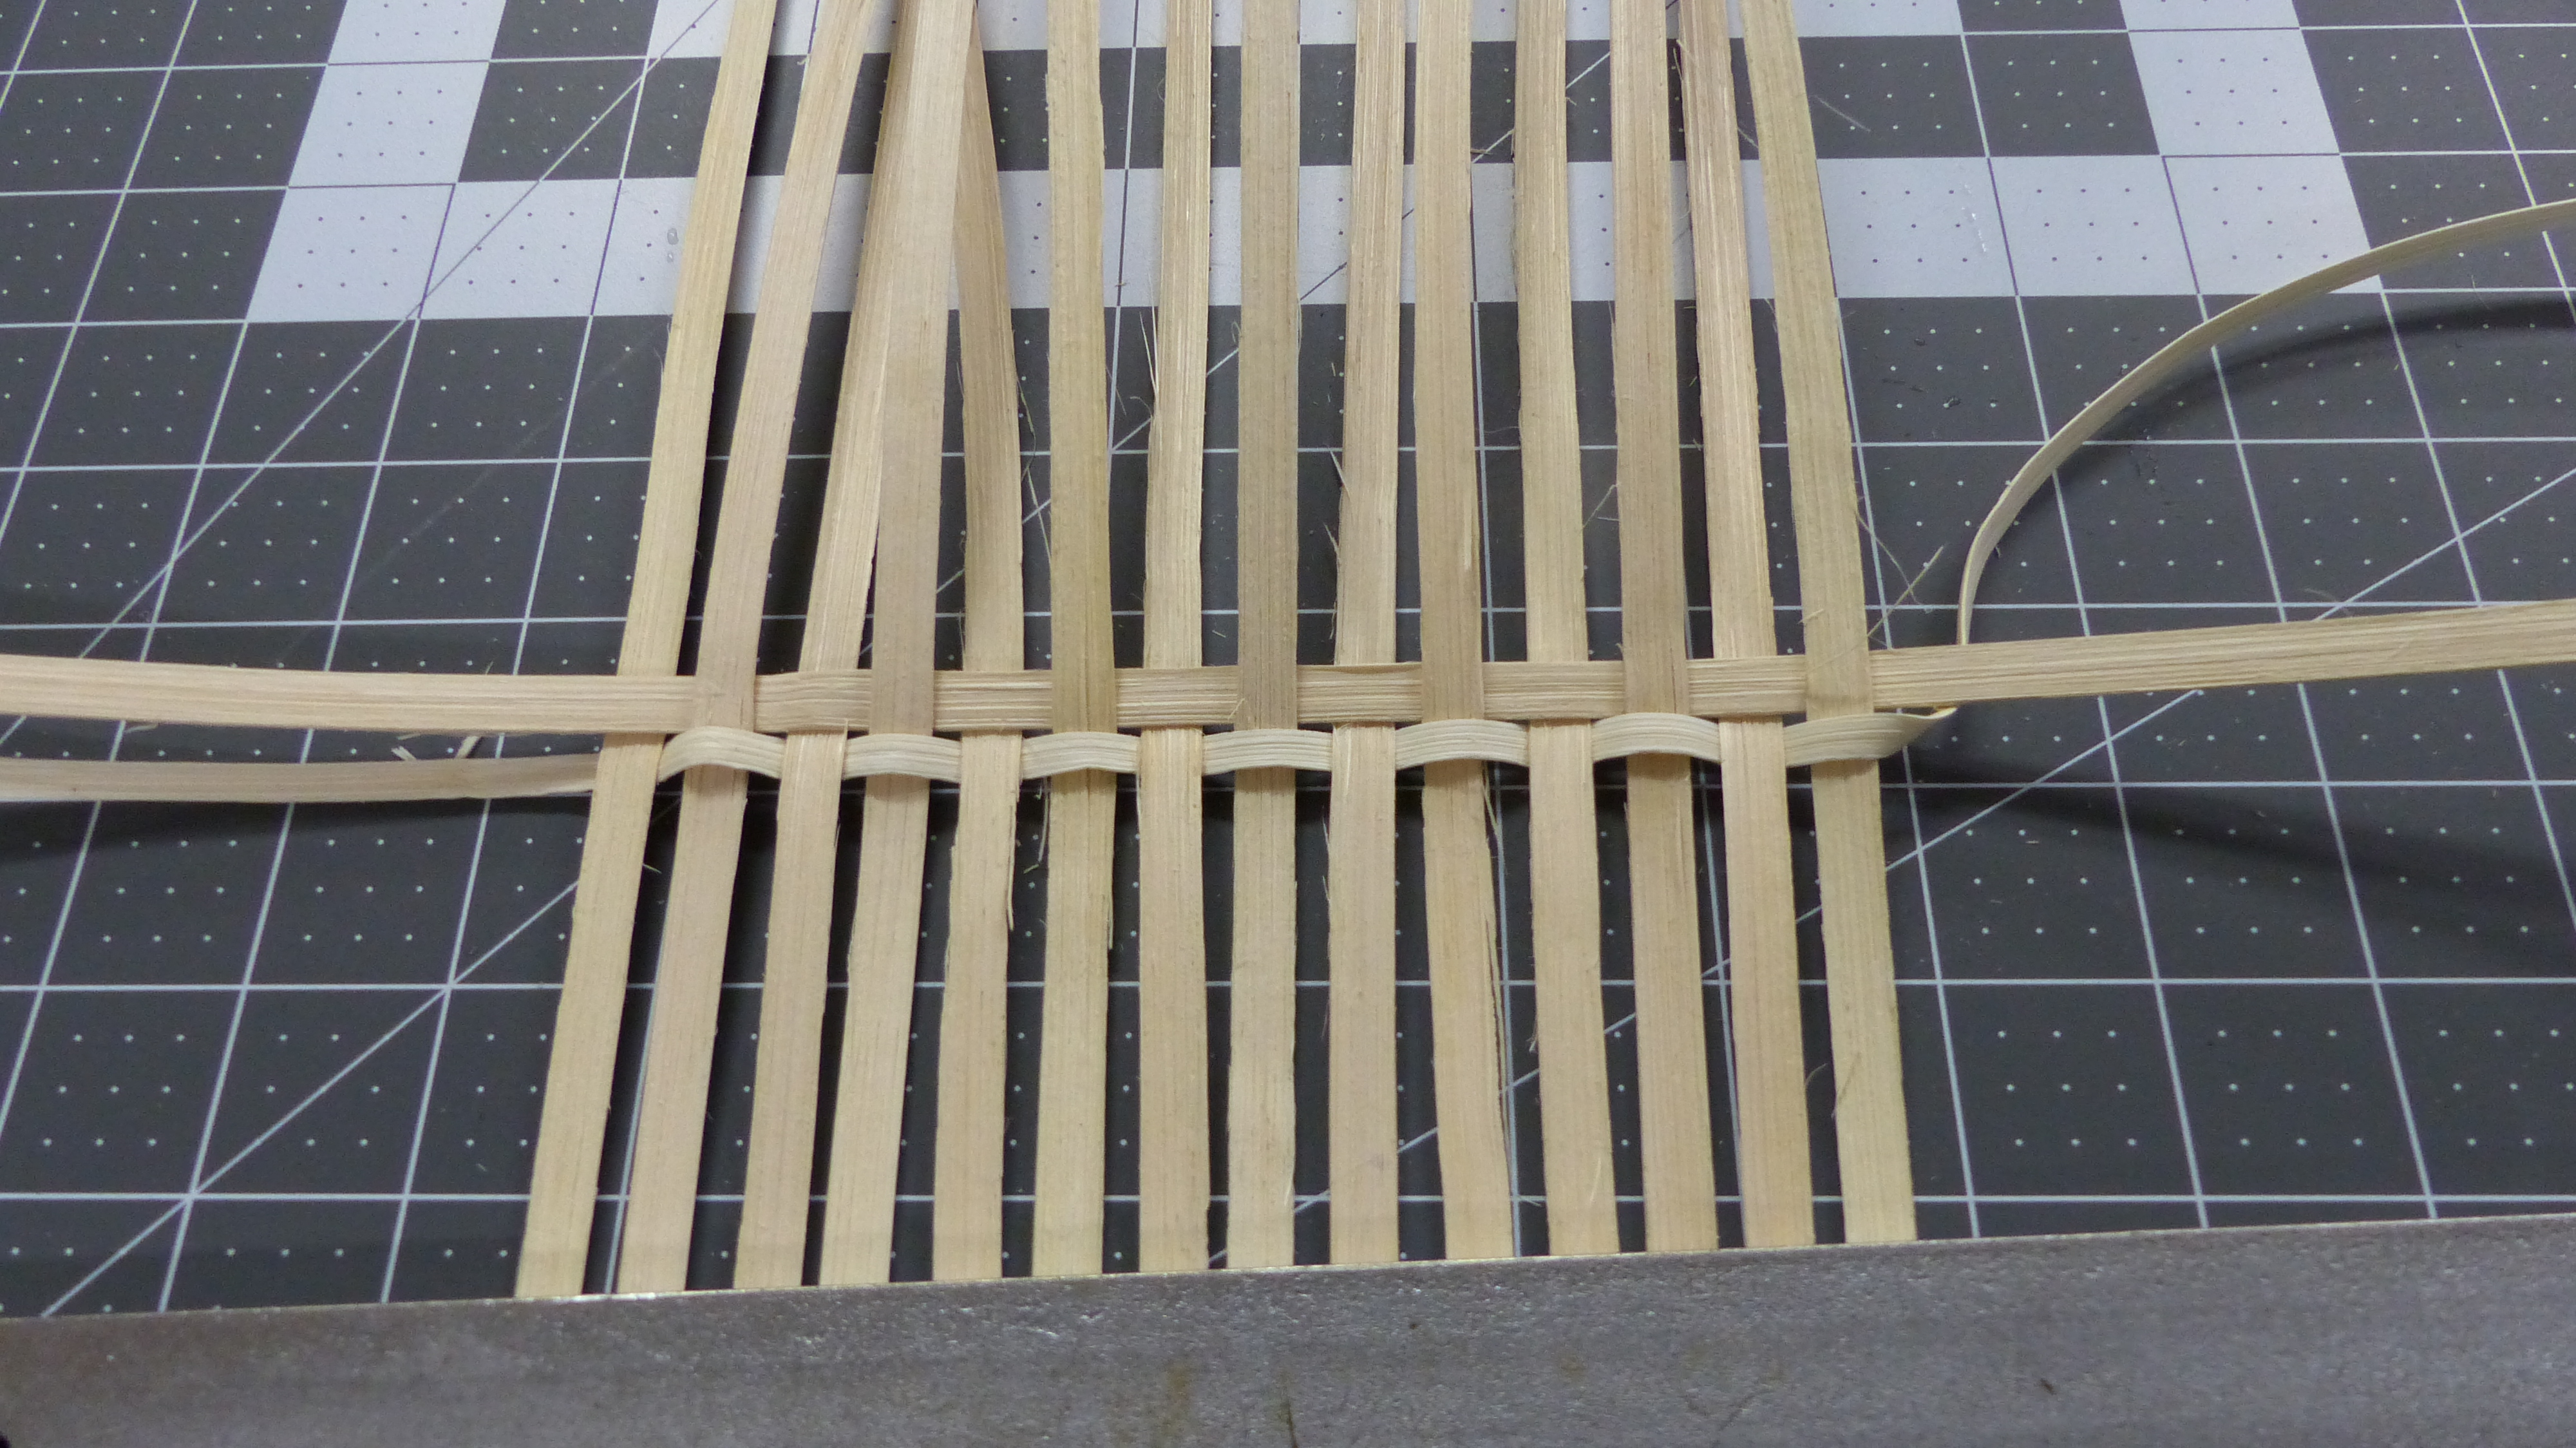
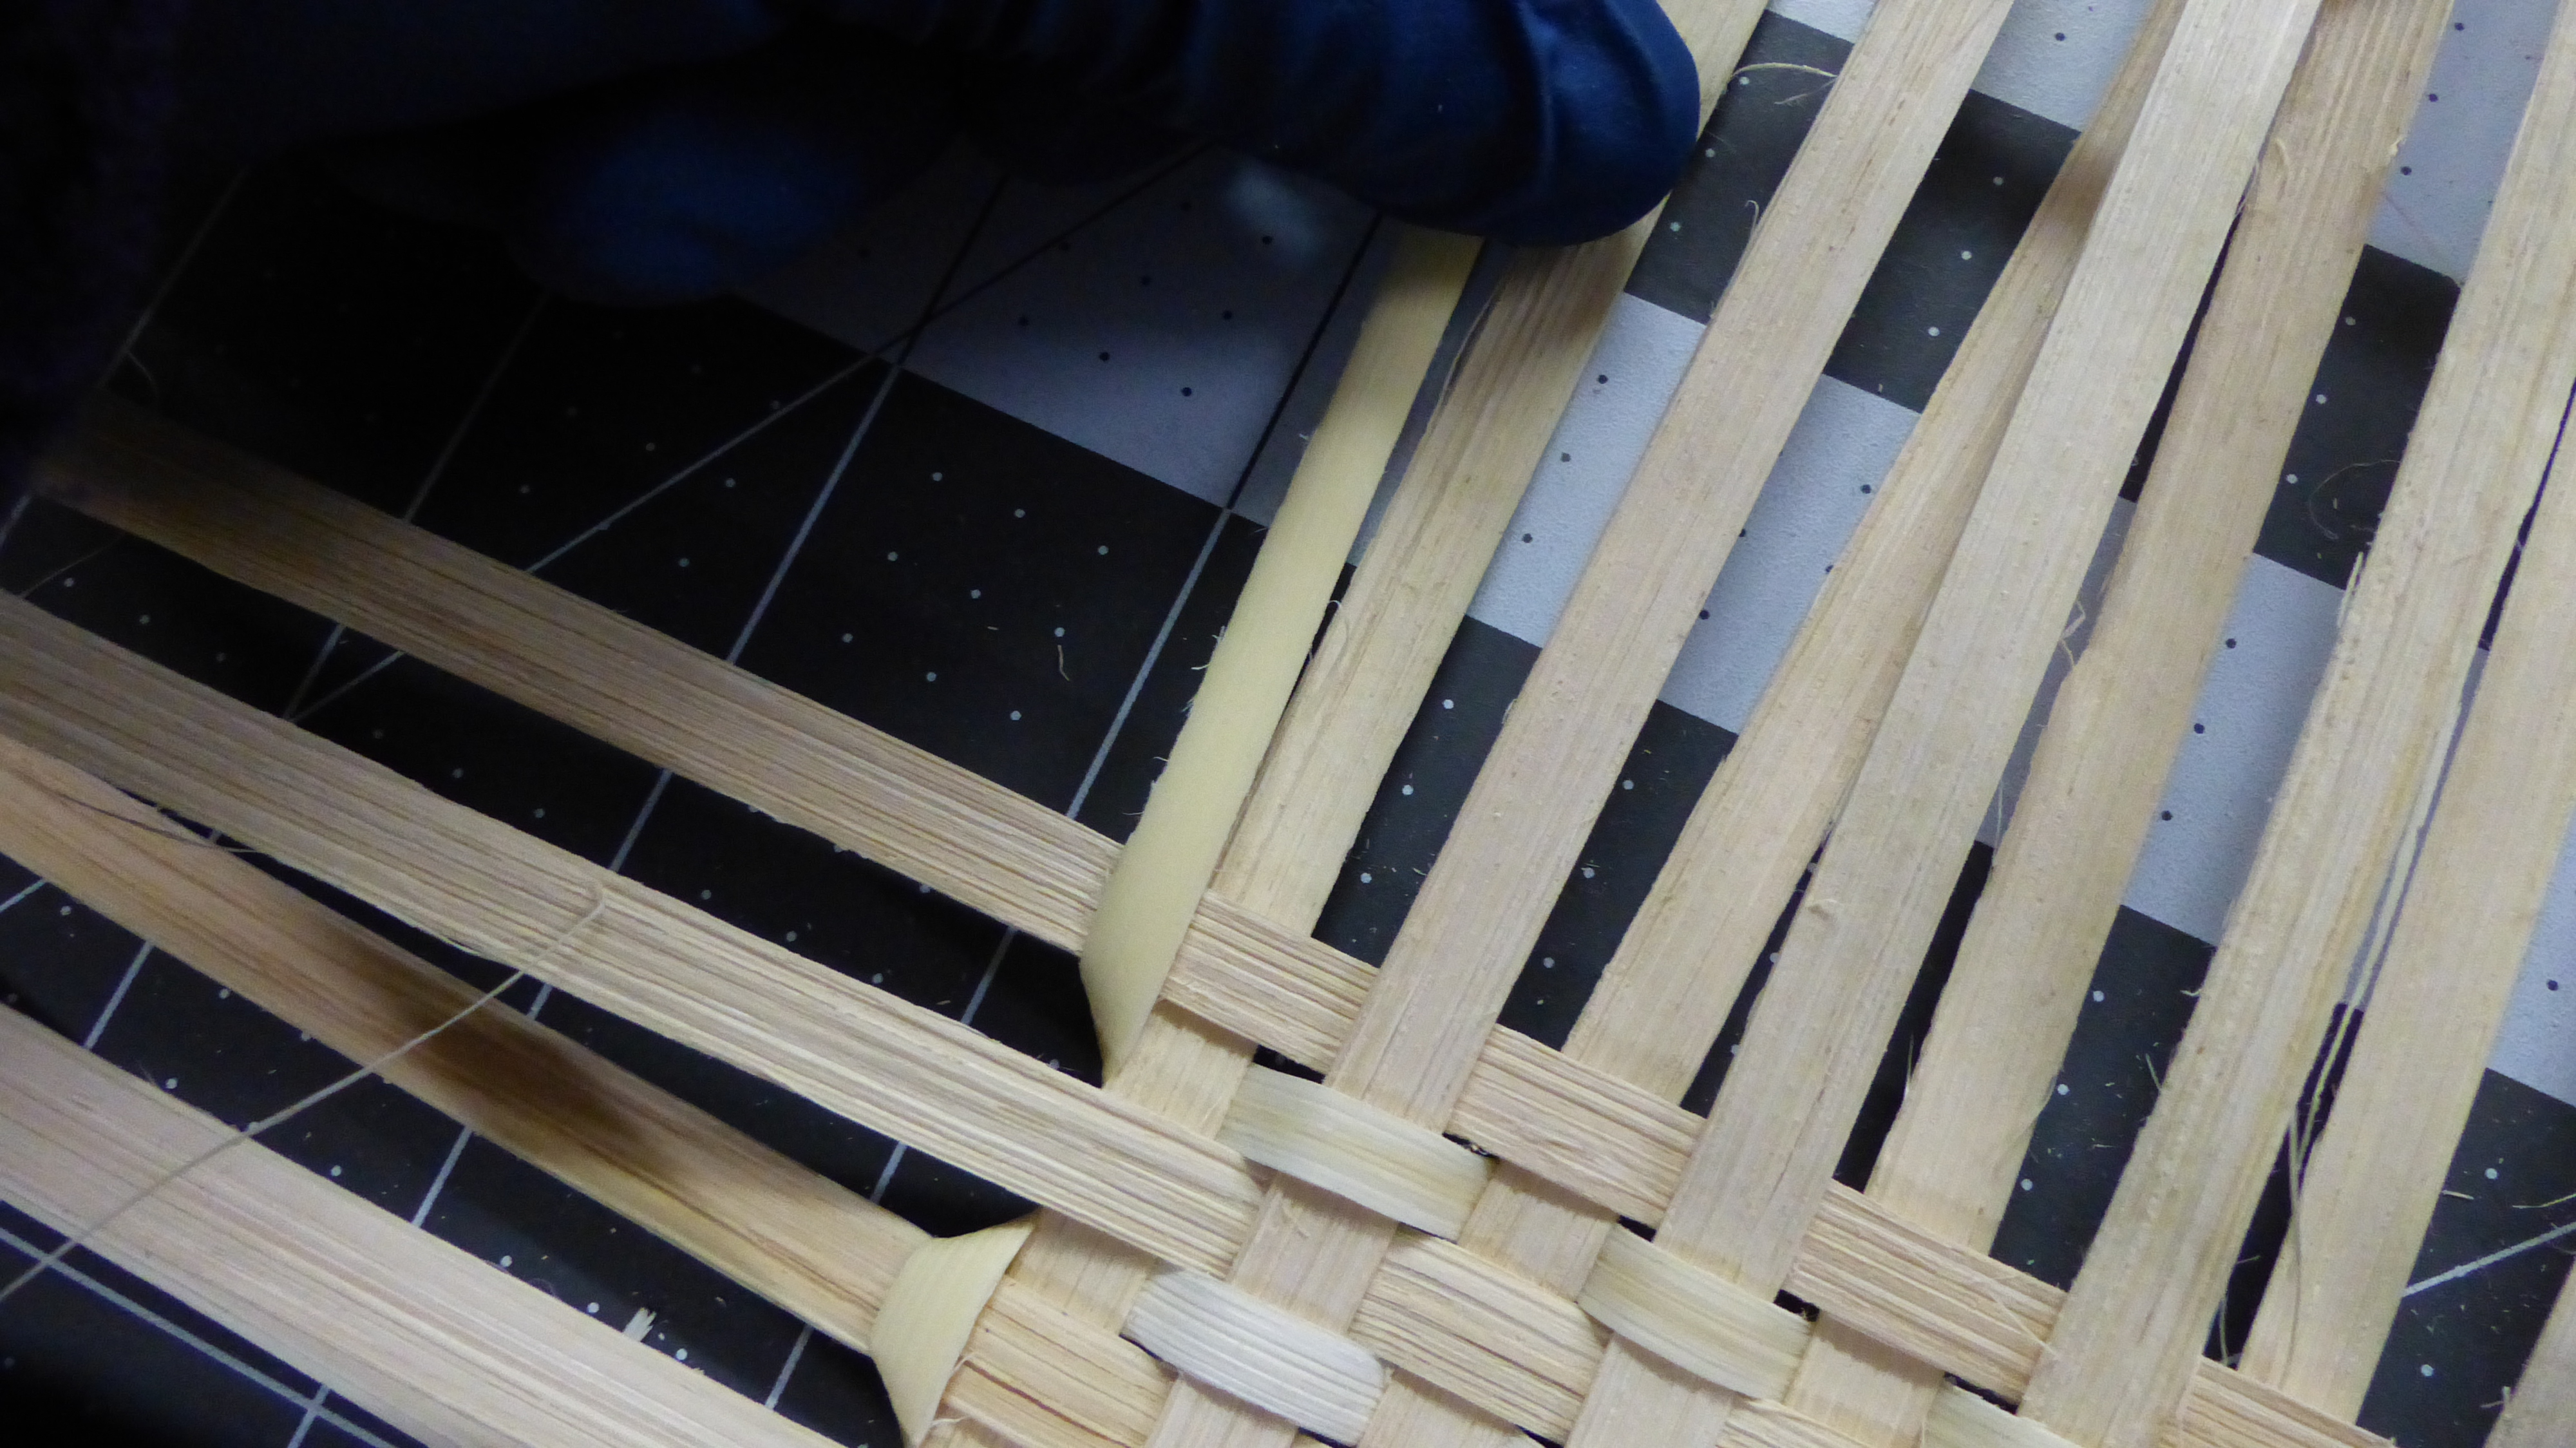
With the filler laying at rest, take the first stake, weave it in directly above the filler row. Maintain the vertical stake spacing and keep the horizontal stake snug to the filler.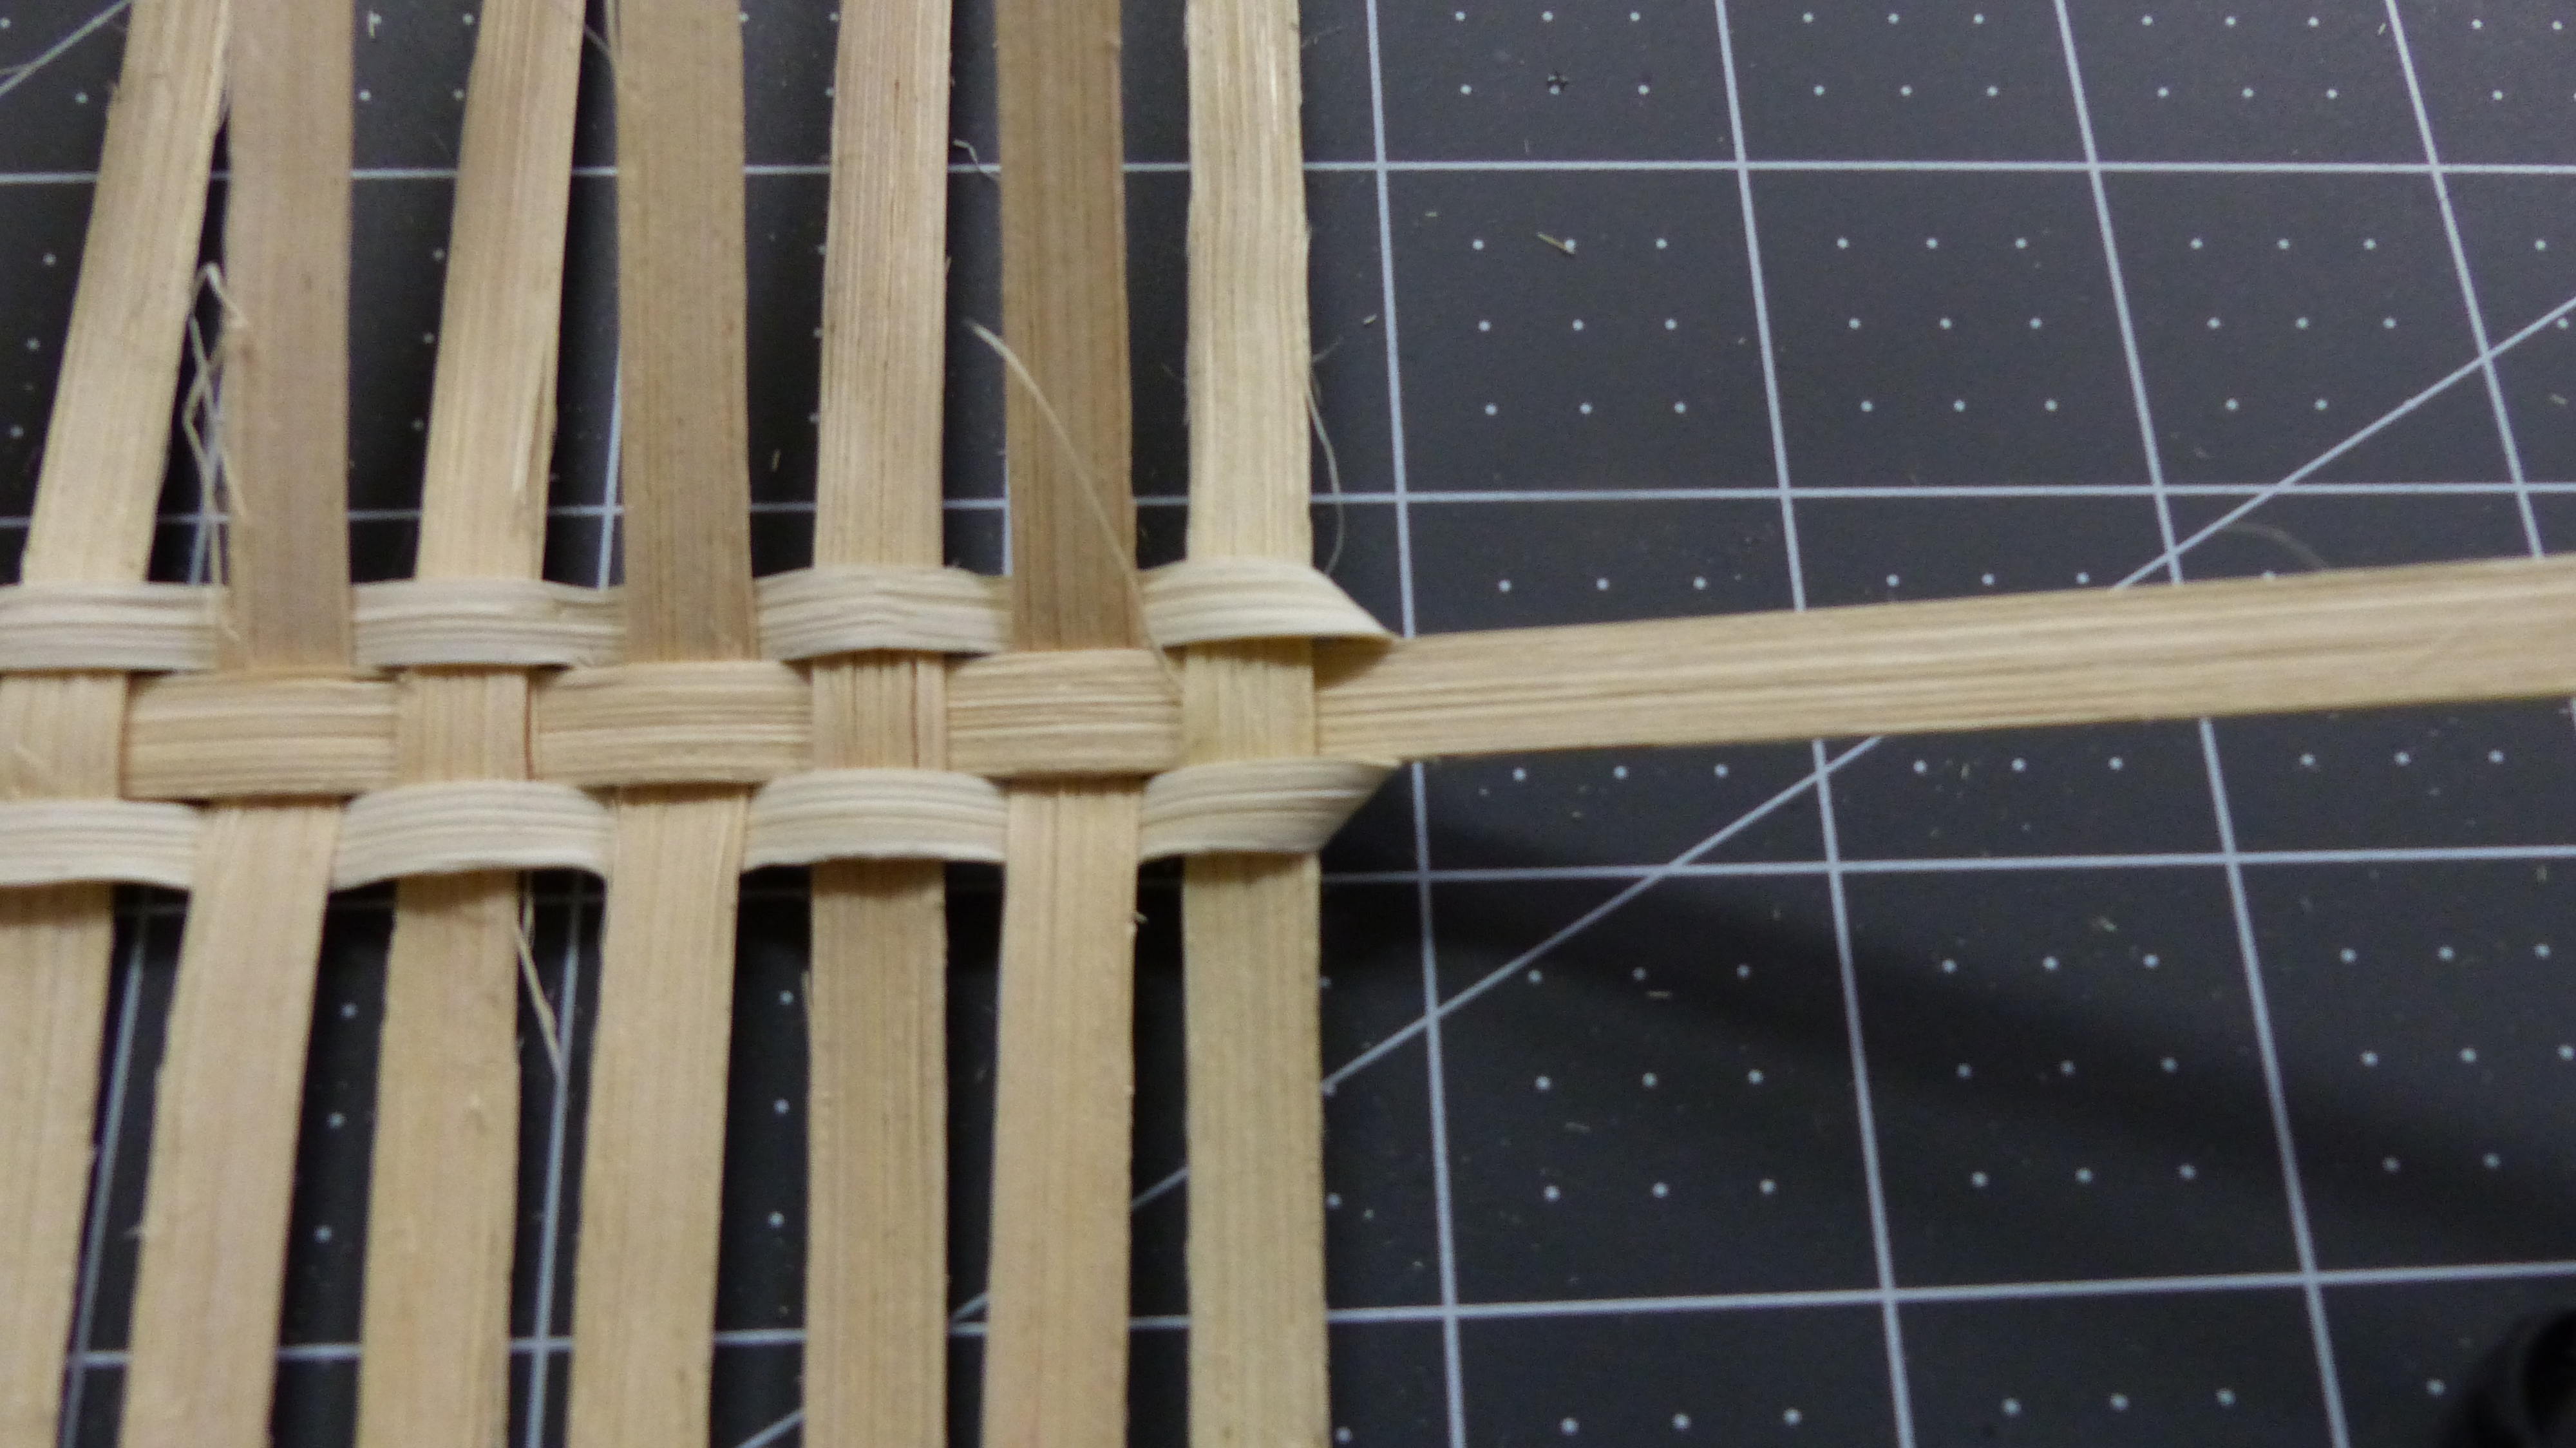
Bring the filler around the horizontal stake just woven, mitering the corners as shown above and in the next two photos. Notice that if the filler wove over the last vertical stake, the filler will weave around and under the horizontal stake. If filler wove under the last vertical stake, the filler will weave around and over the horizontal stake.
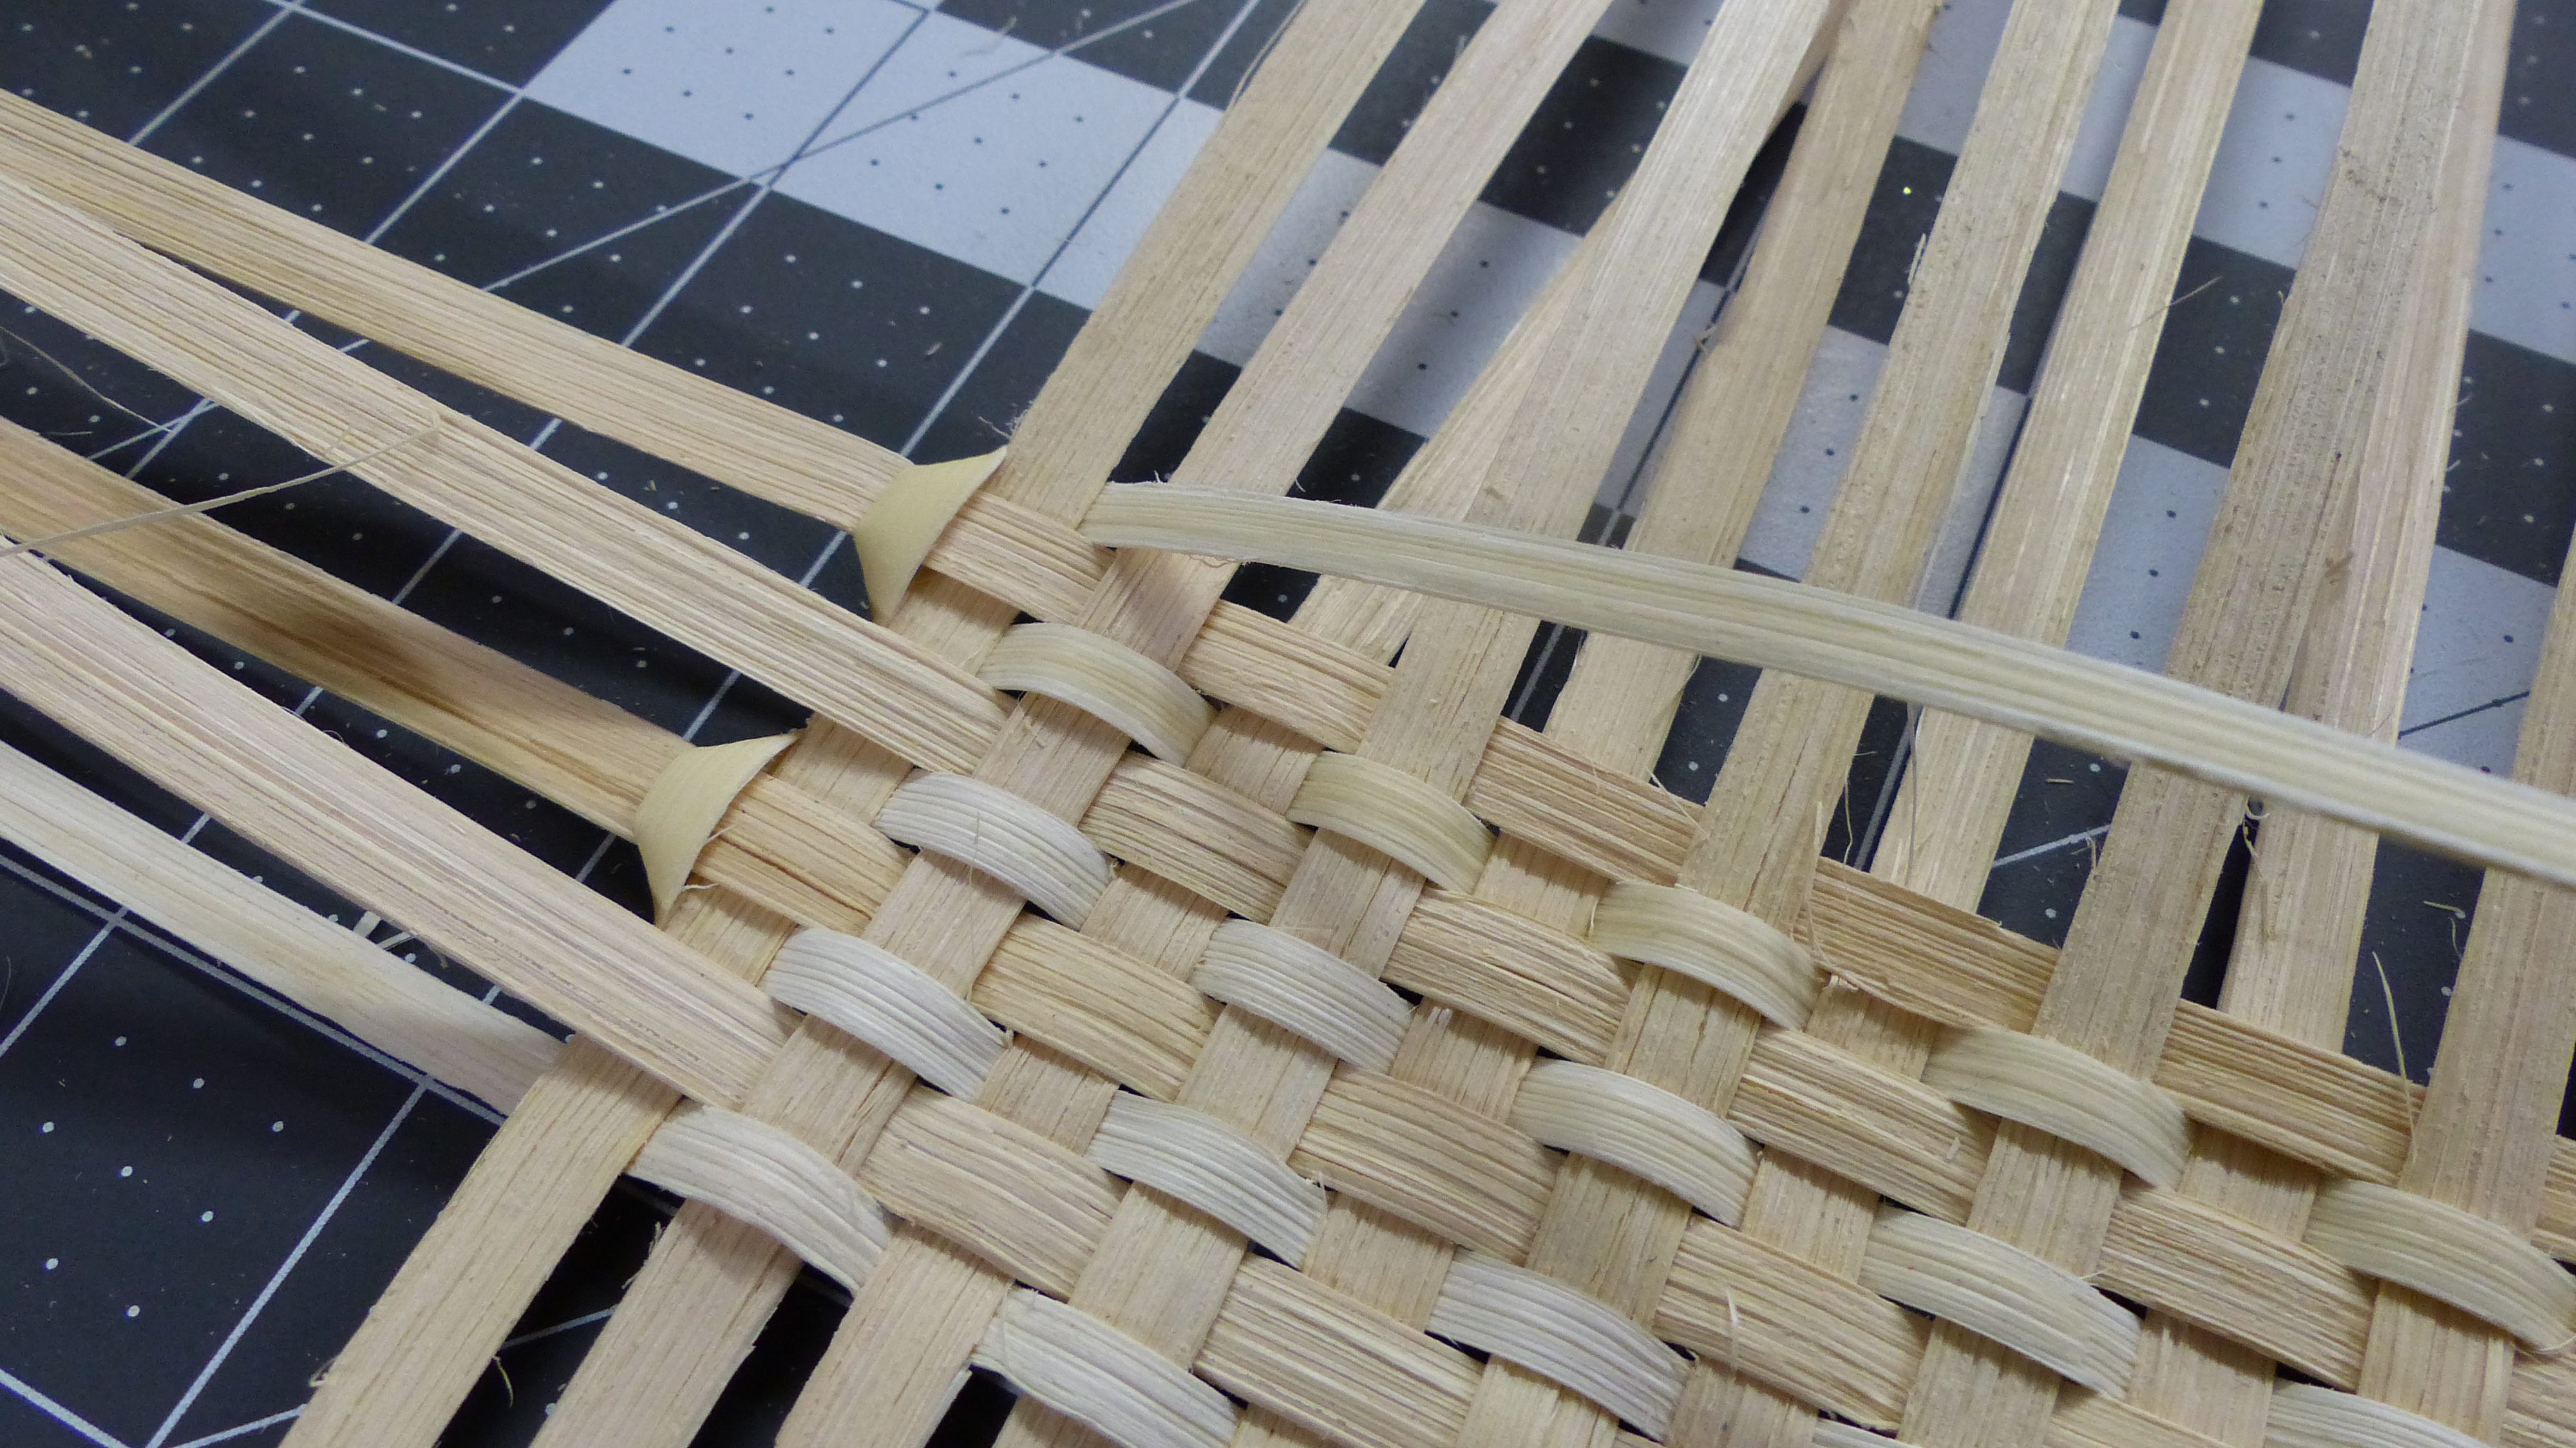
Weave the filler back down the length of the base. Continue to build the base by weaving in a stake, bringing the filler around the stake,
and weaving it back the length of the base. Repeat until all the stakes have been added to the base. Then, weave one more row with the filler (the base begins and ends with a filler row).
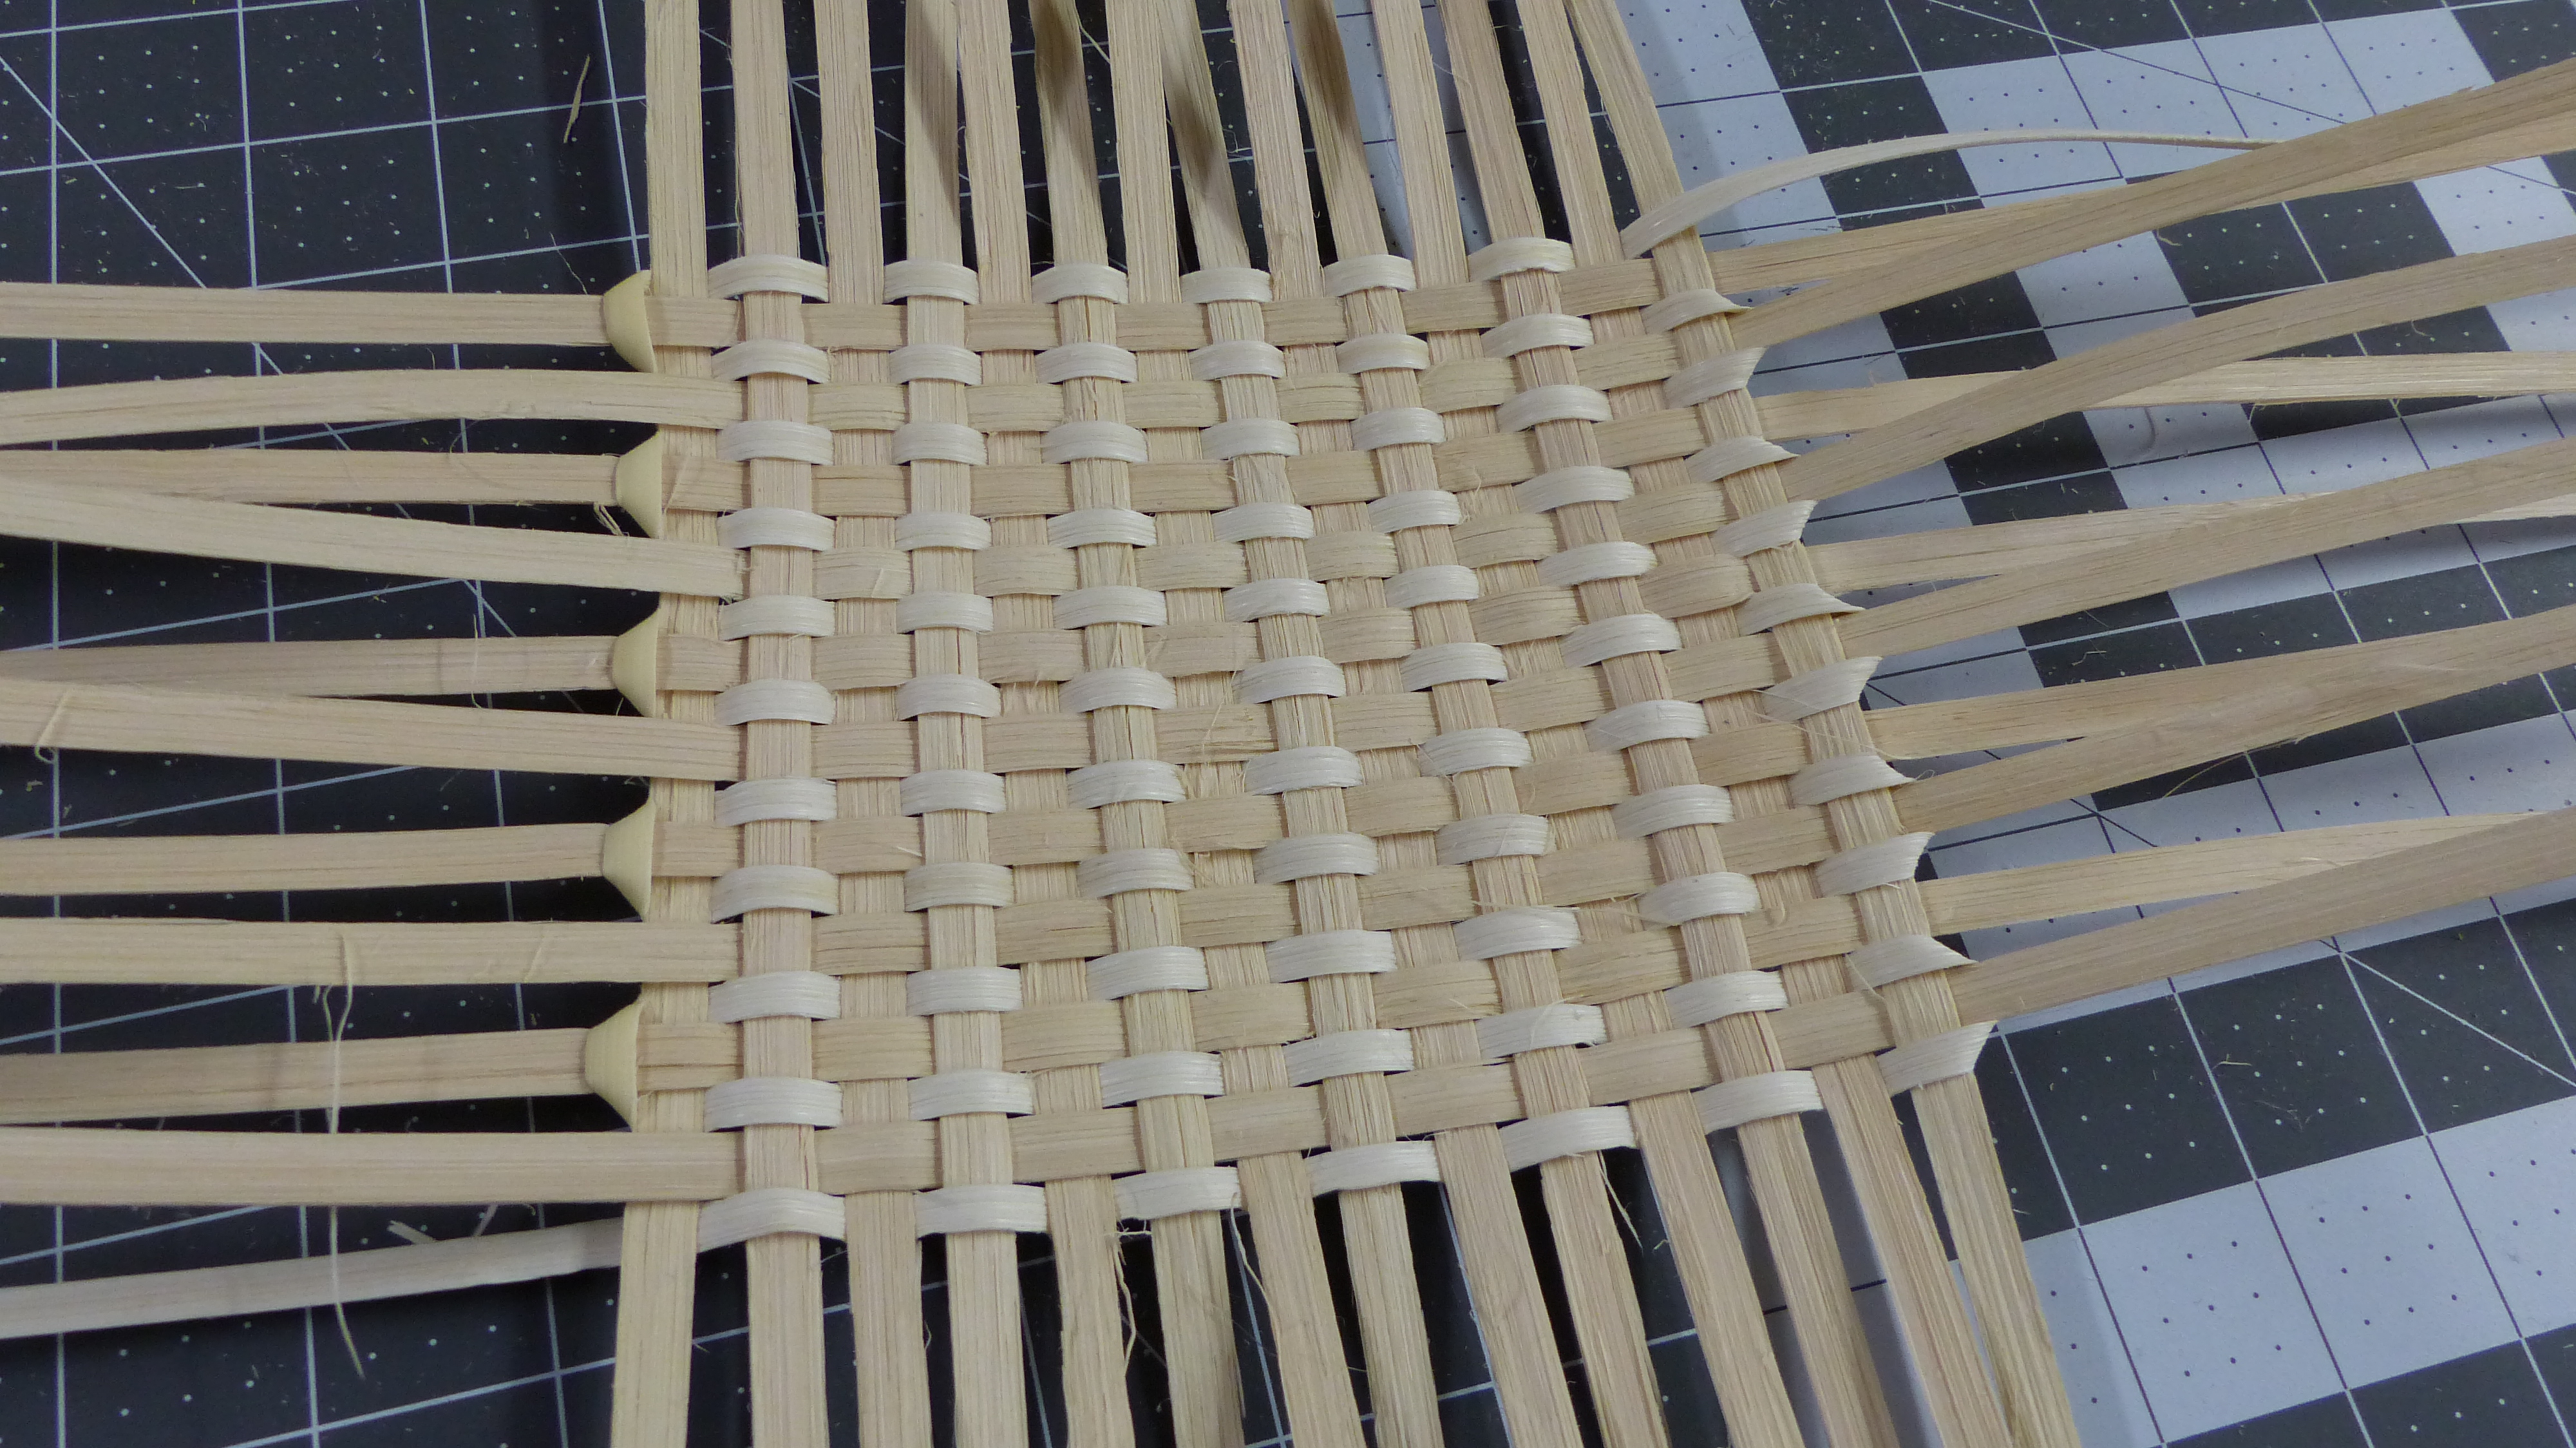
Now take the beginning and end tails of filler and weave one across each end as shown above. And there you have it – done.
I typically twine this base, but it is not necessary.
Use a narrow filler and you have a great base for a twill basket. Use a wider filler for basket with an over 1, under one weave.
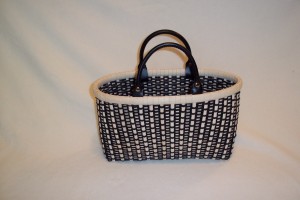
Leather and Lace Tote

I hope you get a chance to try this on a base sometime!
Vert neat process. I’ll try it.