Twining a Round Base
There are a couple of ways to weave a round base on a basket. Today, I am posting my tutorial on how to twine a perfectly round base with round reed on flat or flat oval spokes. I took lots of pictures and I am just going to start at the very beginning. I will post some pictures of baskets with twined round bases at the end of the post.
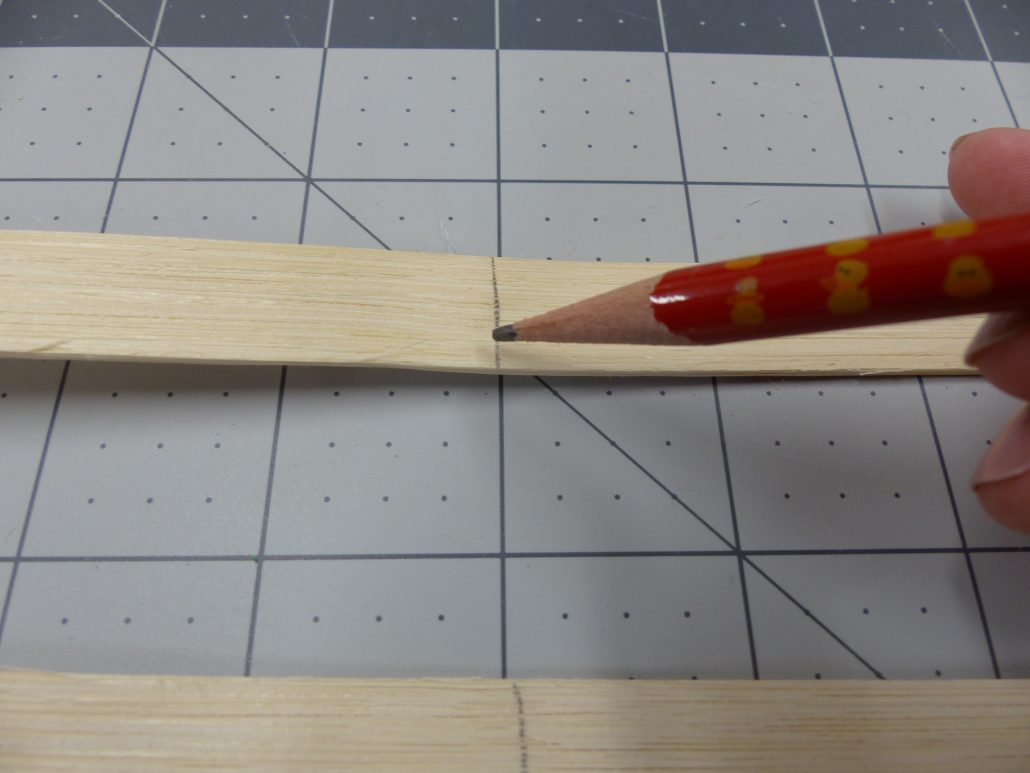
First, mark the centers on the spokes (on the rough or wrong side).
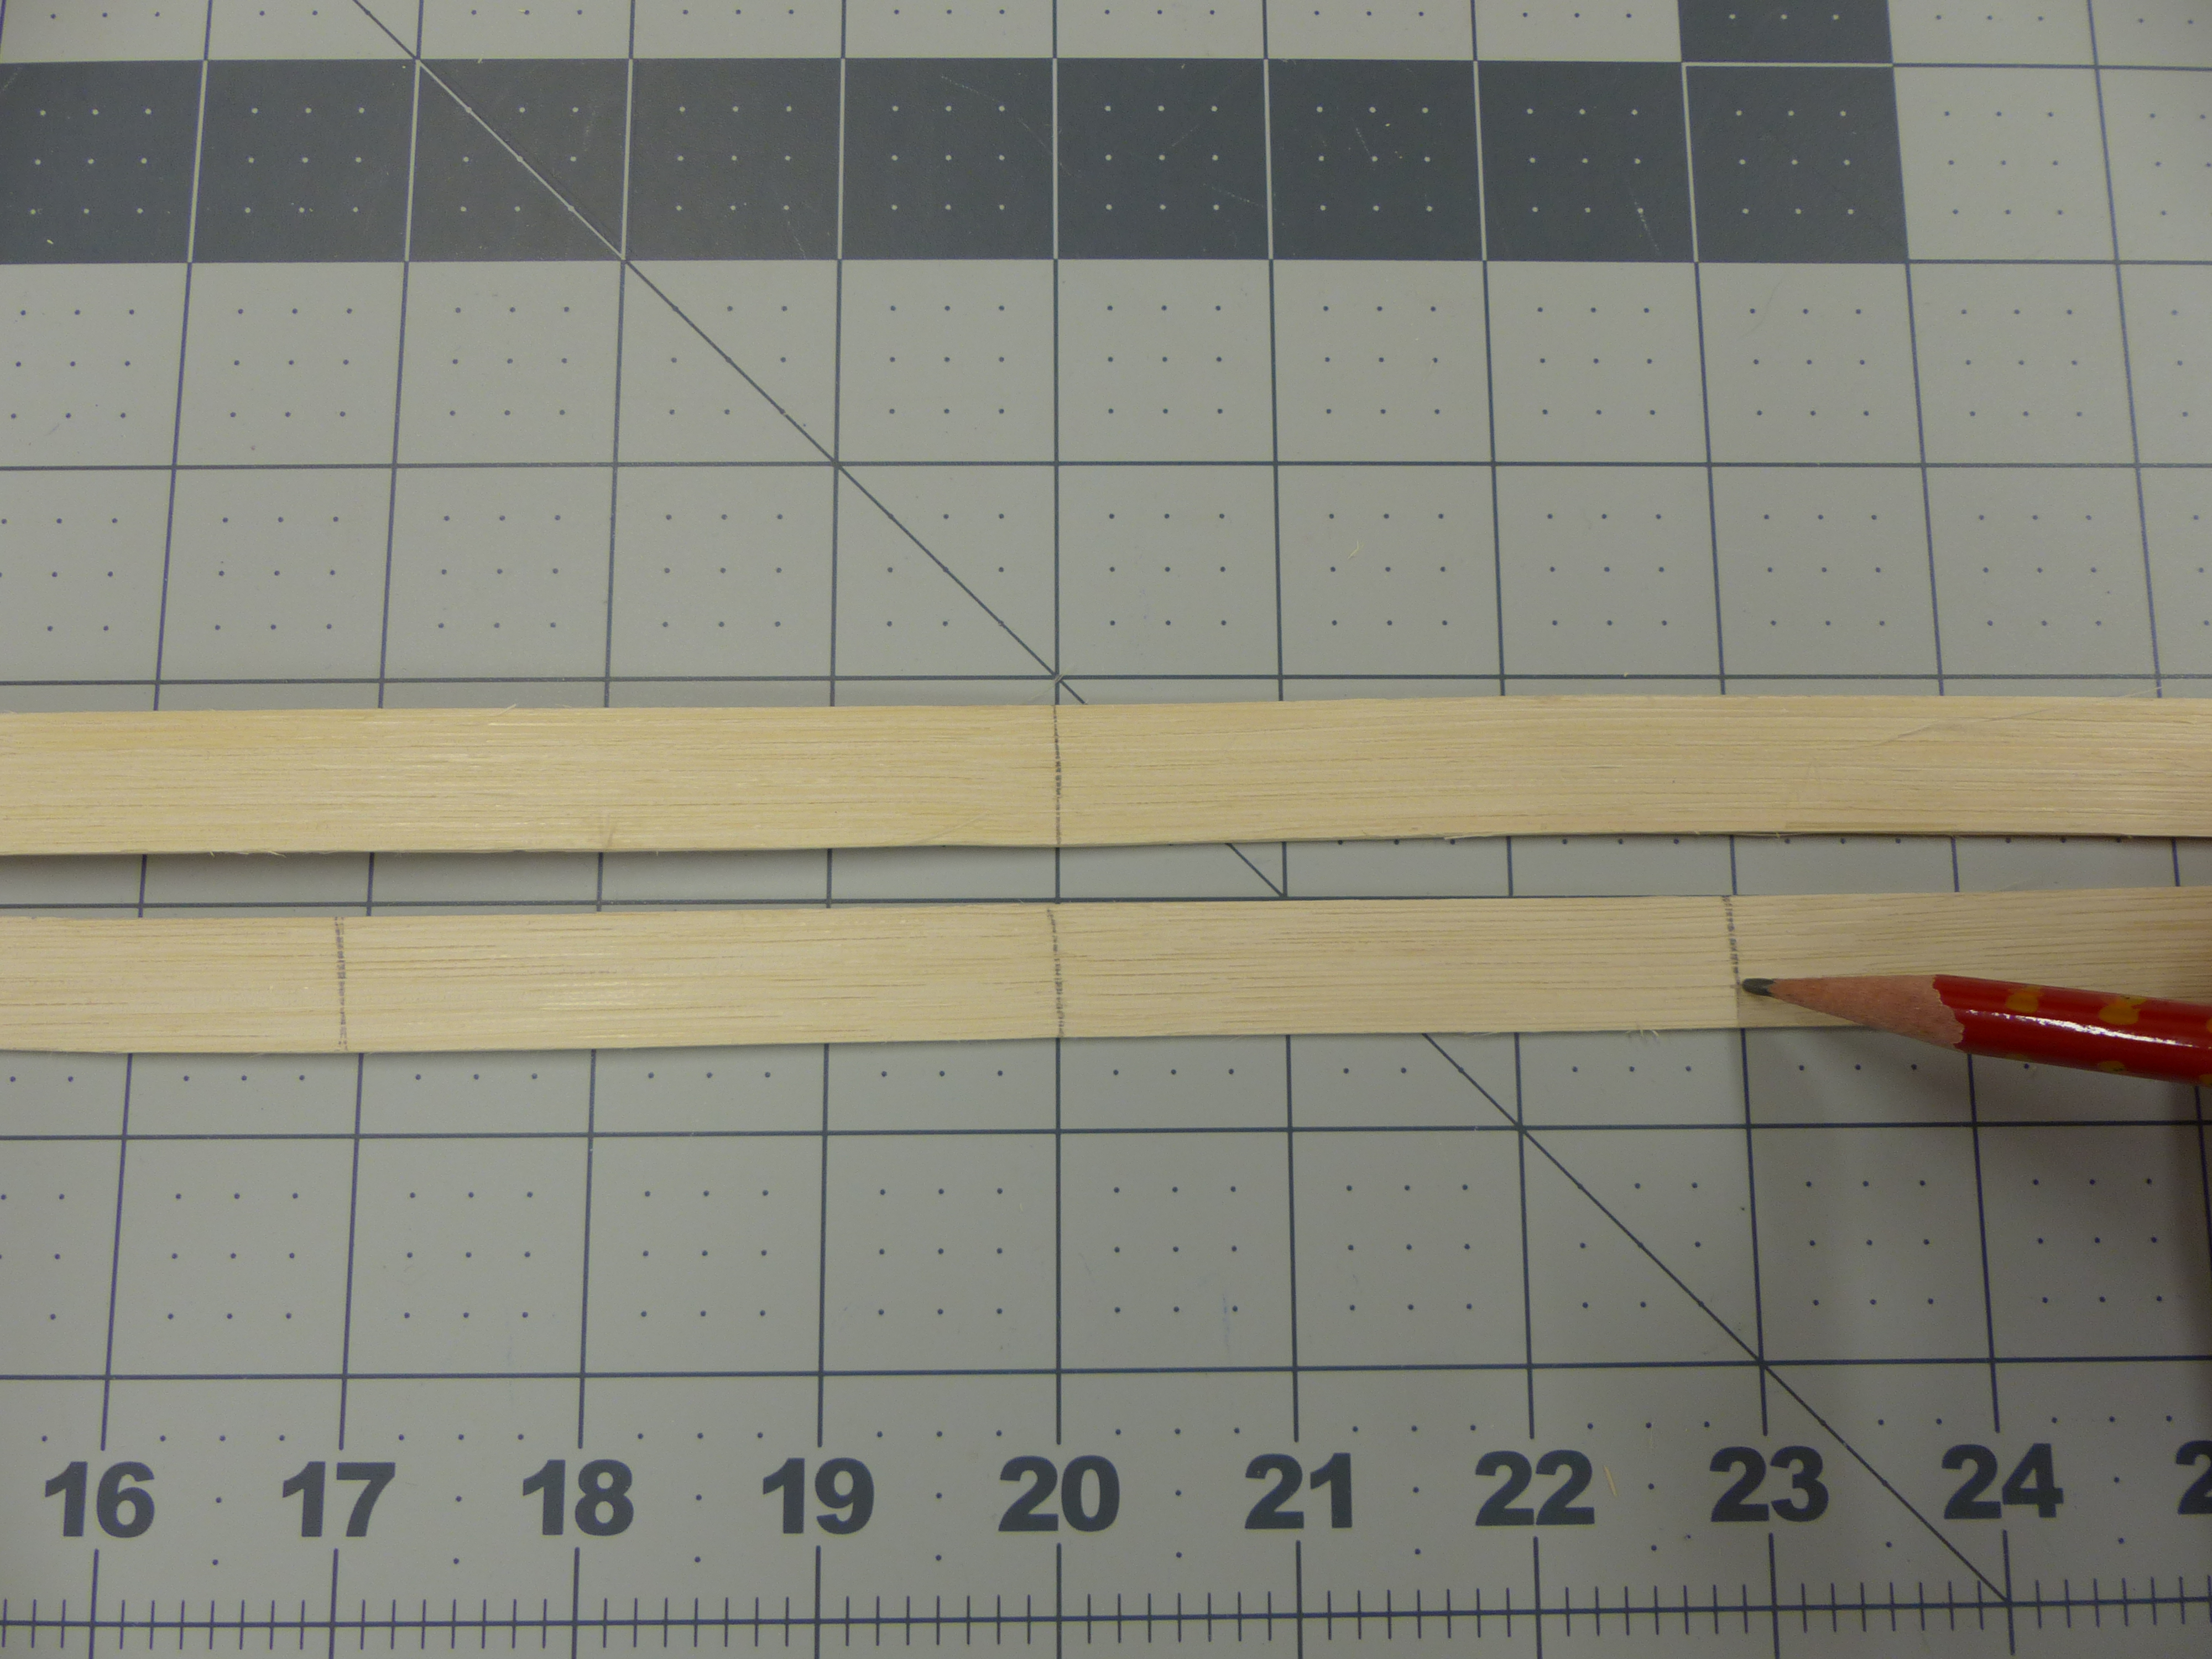
I am making a rather large basket with a total of twenty 1/2″ spokes, so on ten of my spokes (that’s half of them), I will also mark 3″ on each side of center. (We will get back to the ‘what ever for’ in a bit.)
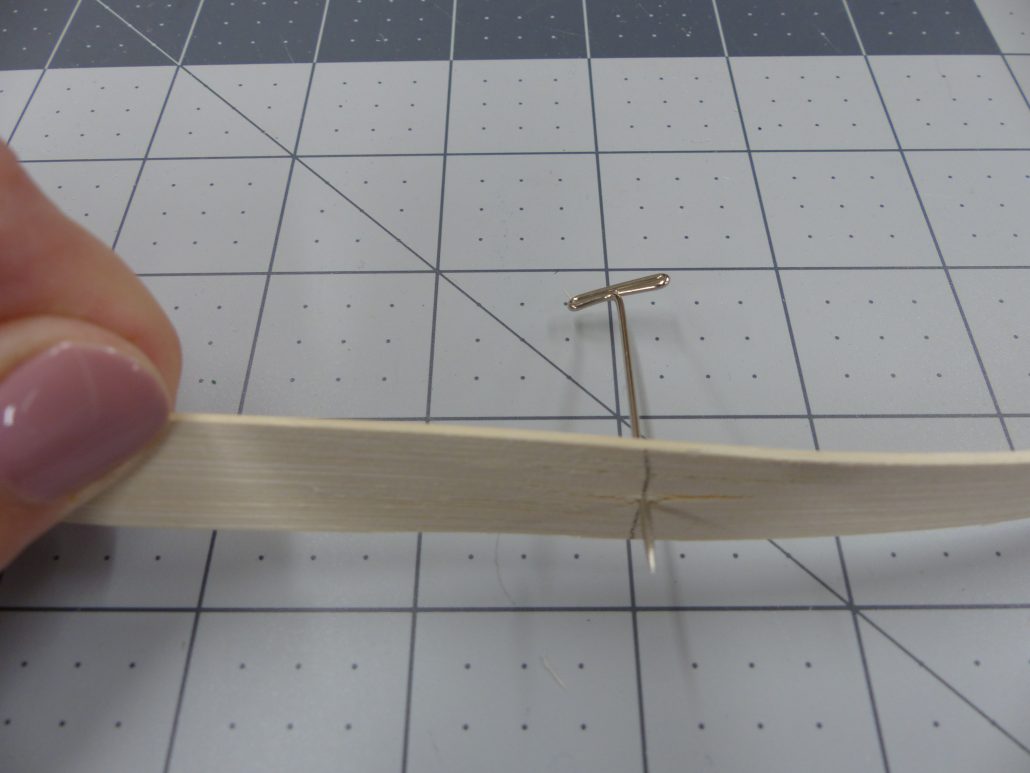
Take a long pin (I like to have several T pins in my weaving tools) and poke it through from the right side to the wrong side at the center mark. You will notice that the reed split where I poked the pin through, that’s because I didn’t dampen my spokes first. I got focused on taking the pictures … by the third spoke, I figured it out and remembered to dip my spokes in water first – no more splitting. 🙂
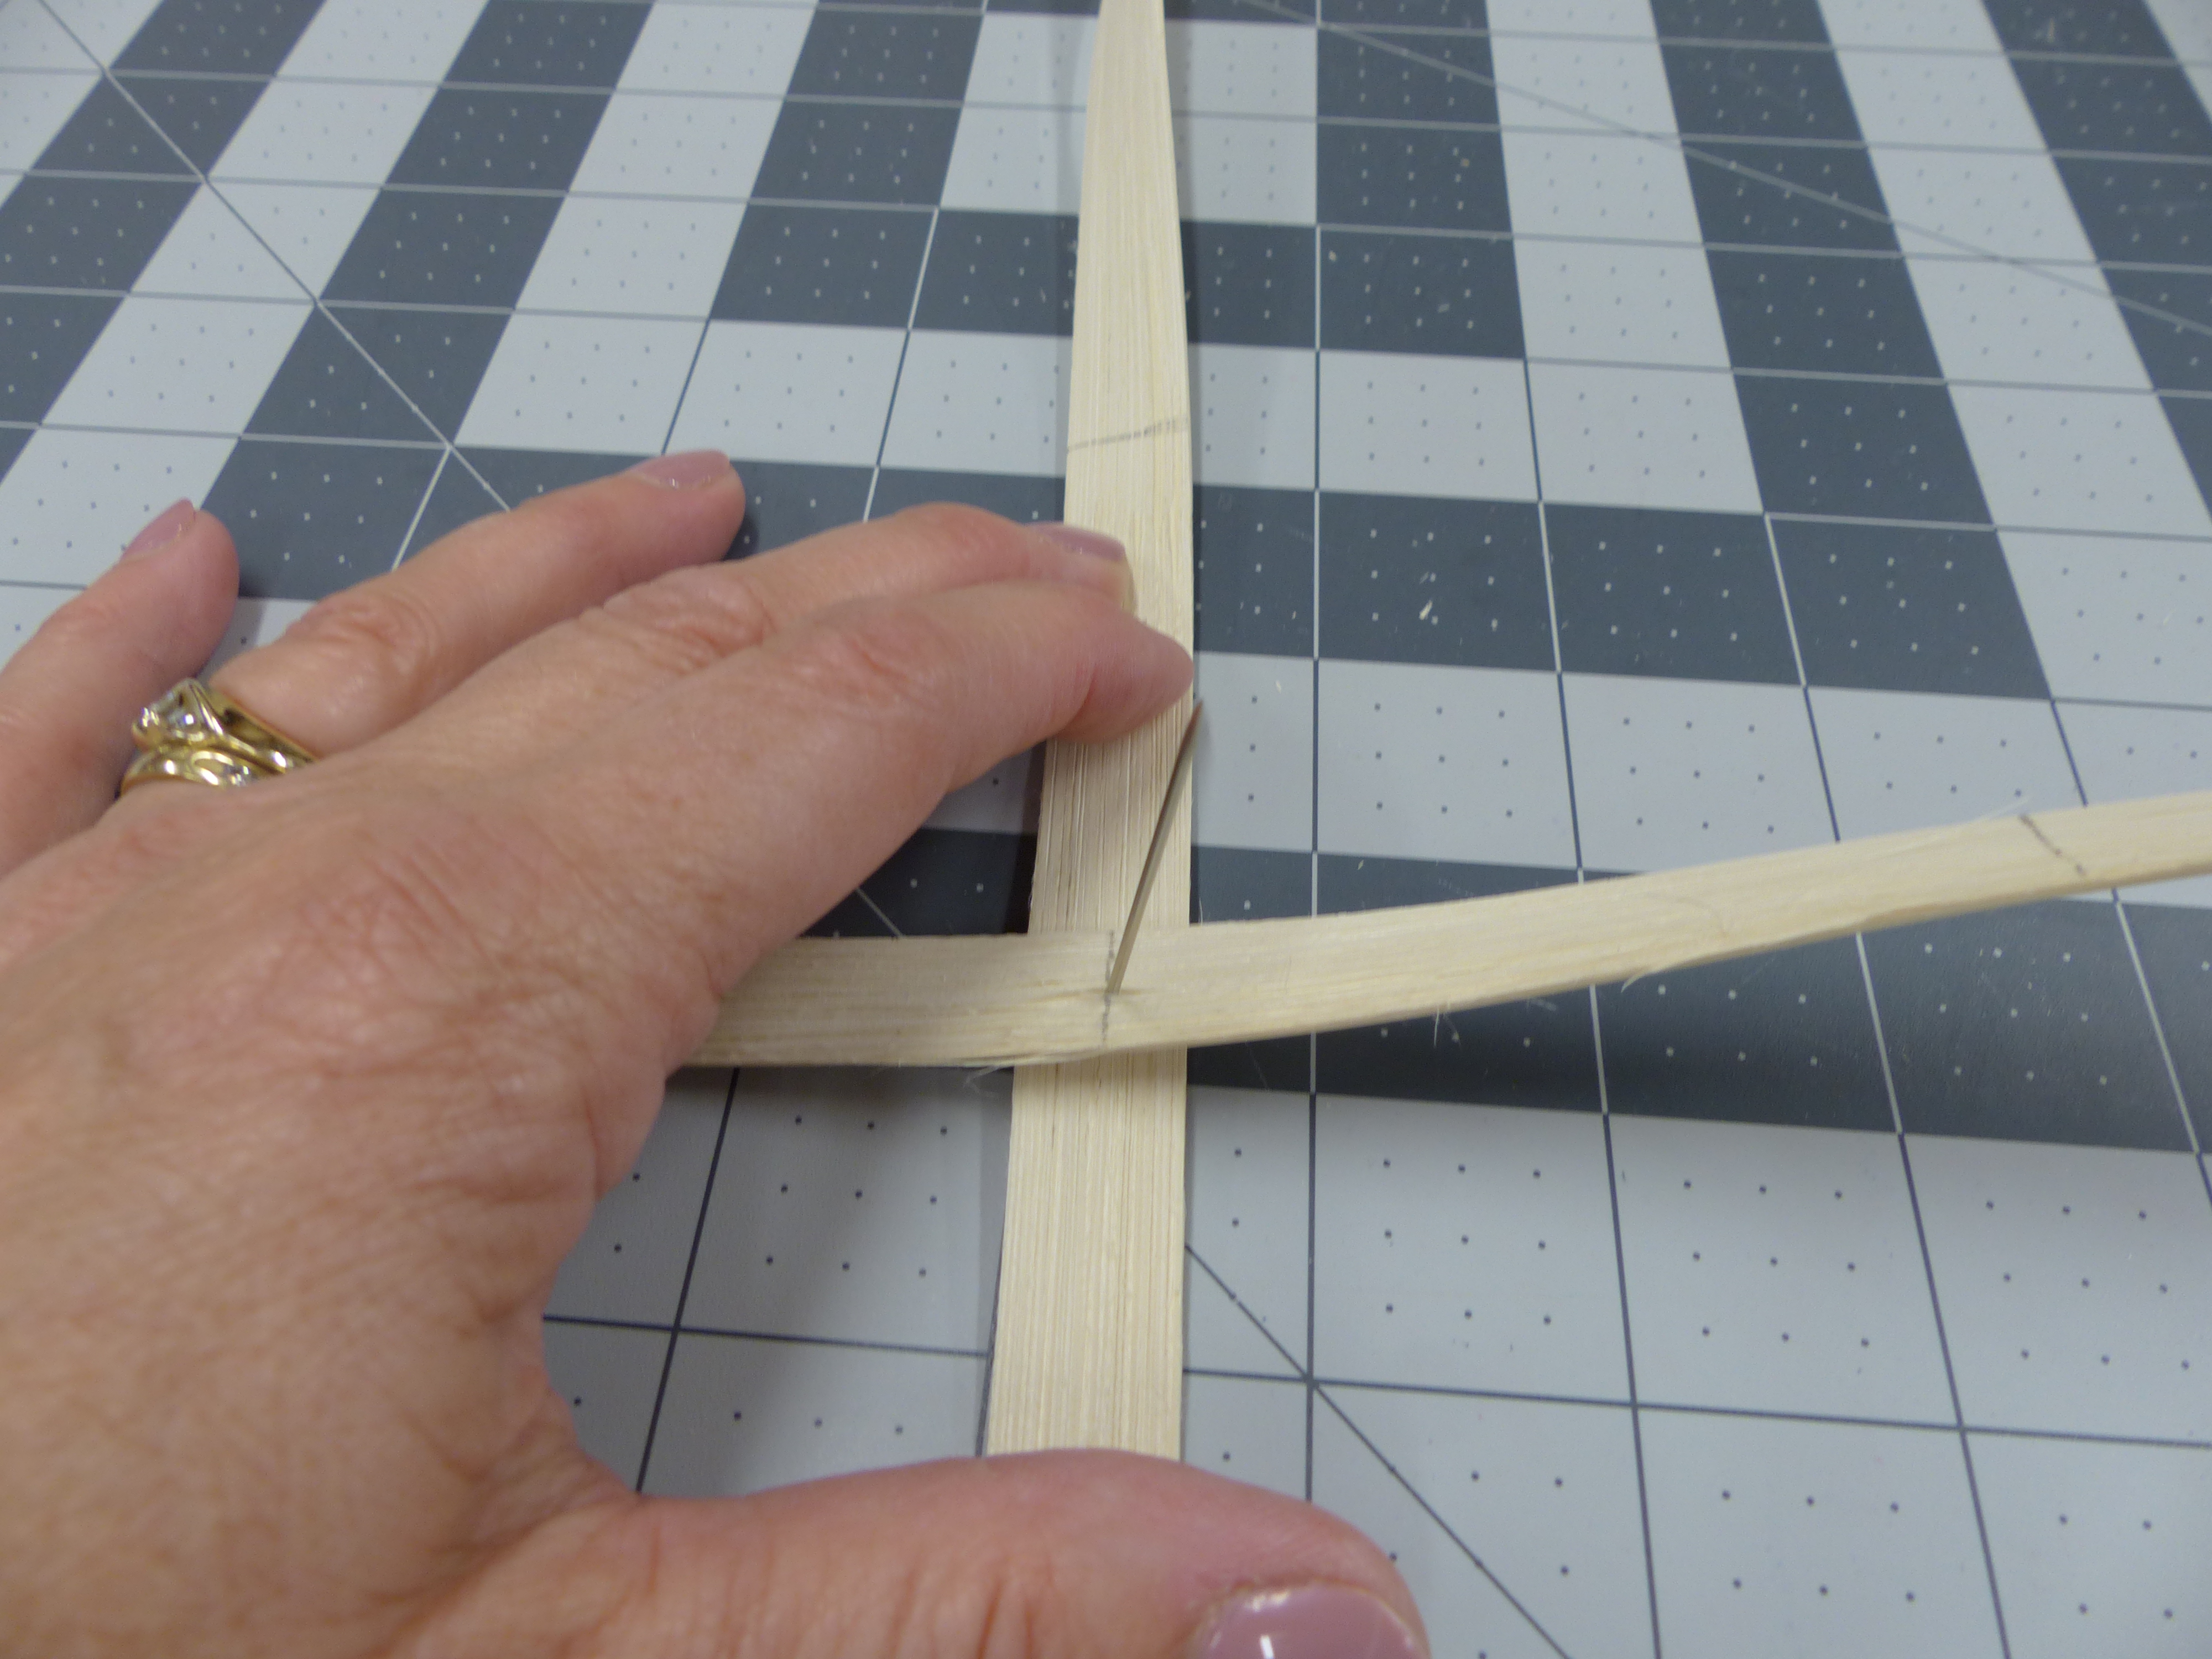
Take a second spoke, poke the pin through it at center and lay it out as shown above.
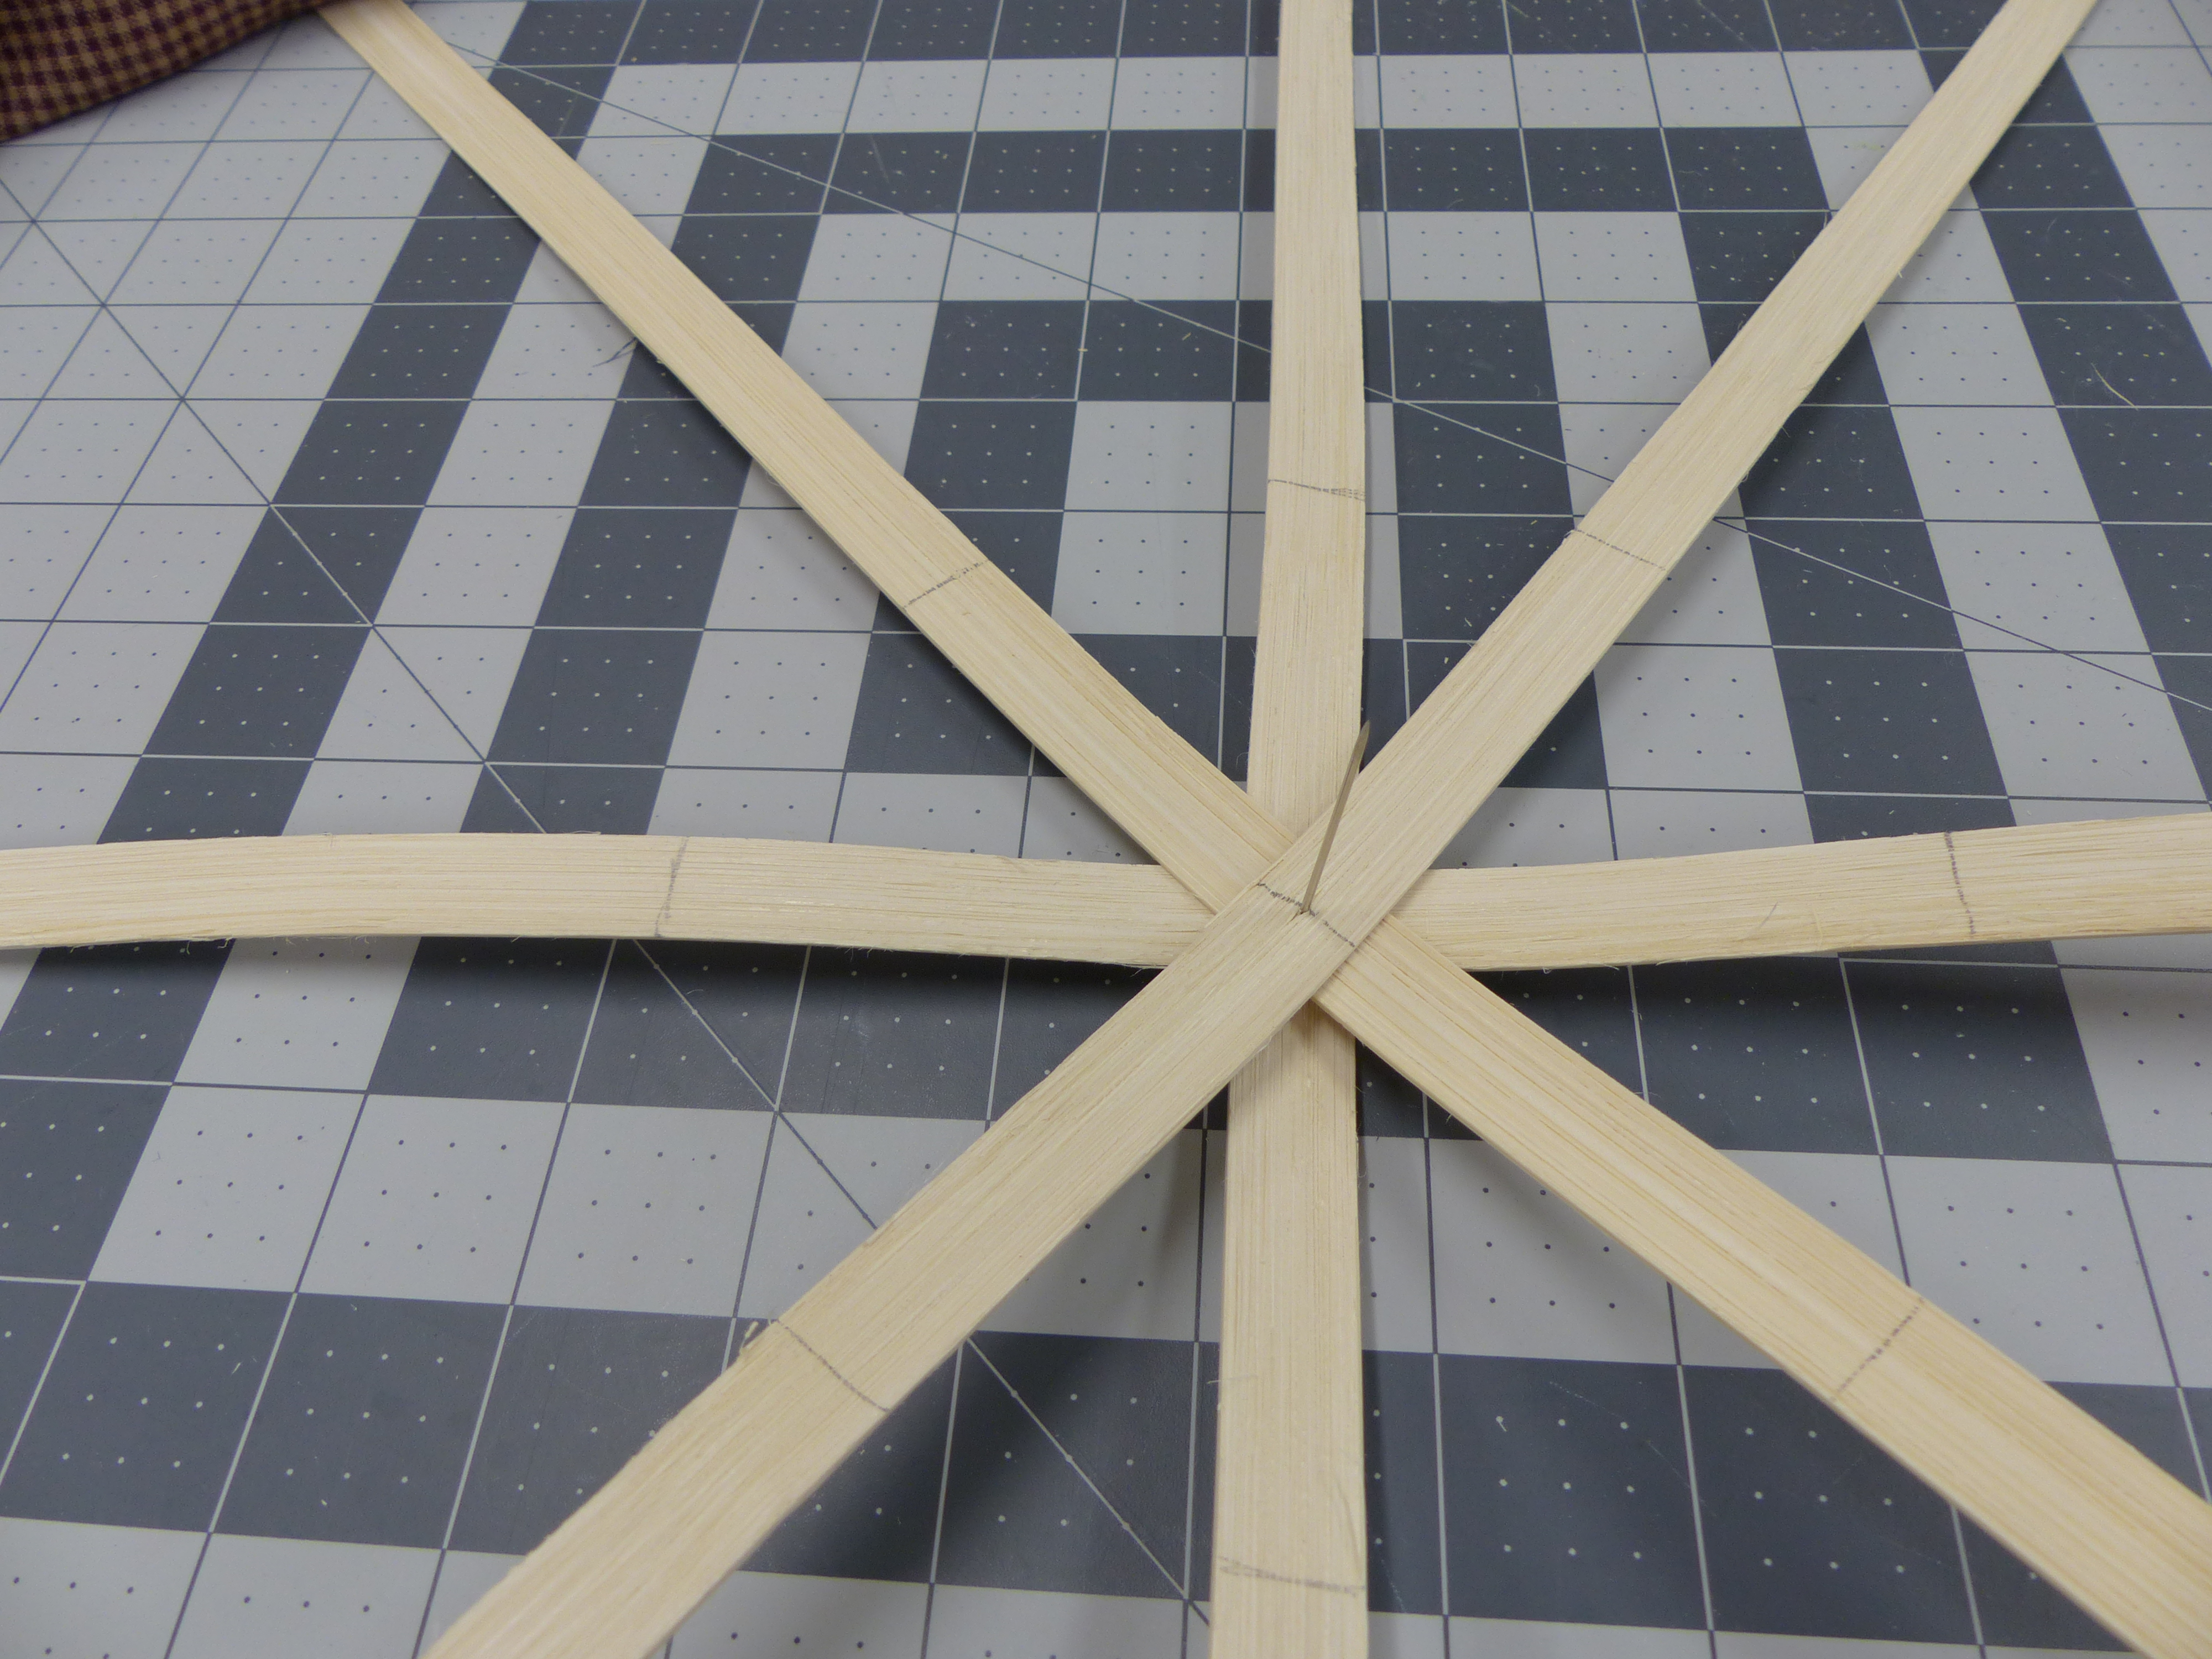
Add in your remaining spokes, alternating and evenly spacing them.
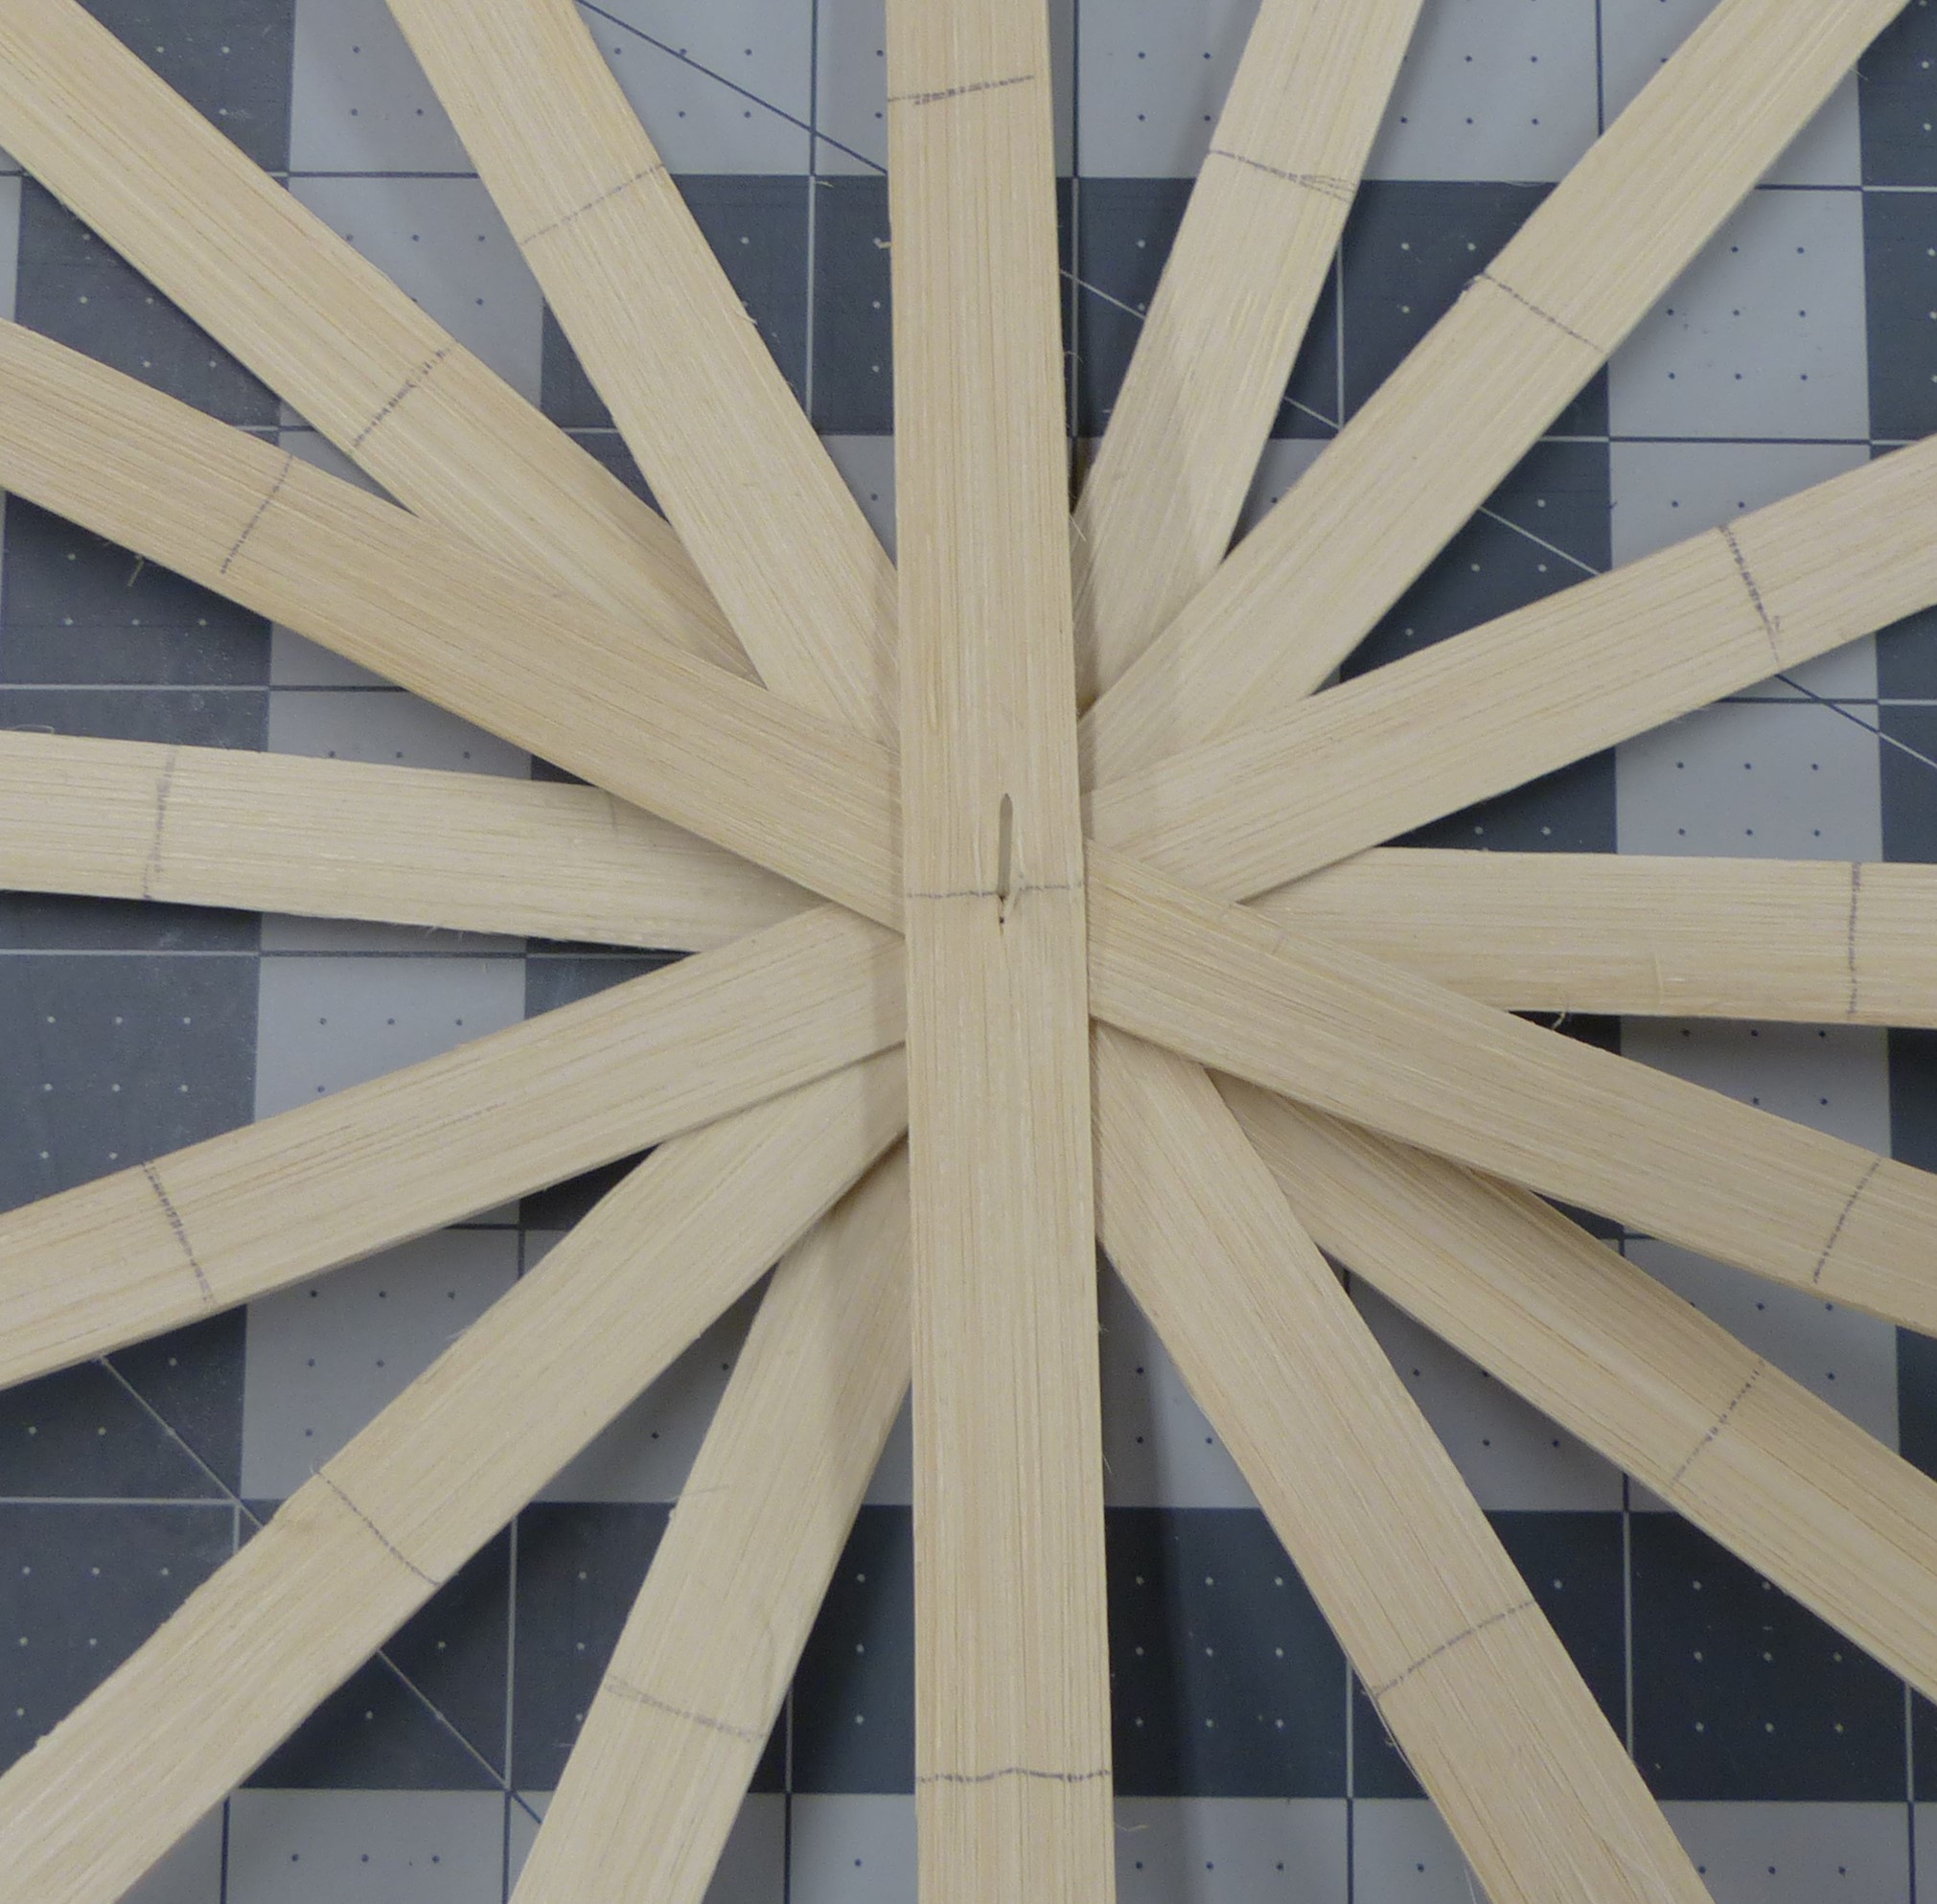
When you have the spokes centered and on the T pin, you will be ready to weave. And look at that beautiful circle, that’s the line you will use as a guide while twining the first row. And that’s the ‘what ever for’ reason you added those secondary marks, a weaving guide!. 🙂
At the end of this post I discuss how to know where to put these secondary marks on your basket.
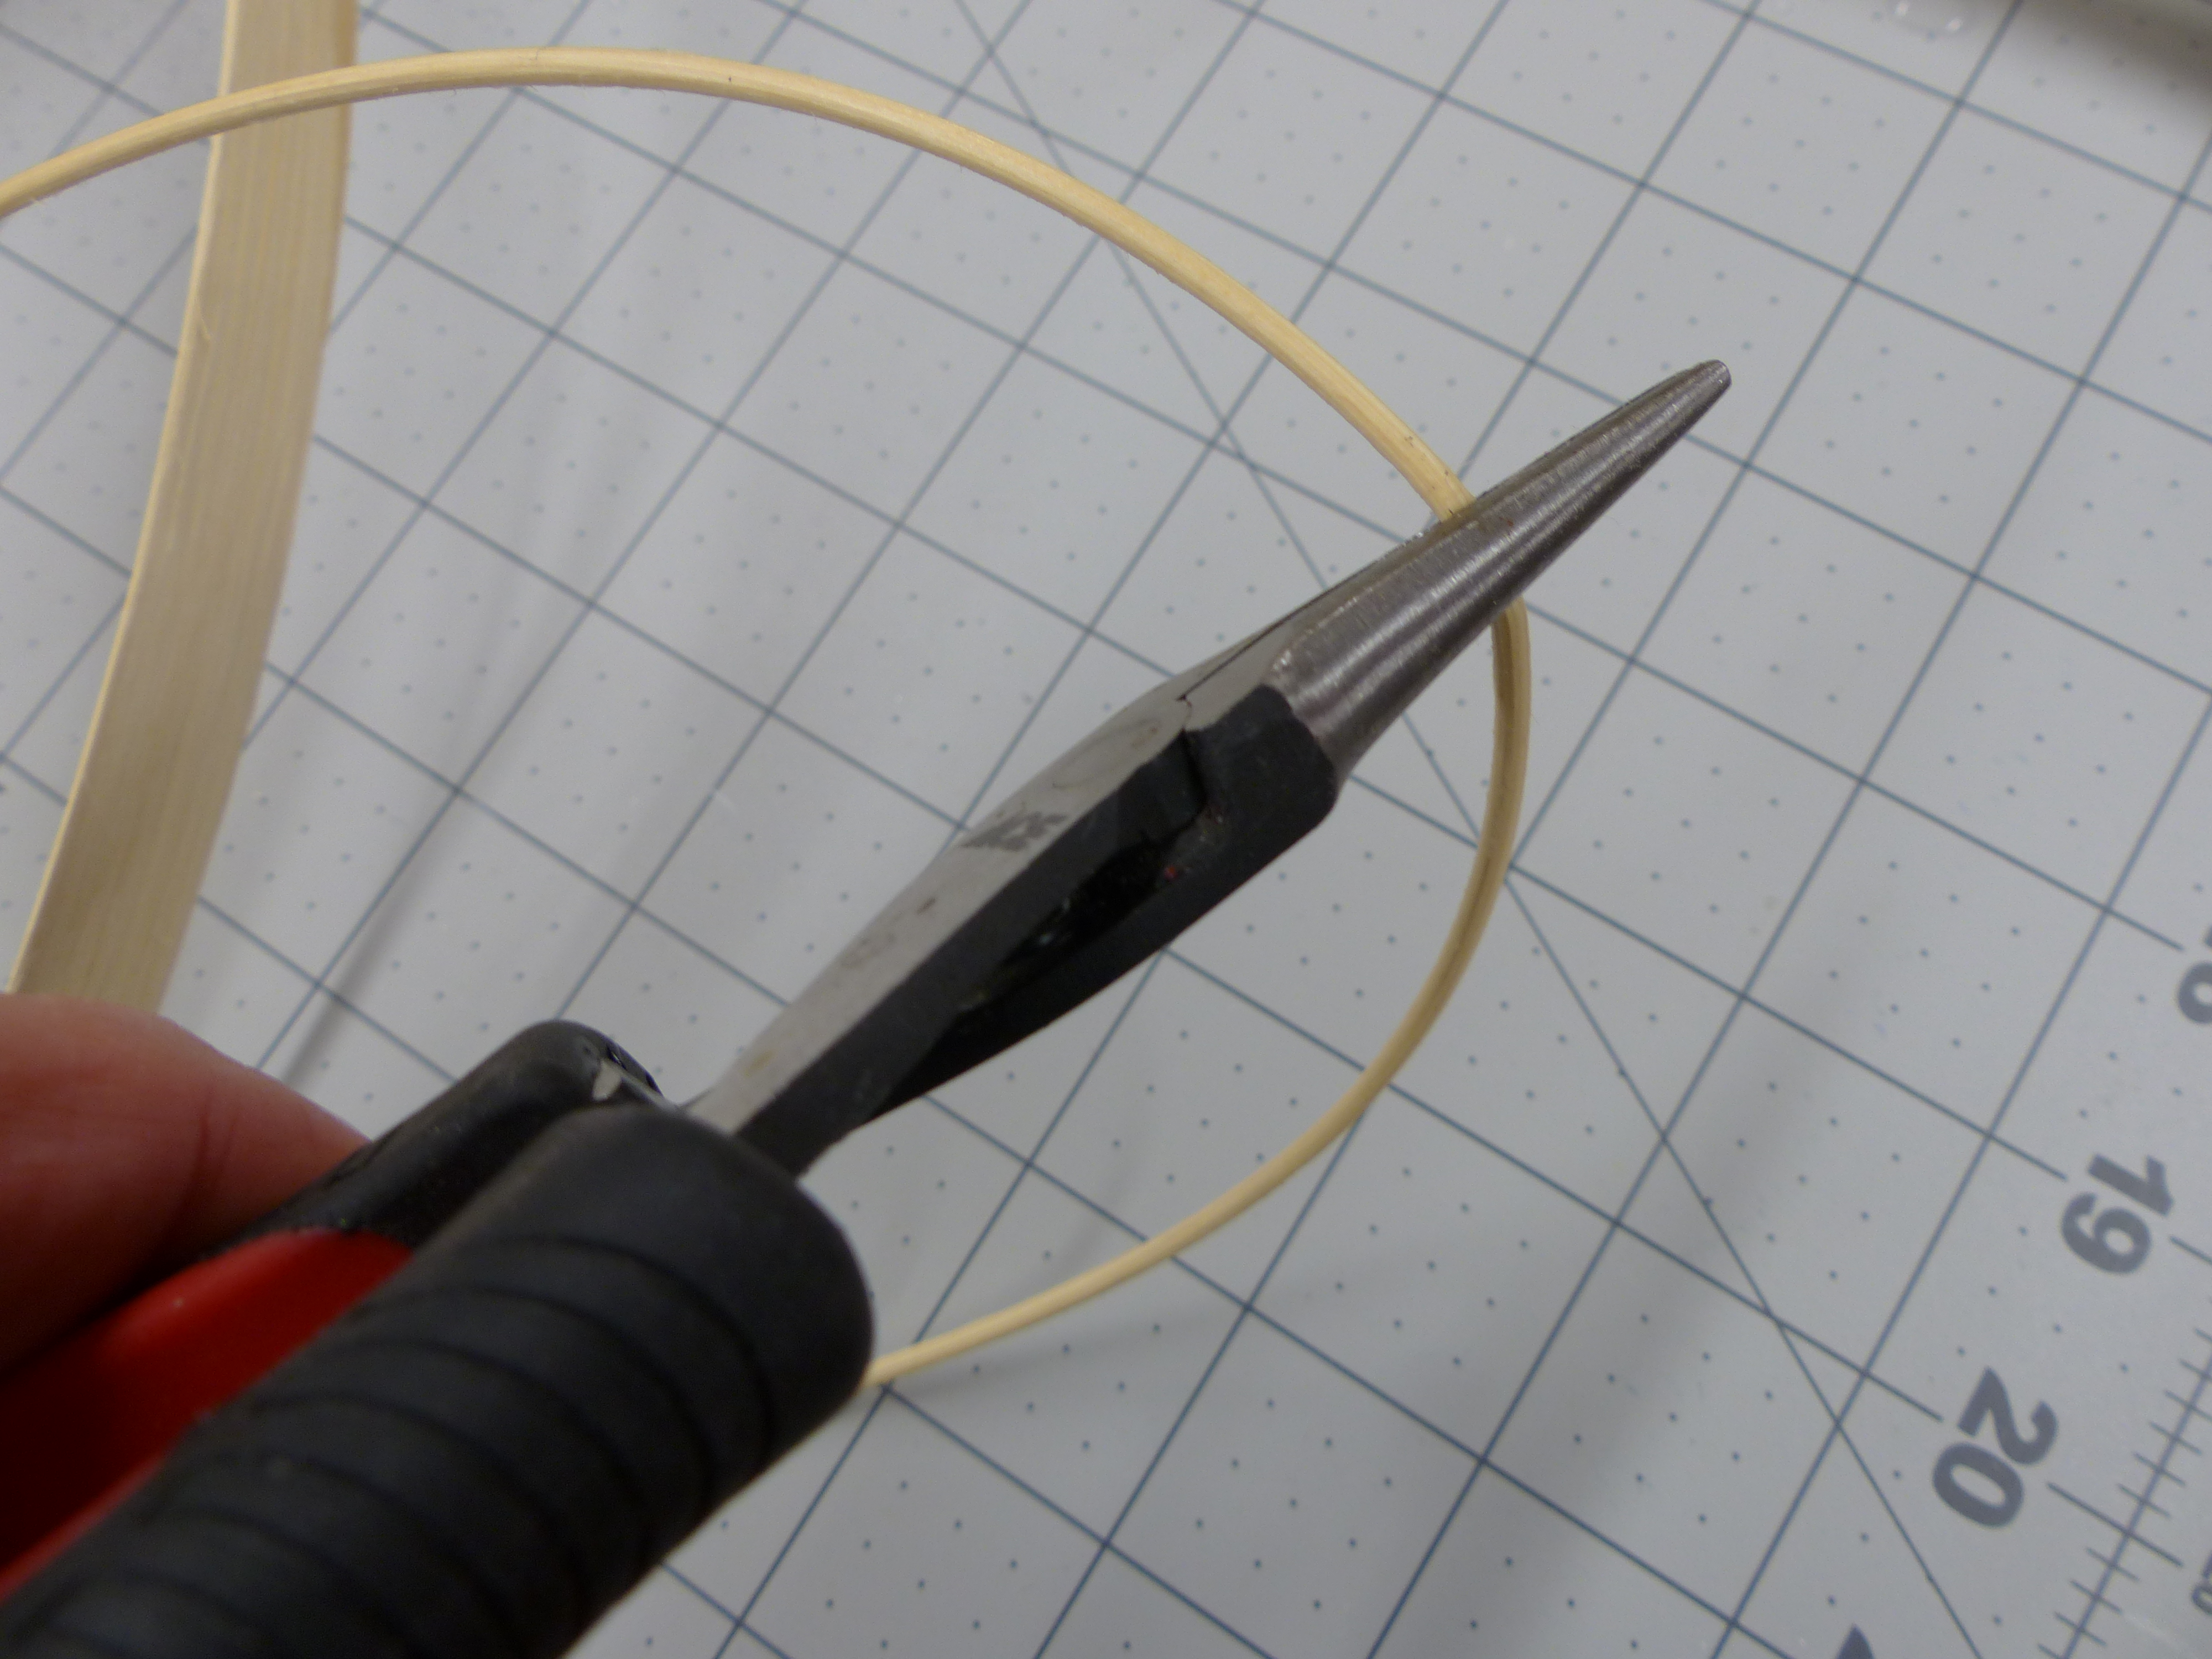
I like to start twining a round base by taking a long length of round reed (#3RR for this base) and crimping it just off center.
Crimp by flattening the WET round reed with a pair of needle nose pliers. Crimping the round reed allows you to fold it without having the reed split or crack or break.
Now loop the round reed around the very first spoke you added to the T pin and begin twining. As you twine this first row, take your time to make sure that your tension is even and you are weaving on the secondary lines.
How to twine: Well that is the topic of my next tutorial (hopefully next month – I have most of the pictures!). But in a nutshell – you will be using two weavers, there will always be a weaver above and a weaver below the spoke. Bring both spokes to the outside of the basket. then take the weaver that is above spoke #1 and bring it under spoke #2 and then back to the outside. As you can see in the photo below, as the weaver goes behind spoke #2, the other weaver will be above spoke #2.
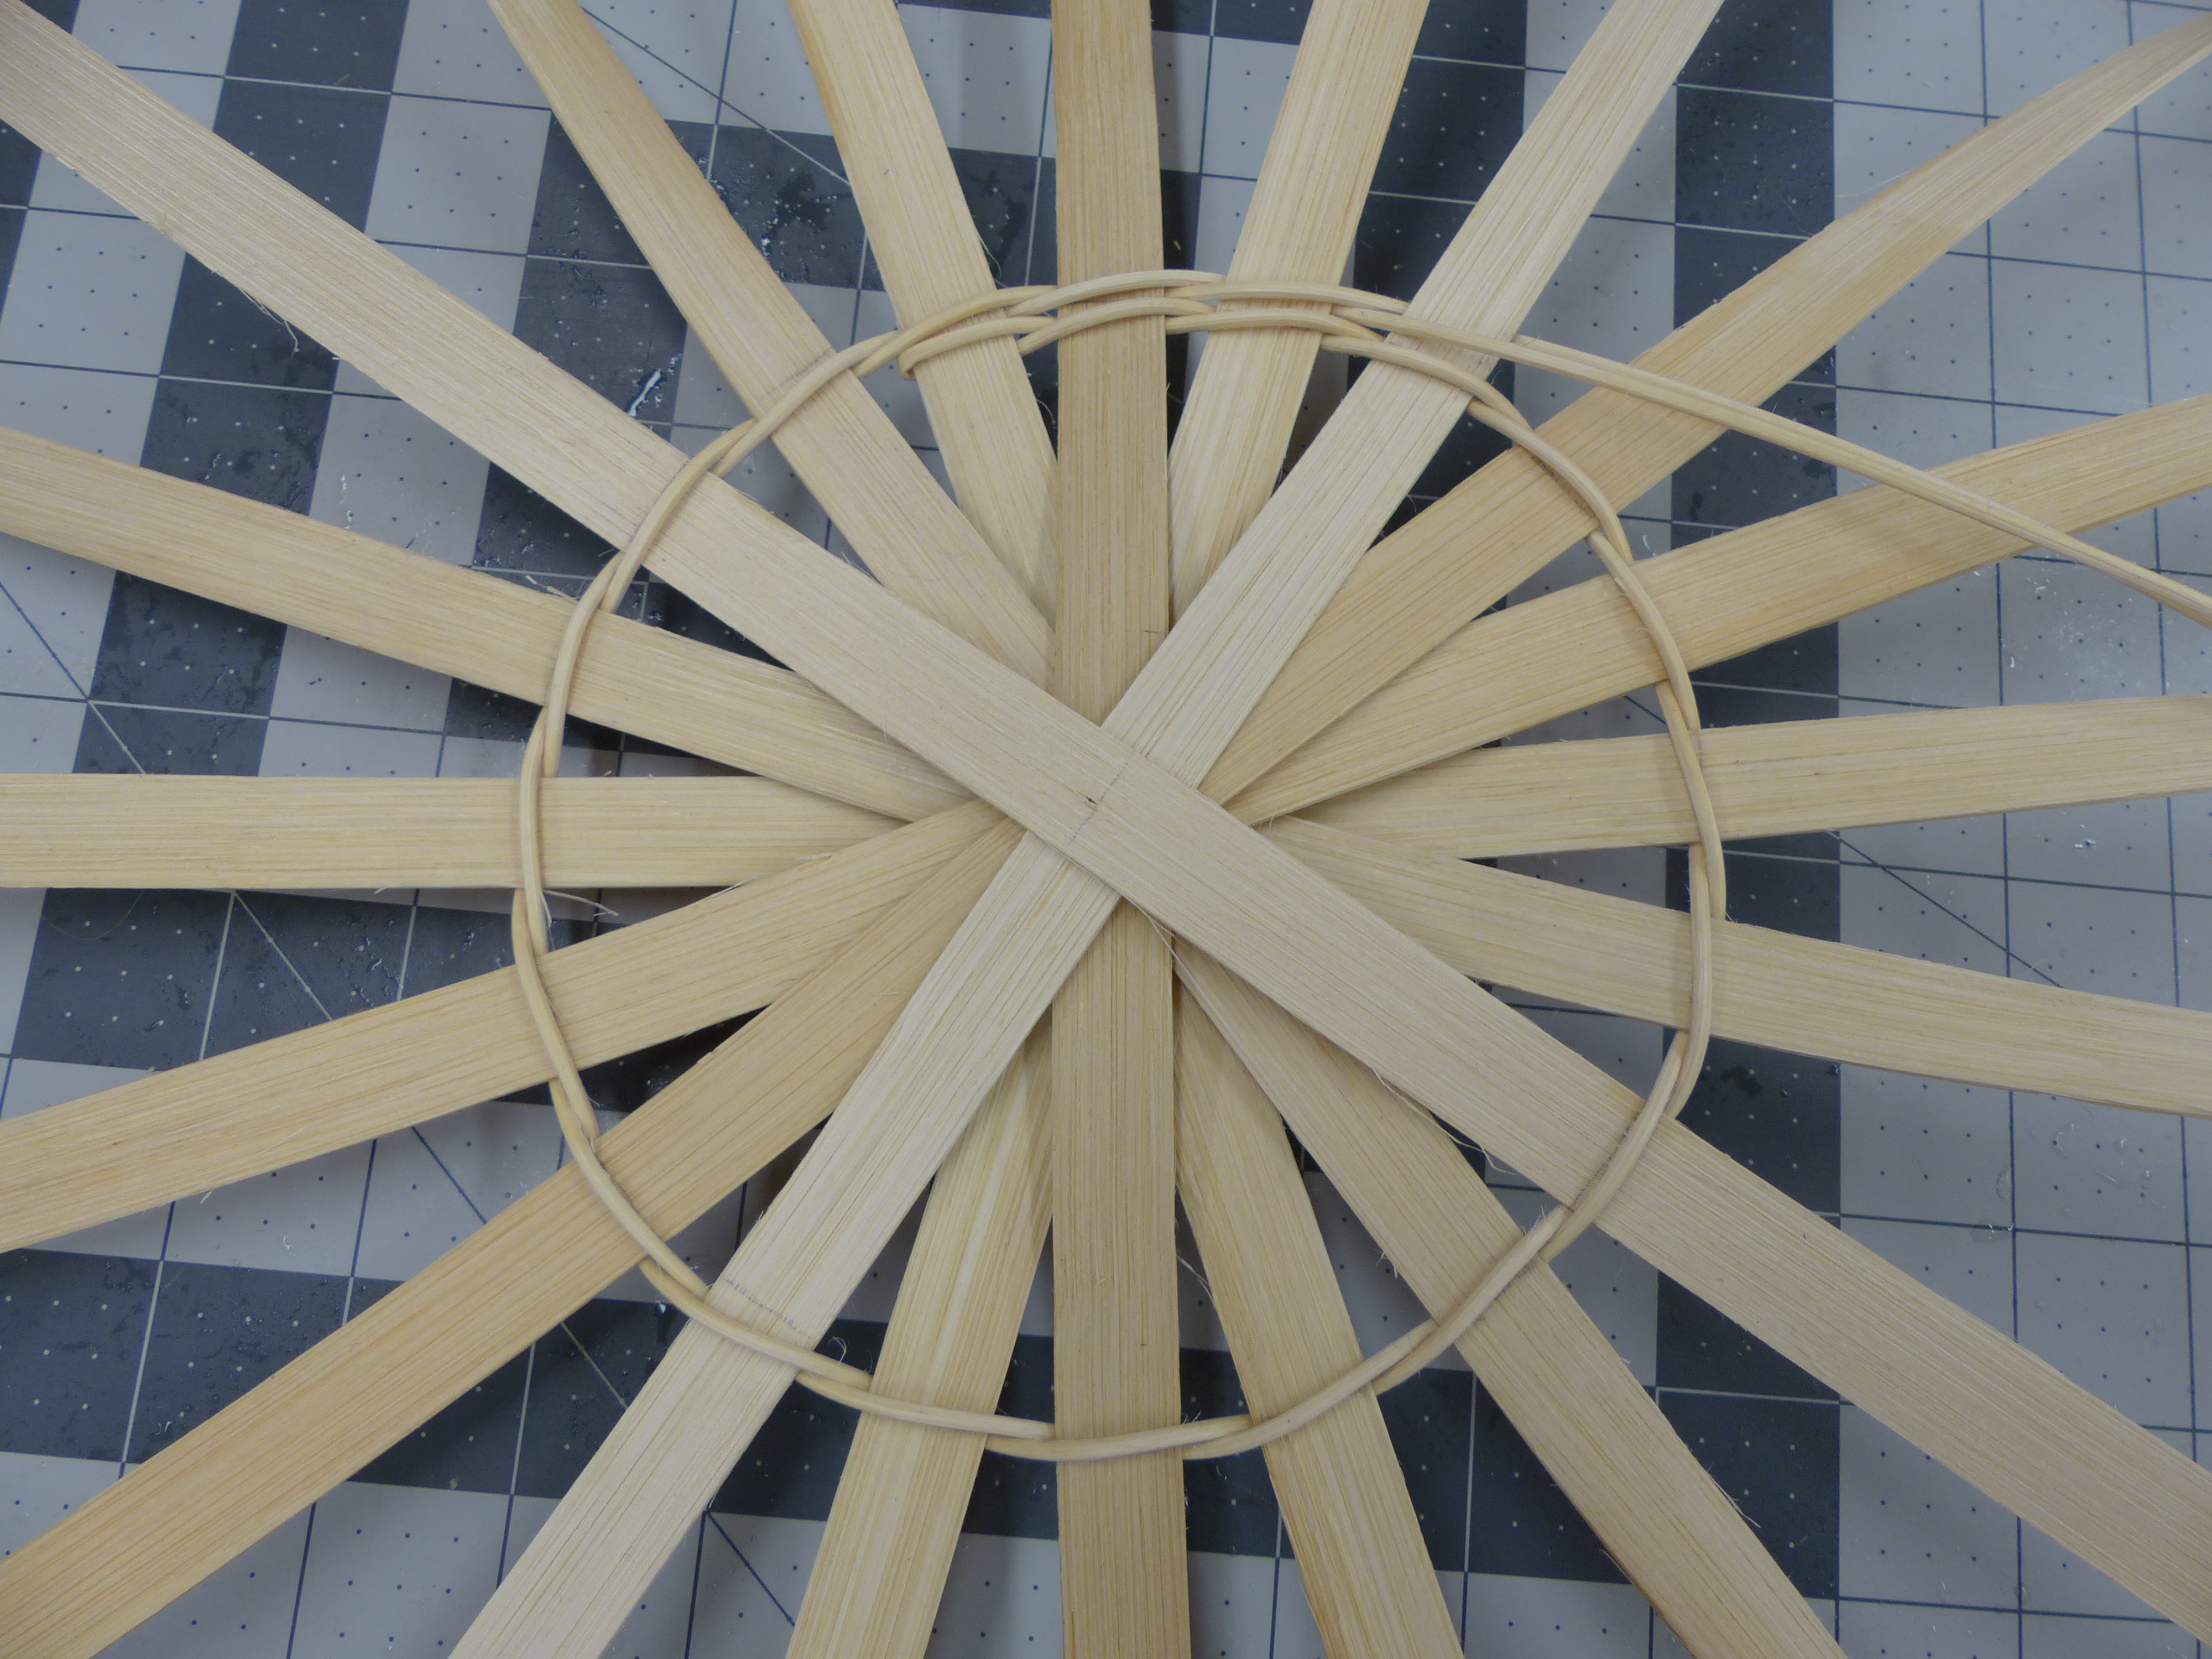
Look at that – a beautiful circle. What a great start to your base. Now continue twining (no need to step up) until you have enough room to add your remaining spokes AND continue to twine comfortably.
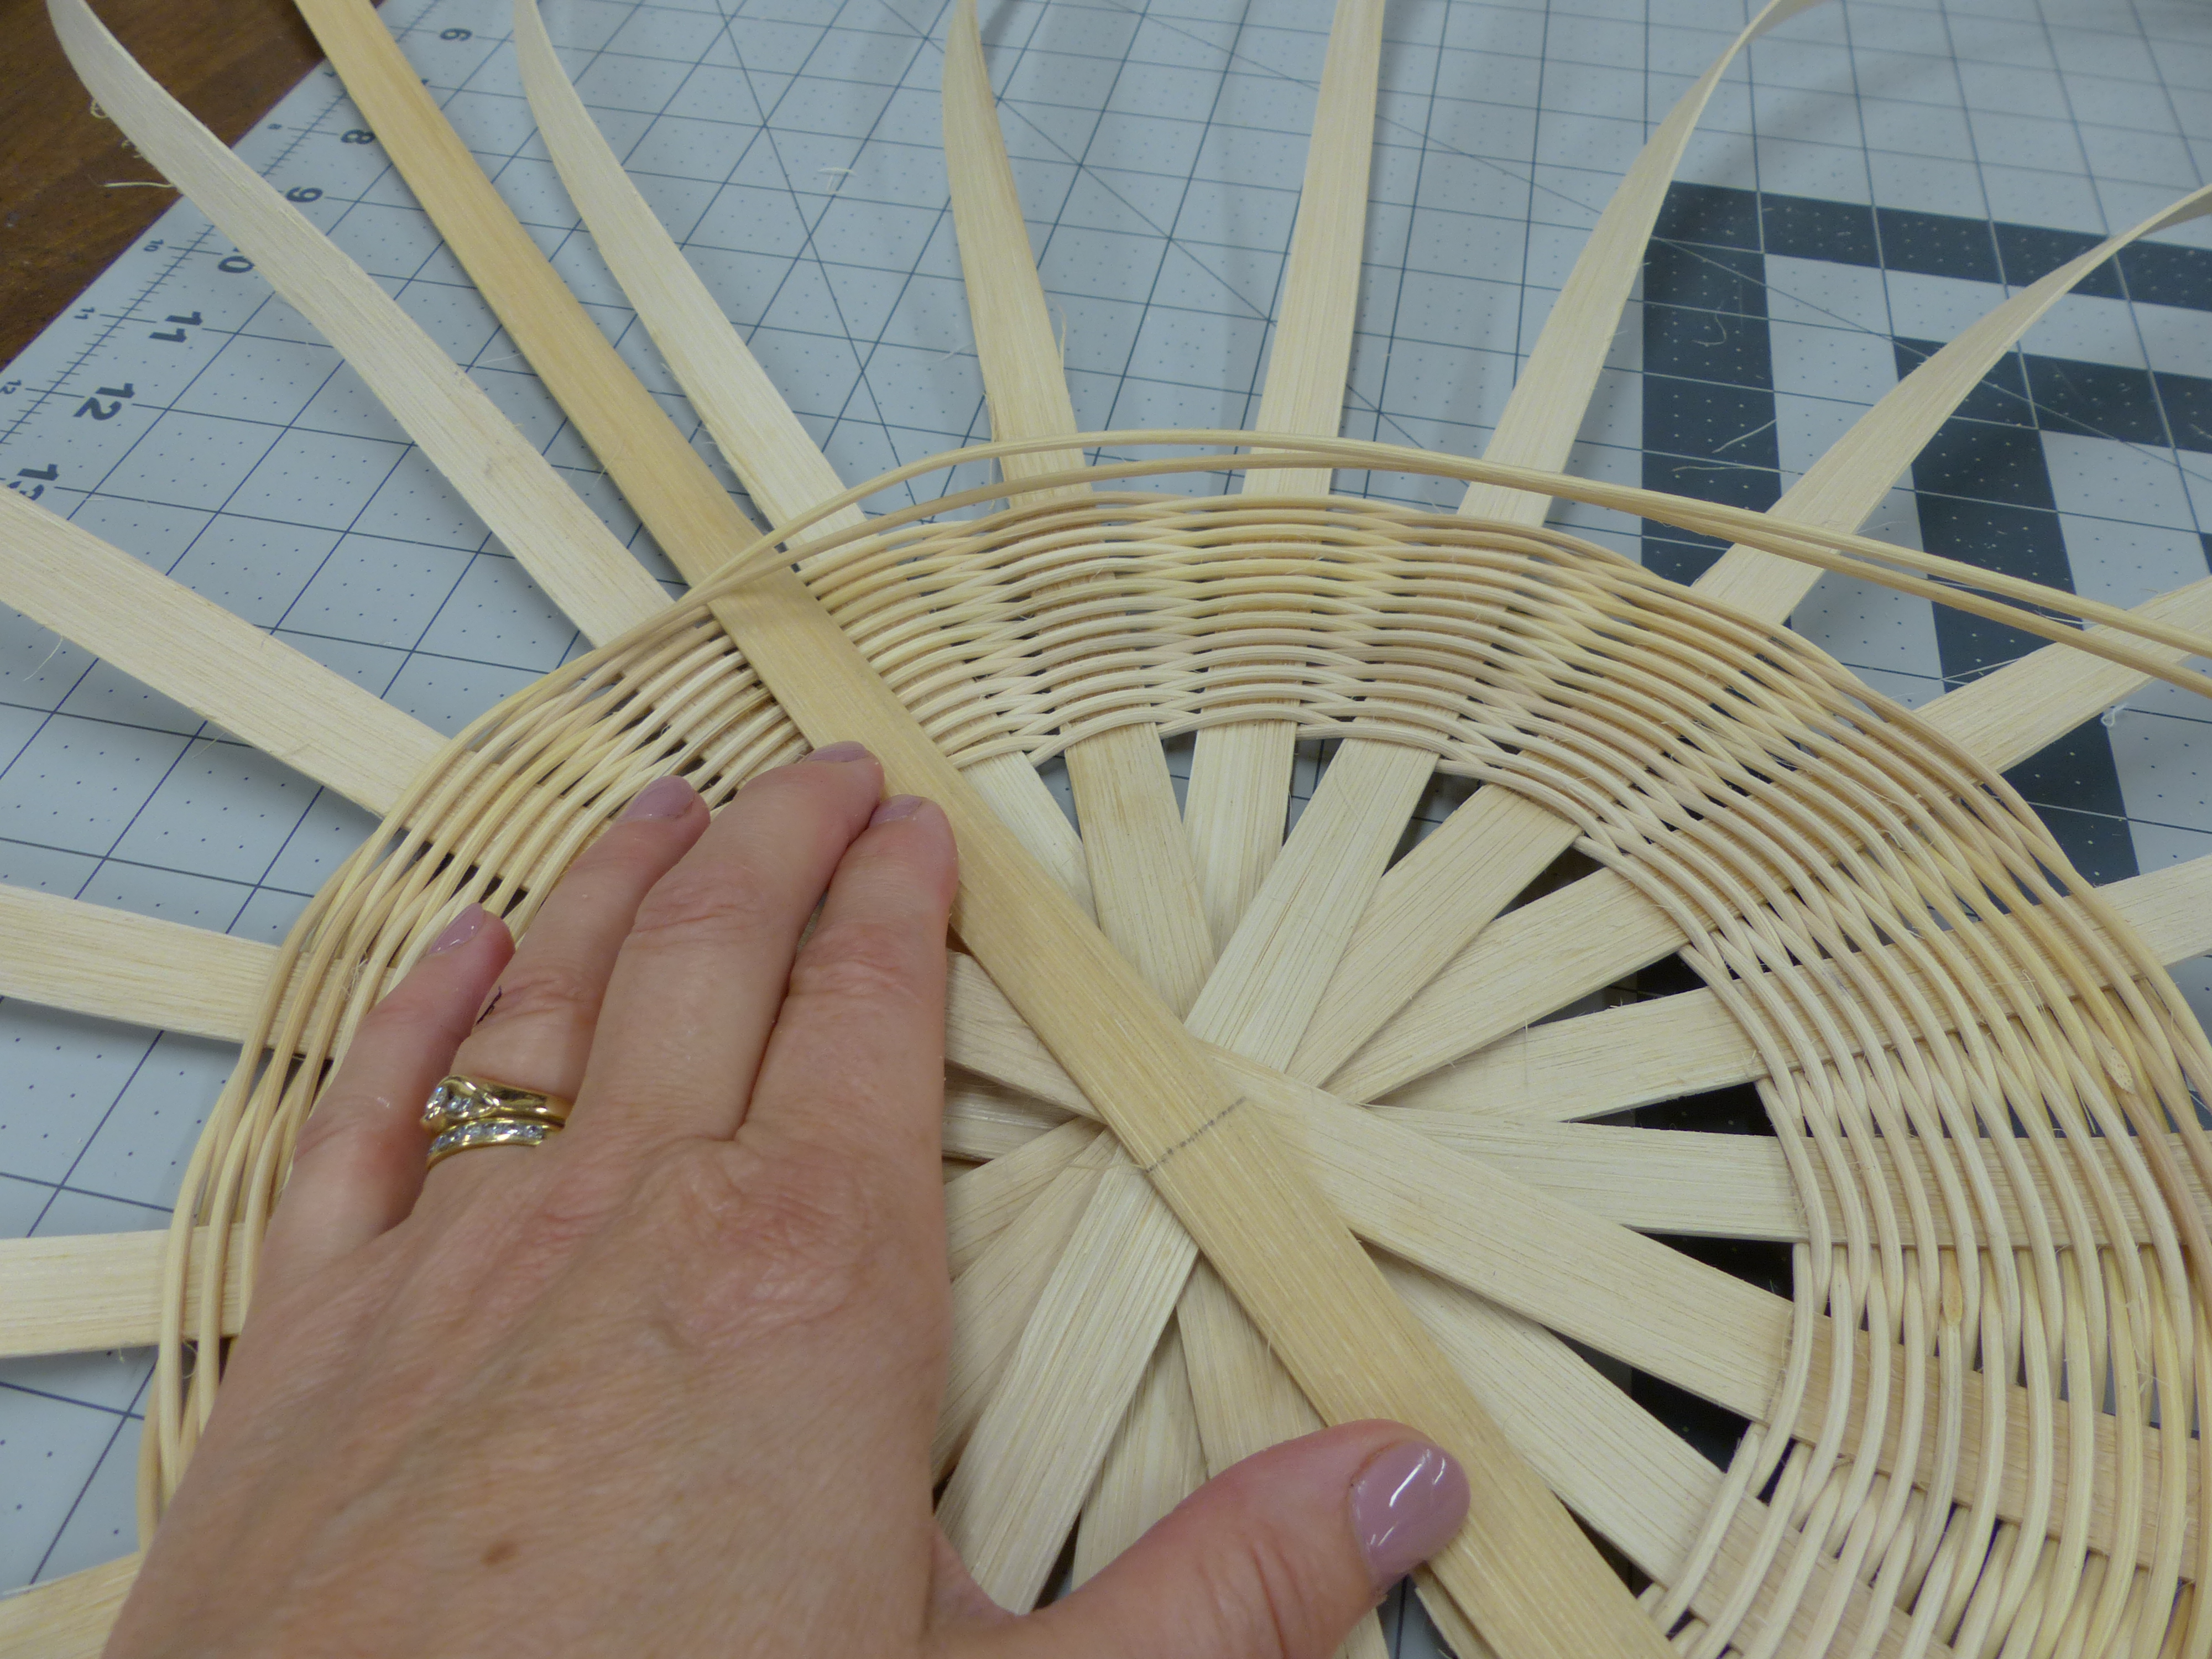
This looks a little tight.
This looks perfect, see how the twining continues to lay flat. Add in the spokes one at at time as you weave around the base.
Be sure to make sure to center these spokes.

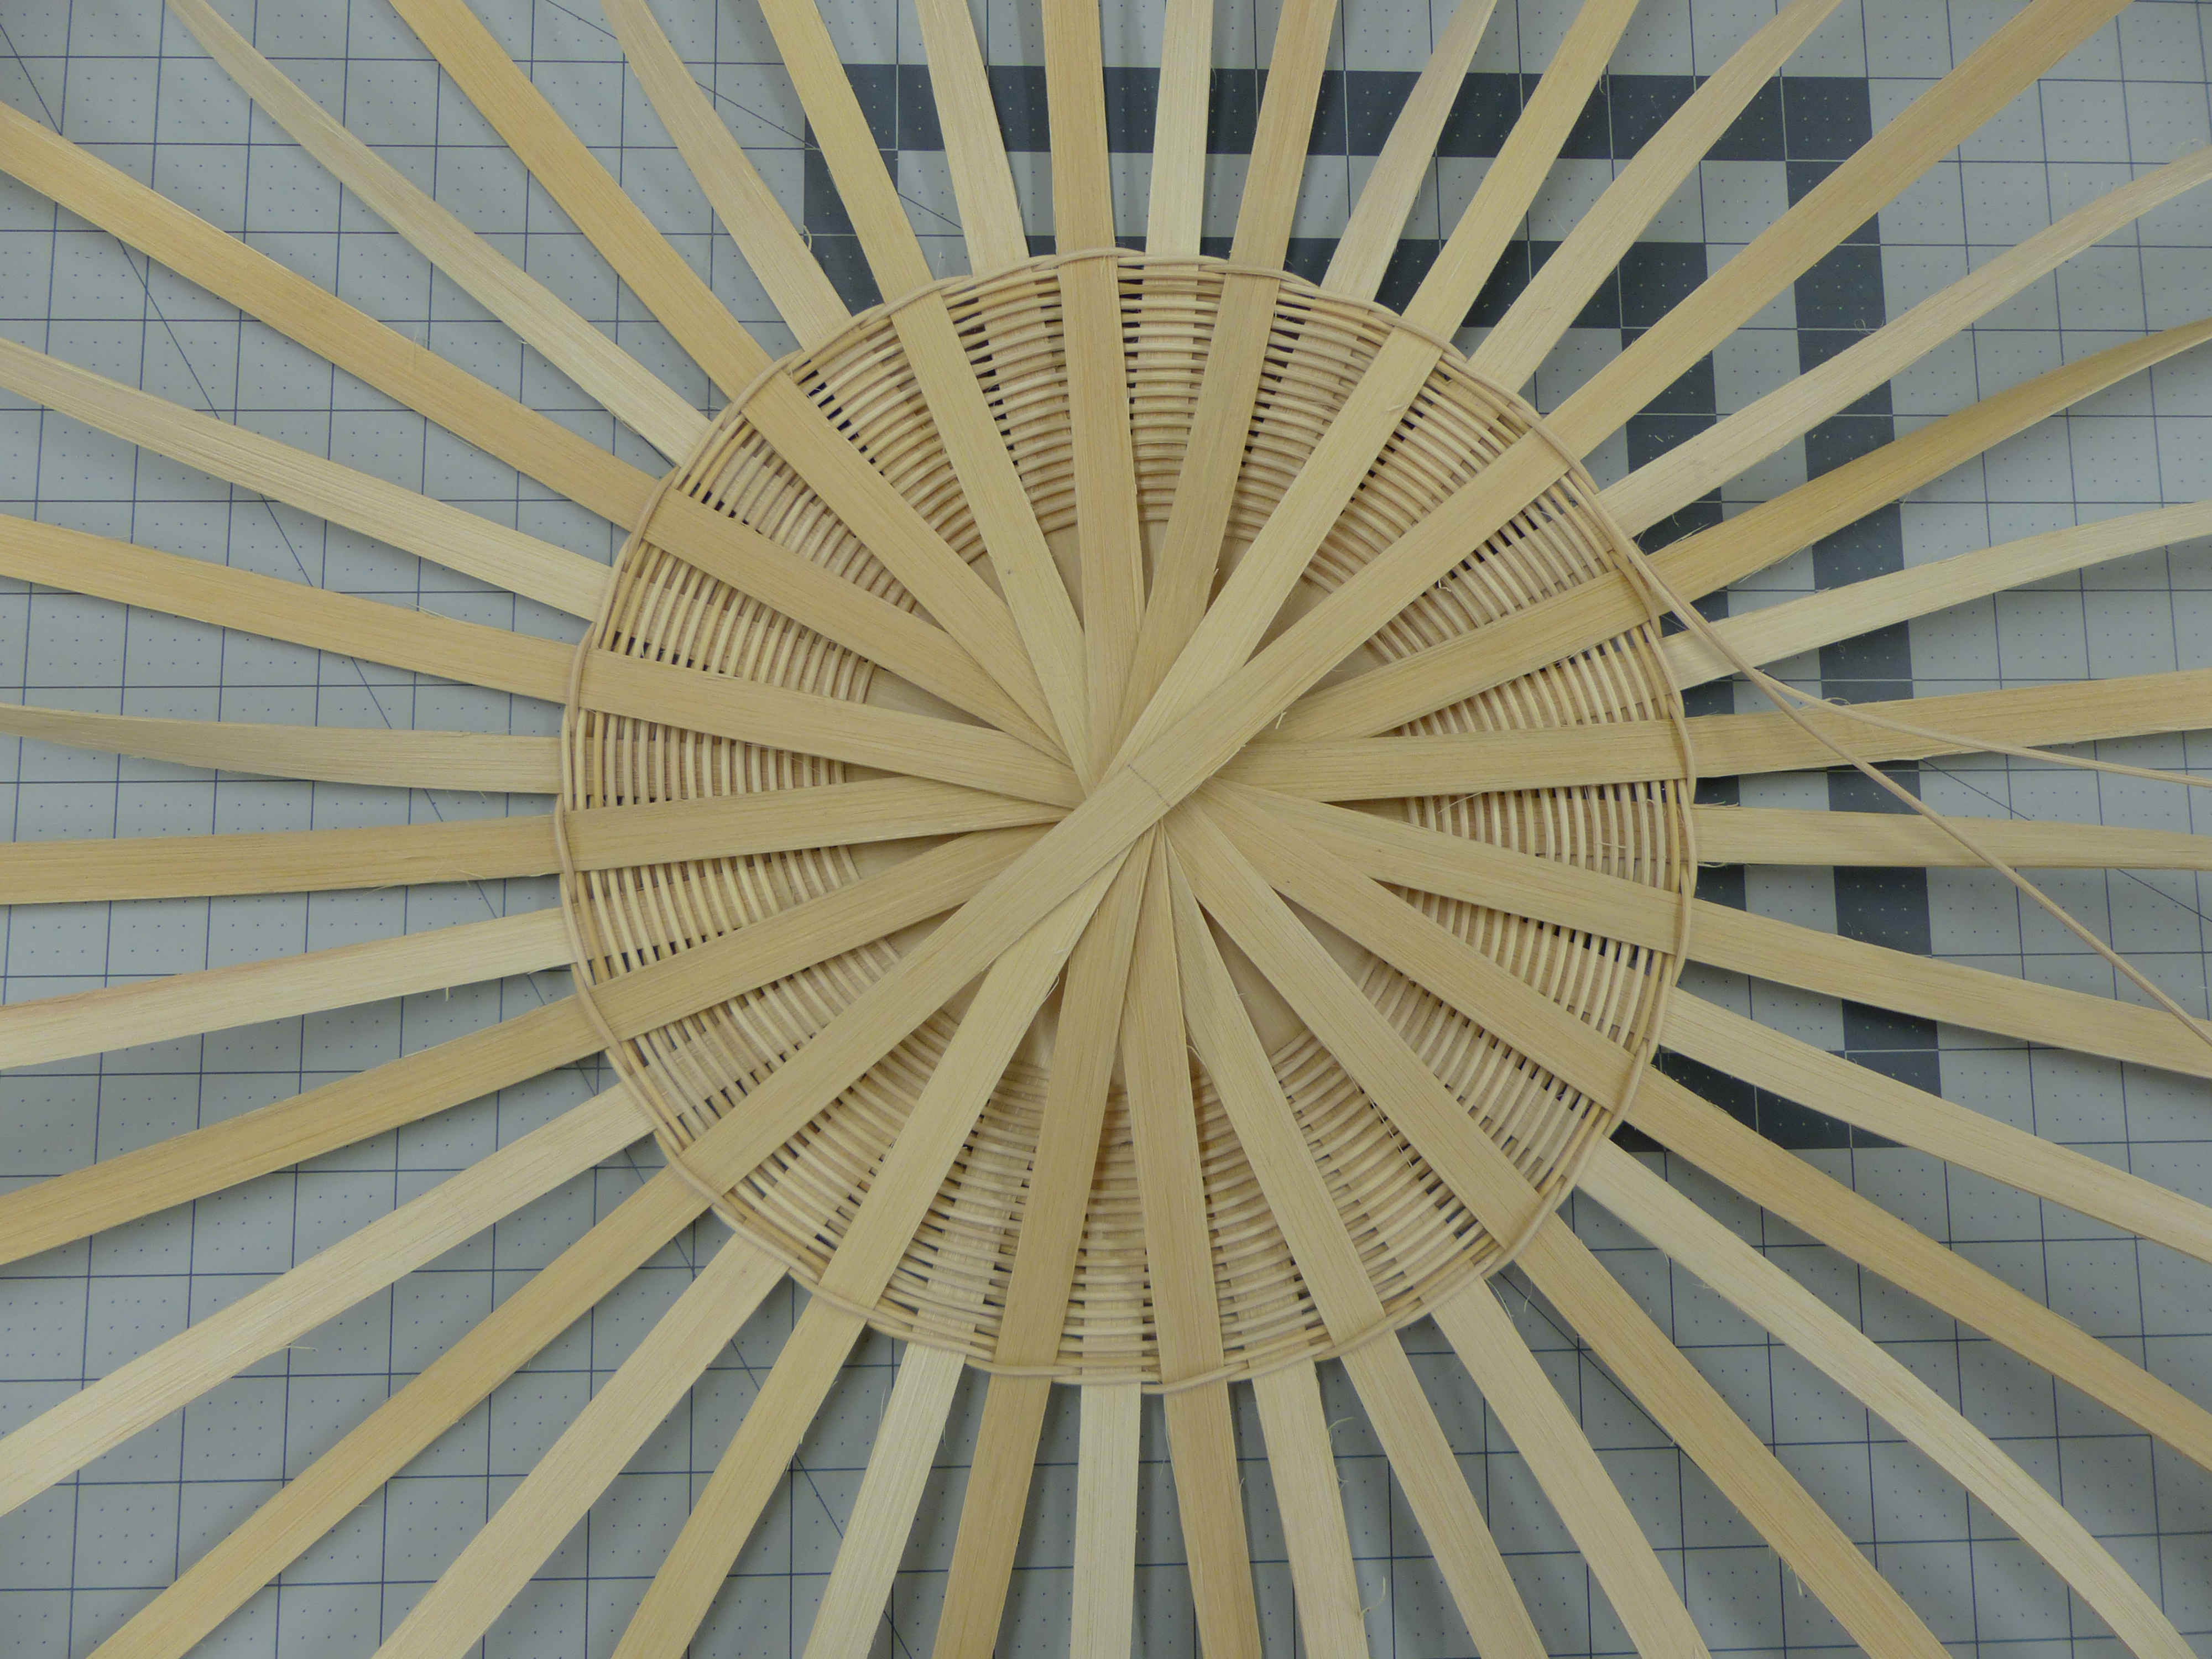
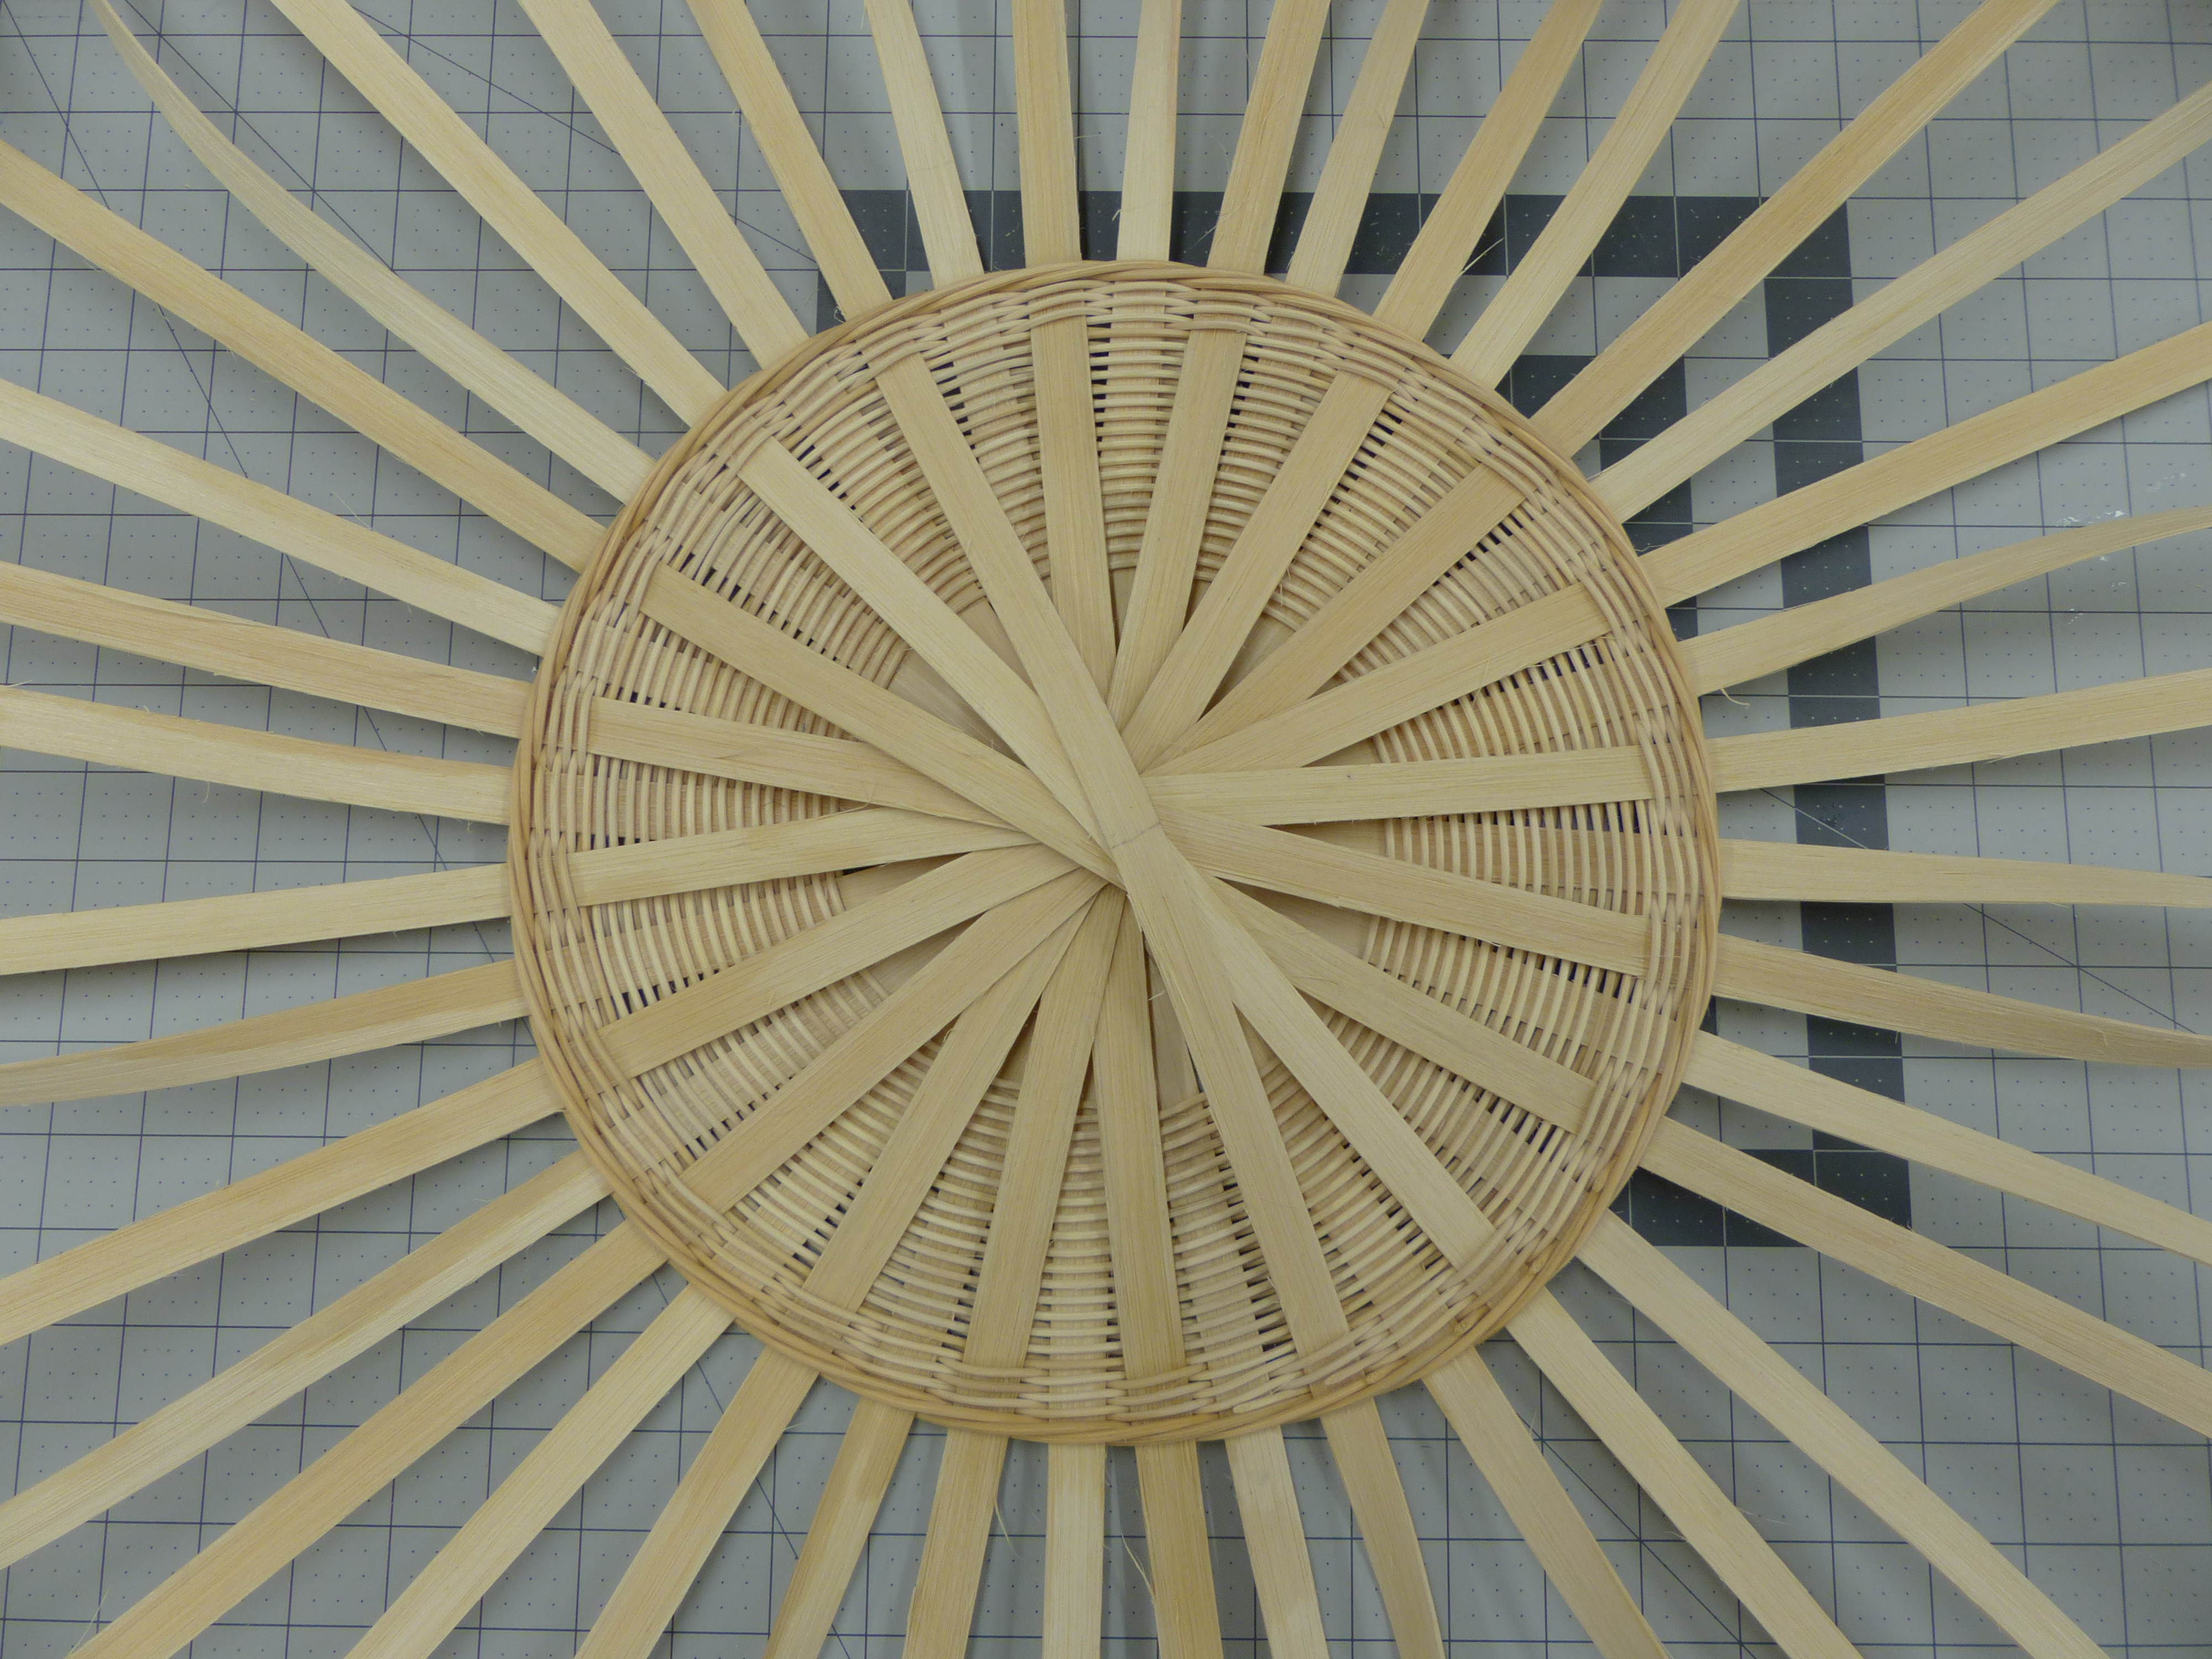
Continue weaving until the spokes are spaced for weaving the sides and the base is the the right size. This base has diameter of 12″.
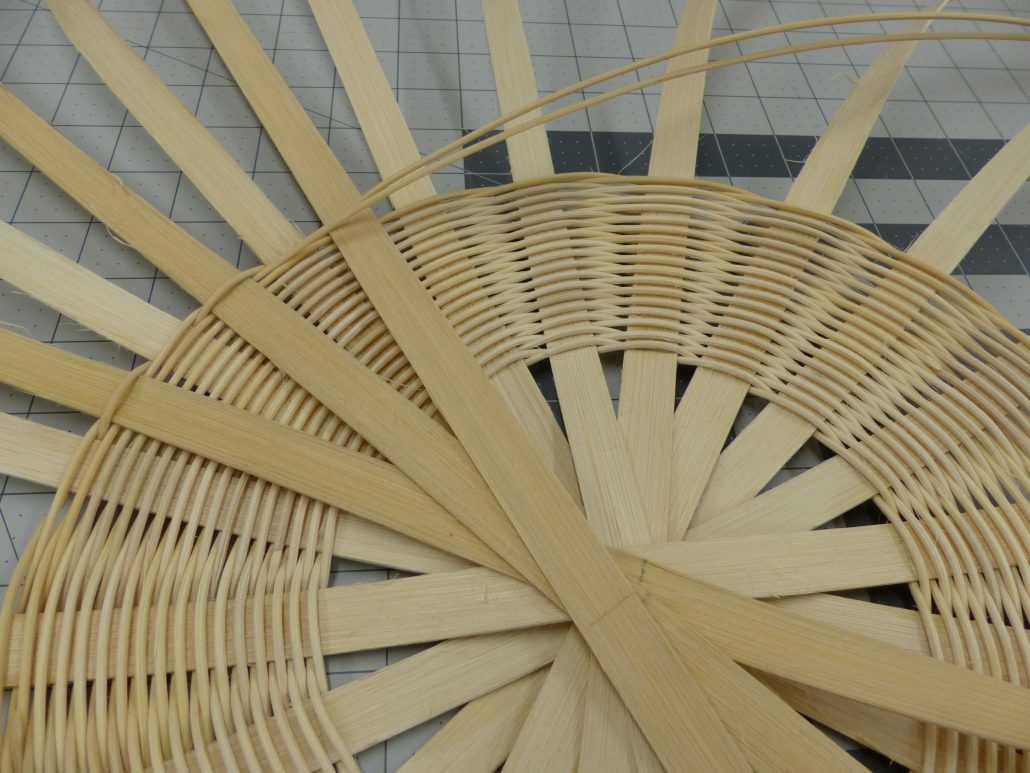
I like to finish twined round bases with a four rod locking rod. Use the next size up of round reed to do this row. This is the inside of base (rough side up) with the locking row. I have a tutorial for this – click here for my Four Rod Locking Row Tutorial.

This is the outside of the finished base. Don’t you love how simple it is to make such a beautiful round base!
In a nutshell: the basket base woven in this post has a total of 20 spokes. On ten spokes I made the secondary marks at 3″ on each side of center and I twined with #3 RR. The base is 12″ base in diameter.
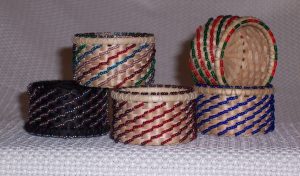
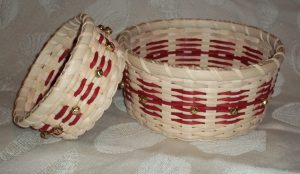
And here are a few of my patterns that start with a twined round base: Beaded Ring Basket and Christmas Bells Gift Basket
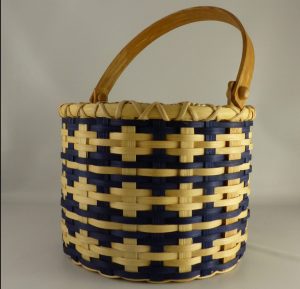
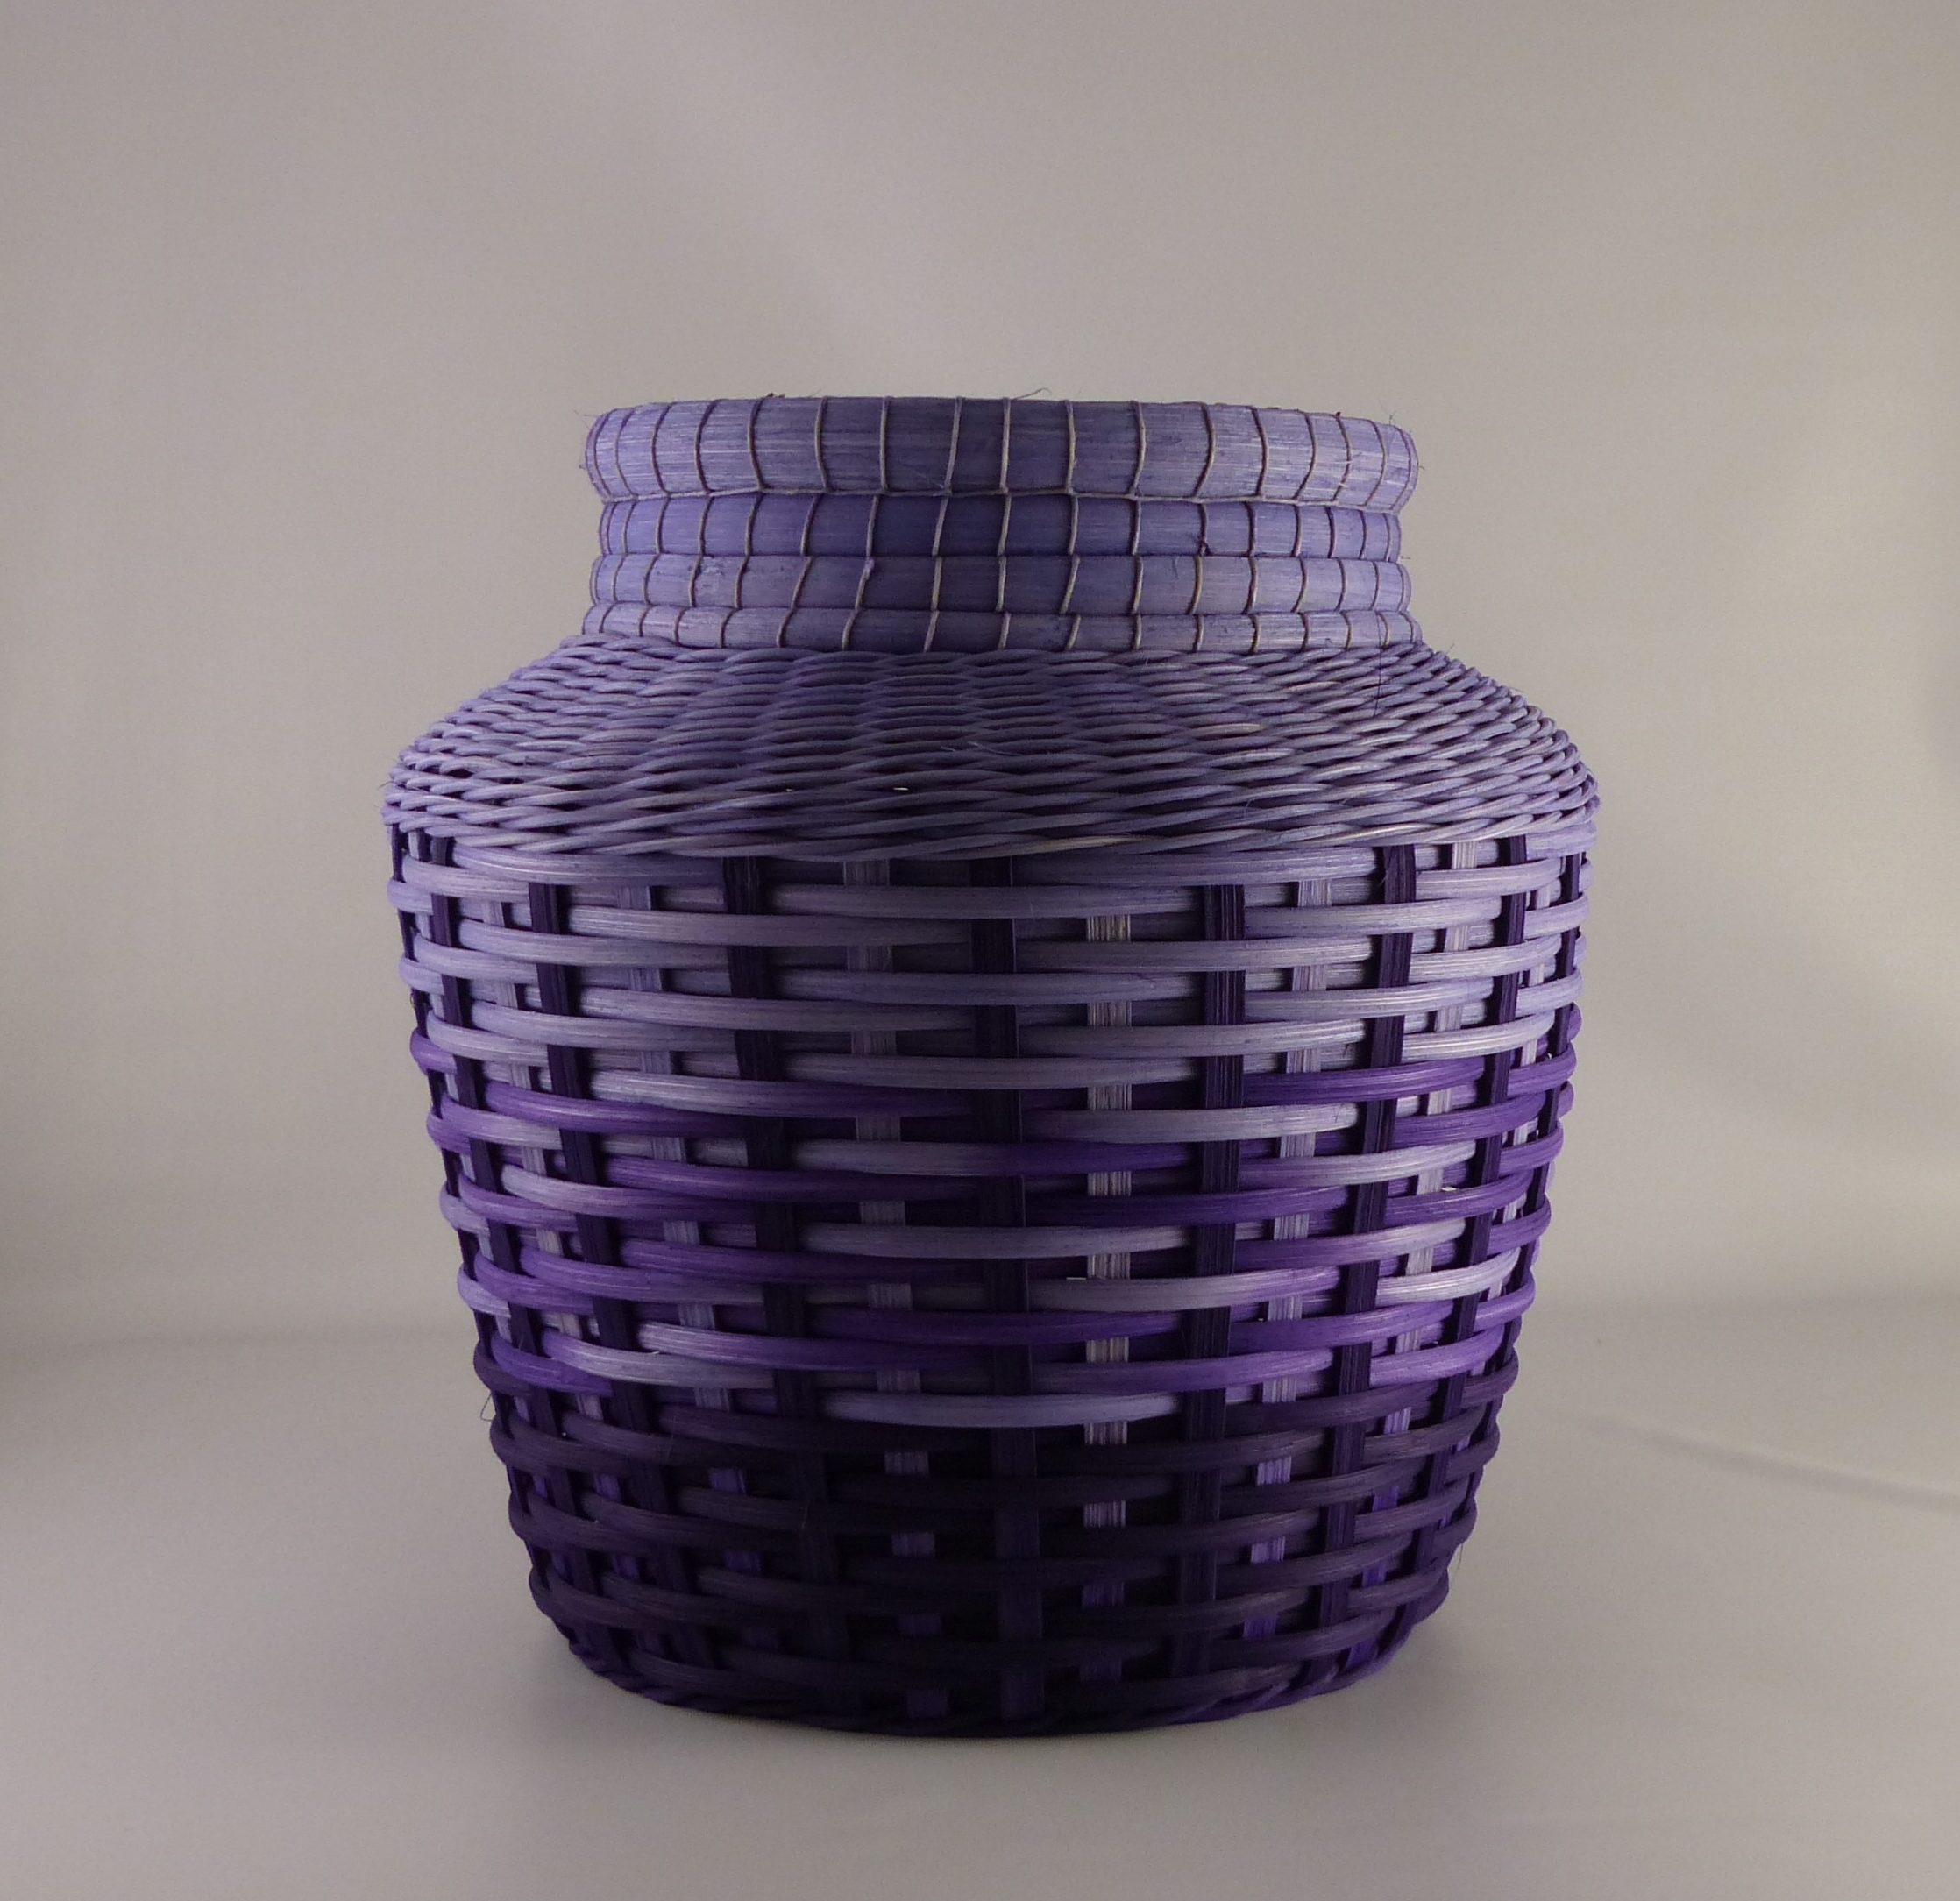
and SouthWestern Work Basket and Faded Dreams -this pattern is in process 🙂 Proofing and testing should be complete by early 2018.
Determining Where to Place the Secondary Marks?
This section is for those of you who want to use secondary marks on every round base you twine and maybe even design your own baskets. I have been weaving a long time and have a a round base chart ‘of sorts’ in my head, its not very scientific and it is a little hard to share, but I can share some specifics. First, remember the secondary marks are only on half of the spokes; the base is started with these spokes.
Where to put the secondary marks depends on three (or four) things:
- the width of the spokes
- the number of spokes being used
- the size weaver being used
The fourth element, is your personal weaving style – how tightly you weave and how close you like your spokes. The secondary mark must be far enough from center to space the spokes enough to twine comfortably. So -how much space is the question. I have suggestions from the ‘chart’ in my head: 🙂
- twining with #3 RR, approximately 5/16″ between spokes.
- twining with #2 RR, approximately 1/4″ between spokes.
- twining with #1 RR, approximately 3/16″ between spokes.
Remember that fourth element includes your personal weaving tension, so your numbers might look a little different. One way to learn where to put the secondary marks, is to mark centers, put half of your spokes on to your T pin. Then, with a scrap of round reed, figure out how far from center your twining needs to be. Make secondary marks on one of the spokes, remove all of the spokes form the T pin and mark the remaining spokes.
This little list may help eliminate some trial and error:
- When I make a round base with a total of twelve 1/2″ spokes -on 6 spokes, I make the secondary marks 2″ on each side of center when I am twining with #3 RR. (8″ base)
- When I make a round base with a total of twelve 1/4″ spokes -on 6 spokes, I make the secondary marks 1″ on each side of center when I am twining with #1 RR. (4″ base)
- When I make a round base with a total of twelve 1/8″ spokes -on 6 spokes, I make the secondary marks 1/2″ on each side of center when I am twining with 4 ply waxed linen. (2″ base)
It is a good idea to keep a notebook about basket weaving. In your notebook keep a page for twined round bases; keep a record of where you make your secondary marks for various sizer round bases. You will be amazed at how often you refer back to these notes.
I hope that you find this information helpful!
Thanks for reading the Basket Teacher

Thanks for sharing I’ve been weaving for 40 yeare(I’m 81) and this is the best instructions I’ve ever seen!!
I try to keep a book. It would be helpful if we could print and download your tutorials to include them, with proper reference of course.
Saving this for sure….
With a BIG Thank You too!!!
Great instructions
You do a great job of explaining things. Thank you for sharing.
I can’t tell where you added a new piece of #3 RR, you did such a beautiful job. How do you add the next piece of RR?
Thank you, Pat. If you look really close you can see at least one add. I will need to work on writing that info up… soon.
Hello,
I am a relatively new weaver and I do have a question for you. Is there a substitution for the waxed linen?
You could use waxed cotton … what are you using it for?